The drawback with using standard six-foot fence panels is that, although they vary in height from 3 feet to six feet, the width is always a standard 6 feet. This is great if your garden is divisible by 6 but not so good if its 29 feet 4 inches long.
You are likely to need to cut a fence panel down to size to fill in at the end of a run of fencing, unless you are very lucky indeed!
The problem with cutting a fence panel down is that you risk weakening the panel unless you do it properly. We have done this job thousands of times before so you can trust us to teach you the best way to do it.
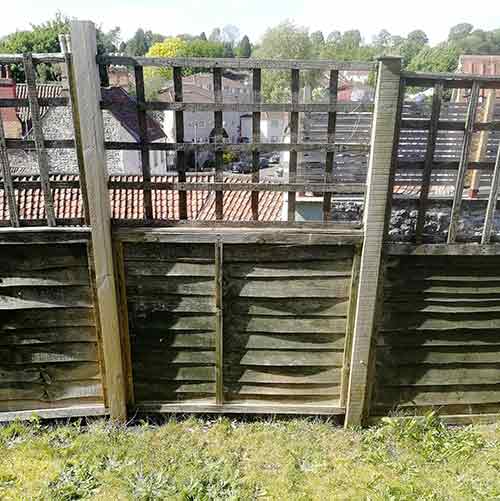
Fence panel cut down and fitted between 2 posts
Fence Panel Heights and Widths
Standard fence panels come is a range of different sizes, these are as follows:
What is the standard size of a fence panel?
The standard width of a fence panel is 6 feet wide which is about 1.8M. Even though we use metric measurements in the UK we still use feet and inches in some materials, including measuring fence panels!
Standard fence panel heights are:
- six foot fence panels or 1.8M (sold as 6×6)
- five foot fence panels or 1.5M (sold as 6×5)
- four foot fence panels or 1.2M (sold as 6×4)
- Three foot fence panels or 0.9M (sold as 6×3)
Do fence panels come in different widths?
You can order bespoke or made-to-measure fence panels but they tend to be much more expensive. It is much cheaper to cut down a six-foot wide panel, or consider fitting close board fencing instead.
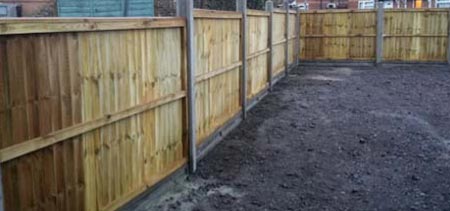
Closeboard or featherbaord fencing as it’s also known
Tools Required to cut Down Fence Panels
As with most DIY and construction jobs, the key to hassle free success is to use the right tools for the job and this particular job is no exception.
To help you cut your fence panel to size, the following tools will be required:
- Handsaw or to make things a bit easier a reciprocating saw
- Tape measure
- Drill/driver and 35mm rust proof screws or
- Hammer and 35mm galvanised nails or nail gun and nails
- Pencil or chalk
How to Cut Down a Fence Panel
Cutting down a fence panel to size is a really easy job and only takes moments but you do need some new battens. These battens are usually 25 mm or 38mm wide by 19mm thick and you will find these sizes, as standard, in most DIY sheds and timber merchants.
When you buy your battens look for a pack where they are as straight as possible because that makes your job easier. If you are not going to use the battens straight away, then store them somewhere dry where you can lay them flat to prevent them warping and bowing.
Step 1 – Measure the size of panel you need
If you have read our project on fitting a fence panel you will have worked along the fence run until you have the last panel to put in place, which is likely to be a cut panel.
Measure the width of the panel you need and mark it on the face of the laps (face of the panel).
If you are in the process of installing a whole fence e.g. digging out new fence post holes and installing the fence posts as well as the actual fence panels, do this by standing your fence post in it’s exact position in its hole or holes and securing it in place using supports or an additional pair of hands.
Once in place, measure the gap between the posts and this will be the size you need to cut your panel to.
If you’re cutting and fitting your panel to some existing fence posts that are already installed then simply measure the gap between the 2 existing posts.
When measuring ensure the posts you are measure between are exactly upright and straight. Of not, any measurements you make could be inaccurate.
Measure at the bottom and the top of each post to ensure the gap is equal. This will also confirm that posts fence posts are indeed plumb.
To make any marks, chalk shows up well, but you can also use a pencil or pen.
Step 2 – Prepare to fix your battens in place
The image below (image 3) is a plan of 2 fence panels (i.e. looking down on them from above). The top one, A, is a standard panel.
The battens which hold it all together are placed, back to back, on either side of the panel. Normally there are a pair of battens at each end and a pair in the middle, to hold the slats in place and strengthen the panel.
The panel underneath (B) is being made ready to cut down. In this example the panel is being cut down in the middle but it can be any size you need.
You will need to prize off the original centre battens and remove the staples unless they happen to be in the right place. You can do this using a bar and hammer or a claw hammer if you have one.

Image 3: Where to cut fence panel to shorten it
Measure the height of the battens you need and cut four lengths to that size. Make sure you measure the height of the actual panel – taking into account any top and bottom battens already in place, and don’t just assume the size needed is 6-foot, 5-foot etc.
Step 3 – Fix your battens in place
Fix a pair of battens either side of the line as shown in image 3 above for option B and in image 4 below. Leave a gap of about 1/2 cm between the pairs of battens so you can easily run your saw down the gap in between them.
Make sure that you fix your battens so you will be able to cut up to the line, that way your panel will be the correct width when you have cut it.
Nail, or screw right through one batten, into the panel and through into the next batten. The nails need to be 35mm galvanised nails or lost heads. See our project on types of nails for more help on making the right choice of nails. See image 7 below.
If you are using screws we would recommend rust-proof screws such as decking screws.
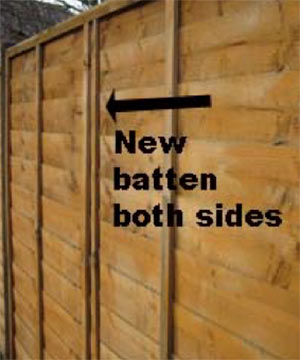
Image 4: Battens fixed to fence panel either side of the line to be cut
Step 4 – Cut between the pairs of battens
If you have help it is sometimes easier to do this job with the fence panel standing upright as shown by image 4 above. You can see that the two battens are in place on one side and these have been nailed into two more battens on the back of the panel.
Make the cut with a handsaw (image 5 below) or a reciprocating saw (image 6 below) from top to bottom. If you do this carefully the panel shouldn’t need any further work, but if you are not happy with the cut you can sand it with coarse sandpaper by hand or using an electric sander.
Make sure that your cut leaves the line in sight, so you have cut to the exact measurement you made between the posts. Otherwise your panel will be too big or too small.
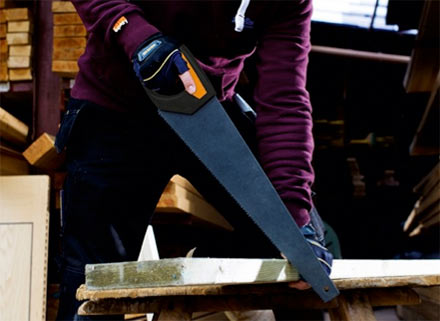
Image 5: Use a universal handsaw to cut a fence panel and battens to size
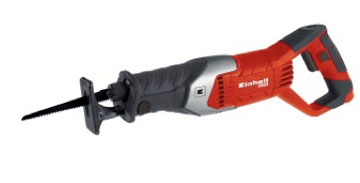
Image 6: Reciprocating saws are available in our tool store
Step 5 – Fix to the posts
Fix your new panel to the remaining two fence posts (as in image 7 below).
The remaining width of panel can be used elsewhere on the fence if you need more cuts – providing the width required is the same or less than the remaining piece, of course.
If you don’t need the fence offcut elsewhere in the fencing then consider using it to screen your bin or compost area, or to make a privacy screen for a seating area in the garden, rather than discarding it.
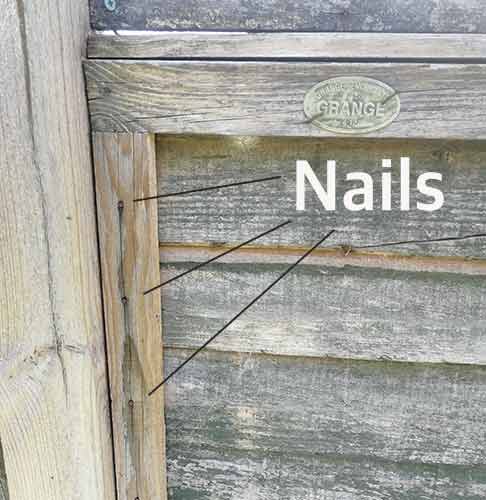
Image 7: New batten fixed to fence panel on both sides of the panel
Now that you have successfully cut your fence panel to size and fully secured it to a fence post you should now be pretty much done, good work!