What Preparation is Needed to Repair my Flat Roof with Acrylic Polymer?
We swept the roof and examined the tears and splits in a shed roof covering that was well past it’s sell-by date. We removed all the torn bits of felt and scraped up all the bird poo and rotten leaves. It had been raining quite hard but that was not a problem; Acrylic polymer coating from Rizistal is one of the very very few roof repair coatings that can be applied in wet conditions….. How good is that!
Even so, we mopped up the excess water as, while the coating can be applied in the wet, it makes sense not to if it can be avoided.
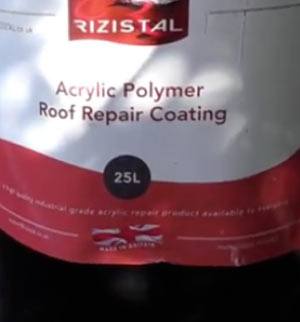
For heavy duty flat roof repairs use acrylic roof repair coating
Unlike the high build bitumen repair coating in another Rizistal review the acrylic polymer needs to be stirred before use. It contains solvents and millions of tiny fibres which reinforce it’s plasticity and a thorough stirring is in your own interests. Once stirred this amazing covering can be applied so easily it’s scary!
There were a few quite large and depp repairs to be made on thsi roof and as per the instructions we used the Rizistal Roof Repair Mortar to fill them before we applied the Acrylic. You can find out more about the roof repair mortar here.
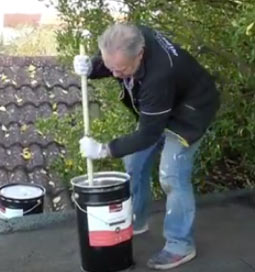
Mixing up the thick bitumen can be quite hard work, but once mixed it can be applied very easily
What’s the Difference Between Acrylic Polymer Roof Repairs and High Build Bitumen Roof Repairs?
In a roofing sense, Bitumen is pretty much an organic compound which when mixed with various oils, fibres and plasticisers will offer a very warm, flexible coating which is easily applied and extremely waterproof. There is a limit to it’s flexibility however as it is almost impossible to apply a fully even coating, of a consistent thickness, by hand.
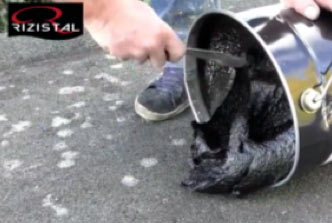
Thick bitumen roof repair for DIY flat roofs
Over the years it’s own plasticity will allow it to move with any roof movement but if the area is huge, this movement can stretch the bitumen in it’s thinner areas, to become even thinner, and potentially even break down.
This is not a warning to roofers though because the size of the areas needed for bitumen high build coverings to break down are absolutely vast and on an industrial scale. For normal trade, domestic and DIY roofing, Bitumen is ideal.
Acrylic Polymer is a plastic essentially. It will stretch forever and, regardless of whether the thickness is entirely uniform, it would take something pretty special to break this man-made compound down.
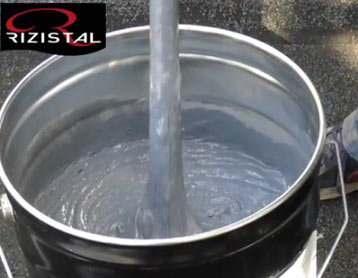
Roof repairs with Acrylic Polymer can now be DIY
The coverage of the acrylic coating is almost twice that of the high build bitumen coating but it is a little more expensive. This is one of the reasons why you would choose the Acrylic polymer over the bitumen because it is a little more heavy duty and is mainly used to cover larger areas where it works out cheaper because of the coverage it gives. It is also quicker to apply.
Onsite Test of Acrylic Polymer Roof Repair Coating
We could not believe just how east this was! Tipping the acrylic onto the roof was just like pouring paint. It is obviously fairly thick but just by pouring it you can see how it’s elasticity is going to work really well on any roofing surface. It just oozed protection!
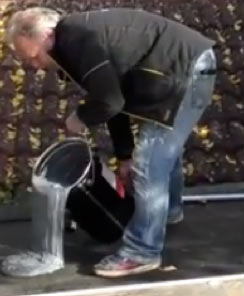
Pouring acrylic polymer roof repair coating from the can
The Acrylic roof repairs will work on asphalt, bitumen, concrete, brickwork, slate, metal and plastic. Preparation is the same and application is the same. It really was a pleasure to work with.
We used a giant squeegee that Rizistal also supply to spread the acrylic, these are also available from Rizistal and we were surprised at the strength of the tool they sent. We were able to push and pull the acrylic until we were sure we had a uniform covering and were actually able to watch it sinking into the little voids and fissures created by the loose felt we had removed. As we moved further across the roof, the more our confidence grew in the product.
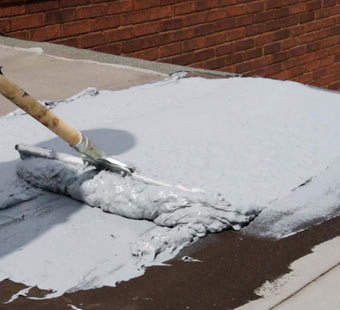
Squeegee used to spread flat roof repair coating
We were able to use the squeegee to apply the Acrylic to the arris rails at the edges of the shed roof and still be confident that we had a uniform coating. This removed the need for the usual “cutting in” when using products of this kind and it is the cutting in that takes most of the time.
From time to time, as you spread the acrylic, you will notice little pin holes appearing as the air pops out of the compound. Just go over the area again with the squeegee and the pin holes will dissapear.
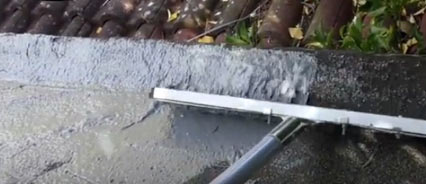
Acrylic roof repair mortar will repair cracked arris rails
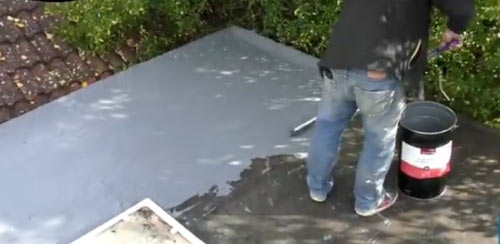
Acrylic roof repair coating offers great coverage
Are There any Drawbacks to Using Acrylic Polymer Roof Repairs?
The only drawback we can see is that the acrylic polymer takes 48 to 72 hours to cure. For the DIYer and roofer this means that you have to wait a few days before you can apply the solar reflective coating we recommend to finish the job. It’s not a big deal really, as the longer curing time means a whole lot more strength, but it would have been nice to pop over the next day to add the reflective coating.
DIY Doctor’s Opinion of the Acrylic Polymer Roof Repair Coating from Rizistal
Stunning! It really is one of the best roof coverings we have ever used. It needs to be used in conjunction with the Rizistal Roof Repair mortar to iron out any deeper depressions and once that is done it is so easy to apply.
The plasticity of the product amazed us ad the fact that it can be laid in wet conditions if necessary is just brilliant. Once again we have been bowled over by Rizistal products and have absolutely no hesitation in recommending them to any one needing roof or concrete repairs of any kind.
The Doctor’s Rating
Reviewed by: Mike Edwards

(5 out of 5 stars)
Get This Product Now

