If you’re fed up with constantly having to dig up weeds from your garden or have an area that you are going to gravel or cover with mulch then laying weed fabric is a top priority.
Weed fabric, landscaping fabric, weed block or weed barrier as it’s also known isn’t suitable for all situations but when it is our guide will tell you exactly when it is and how to lay weed control fabric.
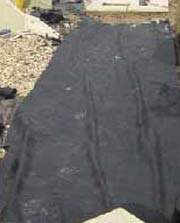
Weed fabric laid over ready for gravel
What is Weed Fabric?
Weed control fabric is a very closely knit fabric made from polypropylene which will not rot in the ground and is generally coloured black. Being black in colour and so closely knit it will not allow light to penetrate beyond it and will stop weeds or anything else growing through.
Admittedly, black polythene sheeting or DPC membrane will do the same job (as far as light is concerned) but polythene collects and retains water which can penetrate through to it.
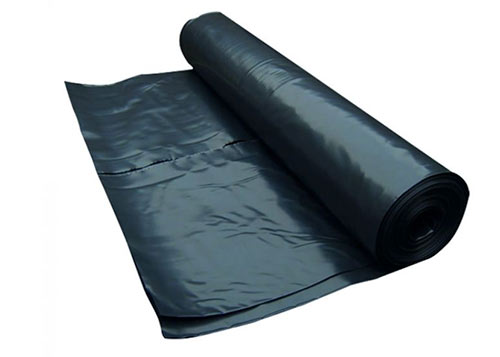
Thick plastic membrane used for DPC
This water will sit on the polythene under your path or base. When it gets cold and the water freezes, it expands. This expansion cracks the concrete or mortar you have used for the path or base. These cracks attract more water when it rains and the cycle begins all over again.
This process is known as freeze-thaw action and can be devastating to any brickwork, stone, masonry and the similar
The benefit with weed fabric here is that it allows water to pass through into the soil. This means it cannot freeze in, or under the base and cause any damage.
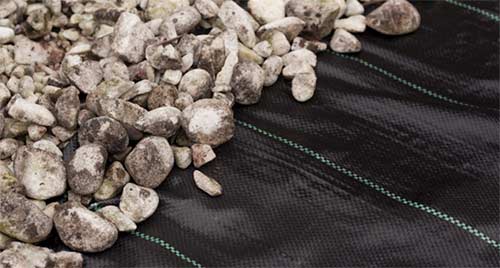
Weed fabric roll used for building and landscaping
Why do we Need to Lay Weed Fabric?
Weeds are strong. In the right conditions weeds can break right through concrete simply by feeding off the moisture and light sourced through the tiniest of cracks.
If one is laying a path or base of some kind in the garden for a gravel driveway or to lay forest bark or mulch, a roll of weed fabric is a cost worth laying out for.
Once laid, weed fabric effectively blocks out the sunlight that any weeds or indeed other vegetation need to grow and as such stops it form growing.
Additionally the material that weed fabric is made from is very strong and can easily resist the force of weeds trying to break through, stopping them in their tracks.
So as you can see if you are laying a base of any kind, then laying weed fabric first is essential to prevent and future weed growth breaking through and ruining the finish.
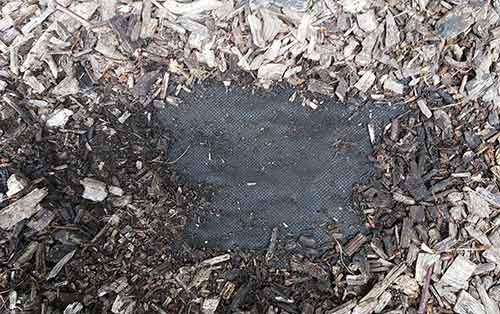
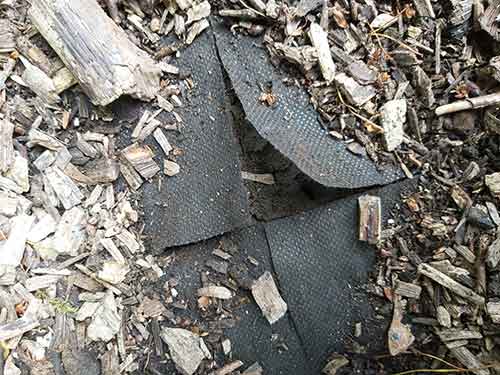
Weed fabric laid under forest bark to prevent weed growth
Types of Weed Fabric
There are several different types of weed fabric, some better and longer lasting than others and some more suited to particular situations than other variations may be.
In any case we can say for sure that the cheap, plastic-based weed block should be avoided and the correct type for the project you are involved in should be used. Here follows the most common good quality weeds fabrics on offer.
Woven Weed Fabric
Woven weed fabrics are arguably the most common type of weed control barrier available. With most variations, they are made from fibres of polypropylene that are, as you might guess, woven together to form a tough, long lasting sheet.
The fact that they are woven creates tiny gaps between the weaves which can allow water and other nutrients to penetrate down into the soil below, but as the gaps are tiny weeds are prevented form growing.
Woven weed control fabrics are best used around trees and over flower beds and generally costs somewhere around the £80 mark for a 2m x 100m roll.
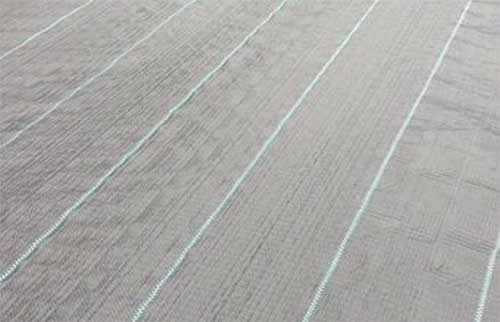
Woven weed fabric
Non-Woven Weed Fabric
As with their woven counterparts, non-woven weed membranes tend to be made from polypropylene. As they are not woven they tend to lack the tiny holes that allow water and nutrients to penetrate to the soil below so they are not as permeable as woven versions and due to this your soil can suffer.
Non-woven weed barriers are however very tough and hardwearing and due to this ideal for use under gravel pathways, driveways and the similar as they resist puncturing very well.
In general they cost around about the same as woven versions, roughly around the £80 mark for a 2m x 100m roll.
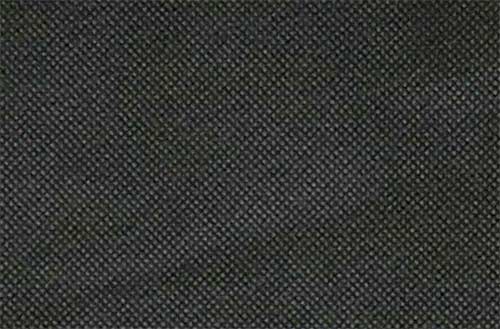
Non-woven weed fabric roll
Spun Weed Fabric
Spun weed fabrics tend to be the toughest of all variations as they are made from bonded layers of polyester fibres and as they are built up in layers, this makes then extremely tough and ideal for heavy-duty use.
As they are made of spun fibres and as they are available in a range of thicknesses, the thinner versions are permeable for water and nutrients so they work well over soil.
Additionally some of the thicker versions are not permeable, but as they are so strong they can also be used to control water and liquid flow, ideal for lining retaining walls and other structures that need to be protected from water and surrounding growth.
The thinner variations suitable for domestic use tend to be around the £25 mark for a 25m roll.
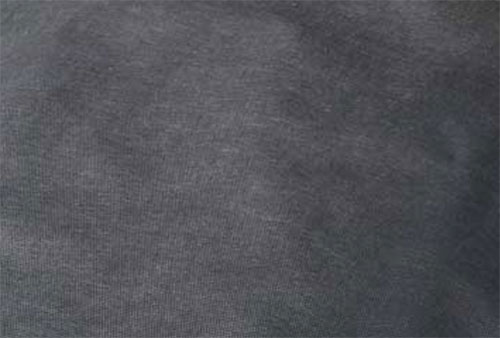
Spun weed fabric roll
What Type of Weed Fabric to Use?
A lot of traditional gardeners are quite dismissive of weed fabric, also known as landscaping fabric as there is the argument that although it stops weeds taking hold, it also stops leaf mulch and other goodness getting down into the soil, providing much-needed nutrients and there is some evidence to suggest this.
You can reduce the negative effects of laying weed fabric by making sure you buy a good-quality fabric type rather than being tempted by the much cheaper black plastic versions that are also available.
As we have discussed above, if you lay the nasty black plastic version, you are creating a barrier which stops not only weeds, but also water, air and all nutrients from getting into the soil and this will indeed cause problems.
Another downside to it is that it also tears very easily, doesn’t last long and looks very unsightly.
However if you lay the correct good quality weed fabric then it will allow the soil to breath, allow water to penetrate down and also the all important nutrients.
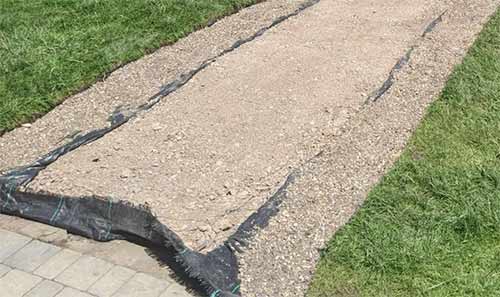
Good quality weed fabric laid on path
When to Use Weed Fabric
One misconception is that you can lay down weed fabric on your whole garden and never have to do any weeding again, sounds ideal doesn’t it! However I’m afraid it doesn’t work like that!
Although it can be used in planting areas to help reduce weed growth, you will need to pierce it to plant the plants you need to so the perfect location for using weed fabric is on areas where you don’t need to pierce it at all e.g. under decking, pathways, gravel driveway and the such like.
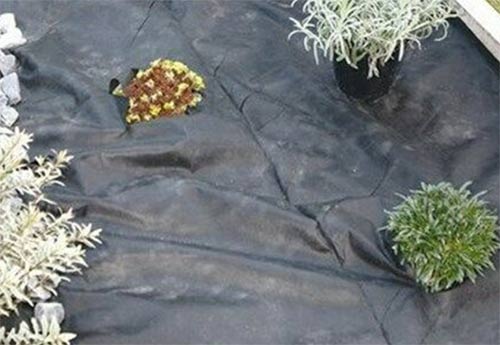
If you are thinking of laying it over your flower beds to cut down on weeding tasks, again this really isn’t worth it as you’d need to make so many holes to plant things in it, that it really wouldn’t be worth having as too much light would penetrate and weeds would grow regardless.
Holes made in weed fabric to plant flowers in flowerbed
However despite this there are some planting areas that can benefit from laying weed fabric. Strawberry patches are great places to use weed fabric – as well as keeping weeds down, it helps to control slugs and snails.
In actual fact you can even buy fabric that’s been impregnated with copper, which will help keep slugs and snails at bay, a natural form of pest control.

Strawberries laid in weed fabric
Once other area that can benefit is the shrubbery and similar areas where there are relatively few plants with good spacing. As the shrubs grow larger you may not even need to replace the fabric in years to come.
Shrubbery created using weed fabric
Ornamental gravel gardens are another ideal place to use weed fabric as a few specimen plants can be planted through it, without needing to make too many holes.
How to Prepare for Laying Weed Fabric
As you won’t be able to get at the ground once the weed fabric is down, it is important to prepare it correctly before laying any fabric to ensure no future weed growth or any other issues.
One important point to note about preparing for laying weed block is that you have to remove all traces of plant life before it is laid. One of the obvious ways to do this, and one that many recommend is to treat the area with a weed killer.
This method will certainly work but at a cost as the weed killer will seep into the ground. Although it will go over time it can poison the ground. Many weed killers are also extremely poisonous to insects and other wildlife so we would always recommend not going down this road.
Instead we would recommend the harder route of digging it all out. Although tough and back breaking work it’s ultimately the better way to go, certainly for the environment.
Laying Under Decking, Pathways, Forest Bark etc.
If you are laying a new decking area, pathway or driveway then work through the following steps to prepare the area correctly for weed fabric.
- Mark out the exact area of your deck or path so you know where the boundaries are
- Remove any and all plant life from the area. Dig everyting out and also any roots that can easily grow back
- Rake the area over to remove any stones or larger debris
- Flatten the area over until it’s nice and level. Use a rake to level and soil out and then tamp it over to compact and flatten it
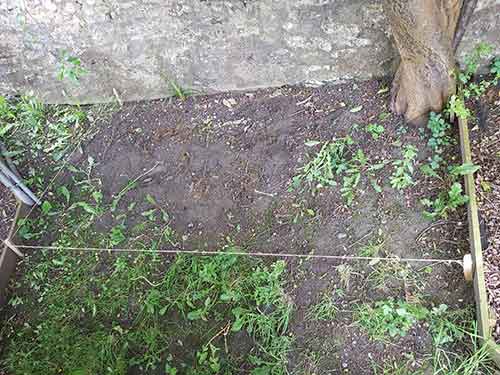
Area marked out for laying weed fabric
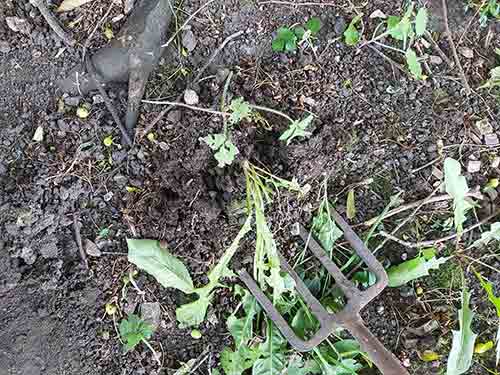
Removing all unwanted vegetation from the area by digging it over
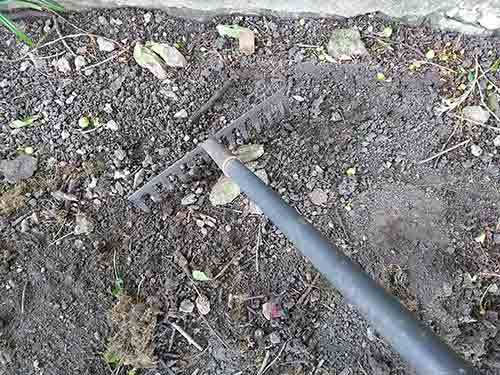
Raking the area over to remove unwanted stones and debris
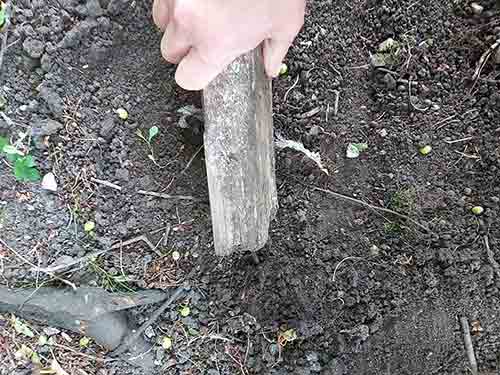
Tamp the area over to compact and flatten it
Laying Over a Planting Area
If you are creating a new planting area where you are going to use the fabric work through the following steps to prepare the area correctly.
- Dig the whole area over well, making sure you remove all weeds including any roots bedded in the soil that could grow back, especially bindweed, couch grass and any nettles
- Once all growth removed dig in plenty of organic matter such as manure that will release nutrients into the soil, giving any plants the food they need. Dig this all in well
- Once dug over, use a fork or the back of a rake to bang down over the area and break up any large chunks of earth until it’s smooth
- Rake the area over fully to remove any stones, sticks and large debris
- Gently tamp the whole area down to flatten and level it until it’s fully smooth
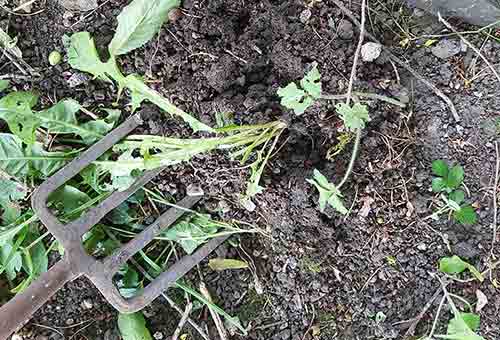
Digging area over to remove unwanted growth
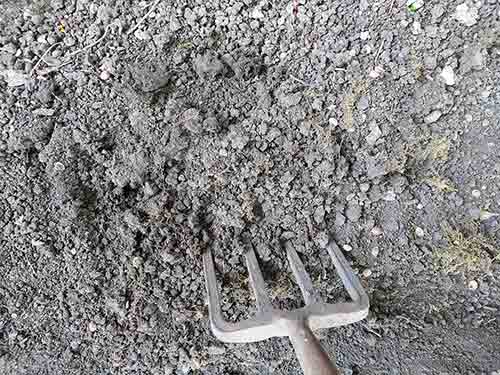
Digging in mushroom compost to condition soil and add nutrients
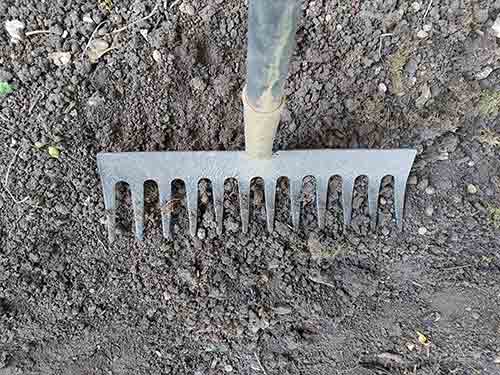
Breaking up chunks of soil using the back of a rake
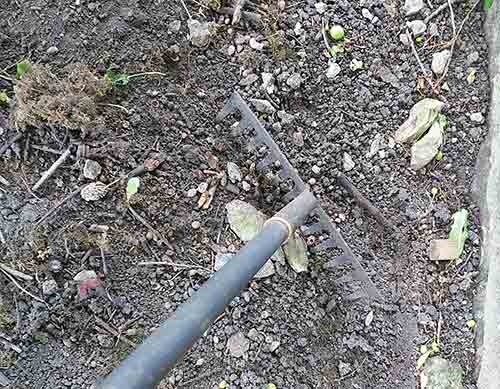
Raking the area over to remove stones and debris
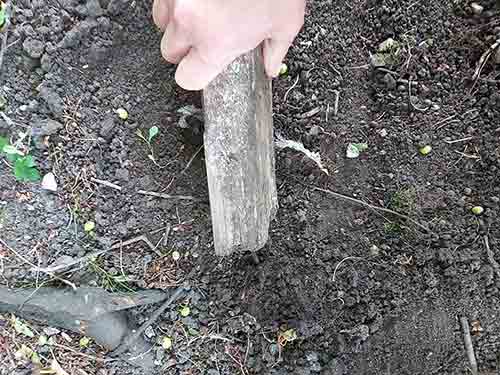
Gently tamping the area over to smooth and compact it
Adding Weed Fabric to Existing Area
Adding weed fabric to an area that’s already been planted is the hardest of the 3 preparation methods as it means picking in around existing plants.
- Firstly dig the area over between the existing plants to remove any weeds or unwanted growth. Again ensure that you dig out any and all roots to prevent any future regrowth
- Rake the ground over between the plants and flowers and make sure there are no sharp stones or sticks that could puncture the weed fabric or tear it
- Gently break up any large chunks of soil using the back of a fork or rake
- Tamp the whole area over between each plant, being careful not to damage them until the area is nice and flat and smooth
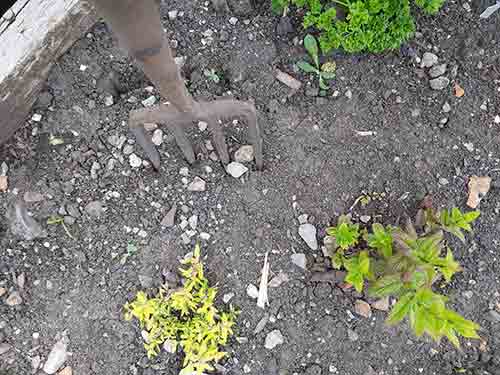
Digging between plants to remove weeds
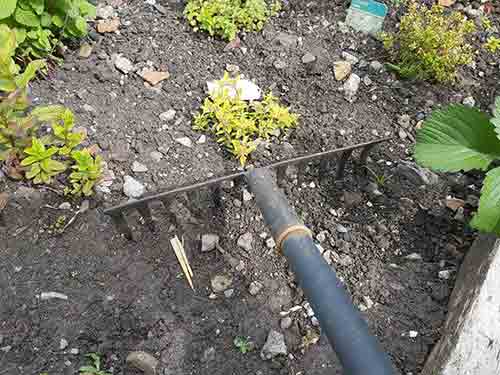
Gently raking between existing plants to remove stones
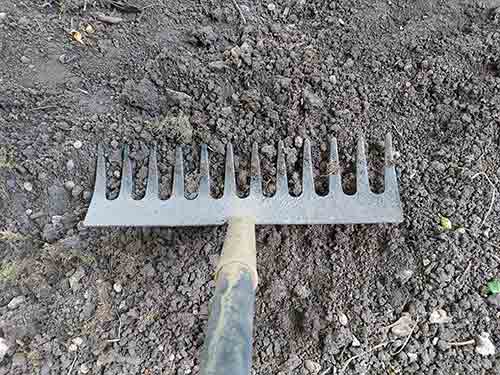
Gently breaking up large chunks of soil
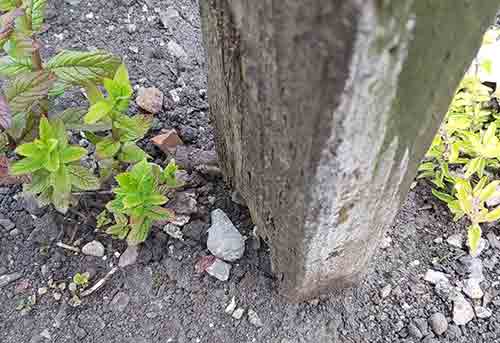
Tamping between plants
Which ever situation you are working with the key to preparing an area for laying weed fabric is to ensure it is flat, smooth and totally free from any large objects that can puncture or damage it.
Installing Weed Fabric
To lay weed fabric, roll out the fabric and allow for at least 4 inches of overlap where two pieces of fabric meet. When it comes to the edges, cut the fabric to fit the area you are covering, then secure it in place. You can use landscape staples to pin it in place, or a decorative edge of rocks if you prefer.
The above is the basic run down on laying weed block or fabric after you have prepared the area correctly according to the steps above, the full how-to guide is as follows:
Lay out Weed Fabric
Take your roll of weed fabric and pull out a length of it, around a meter or so and lay it down at the start of the area you want to cover. Place a few stones at the edge to keep it in place.
Some weed fabrics have to distinctly different sides to them, one may be smooth and the other textured. In the majority of cases the smooth side faces up and the textured side down facing the soil. The idea behind tis is that the textured side is meant to bond with the soil and help to hold it in place and stop movement. This is the optimum way to lay it.
If however you have laid yours the wrong way around, it’s not the end of the world although it won’t be as effective in that you may get some movement and some nutrients may not penetrate as well.
If you are in any doubt as to which way round to lay your fabric, refer to the manufacturers directions on the packaging.
Roll out the fabric over the area you want to cover until you reach the end and then use a sharp pair of scissors to cut it off where required. Again, lay a few stones along the edge to hold it in place for now.
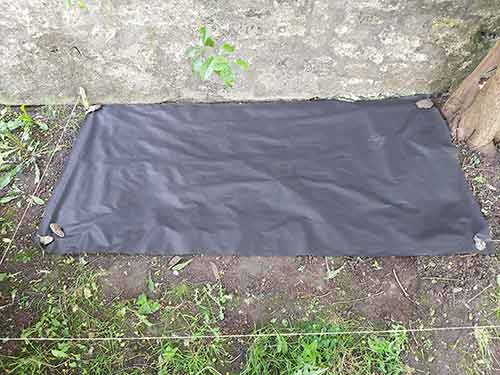
First length of weed fabric laid over area
Repeat the above for any additional layers you need to lay in order to cover the whole area. Where 2 layers of weed fabric meet, overlap them by at least 4 inches or so to avoid any open joints.
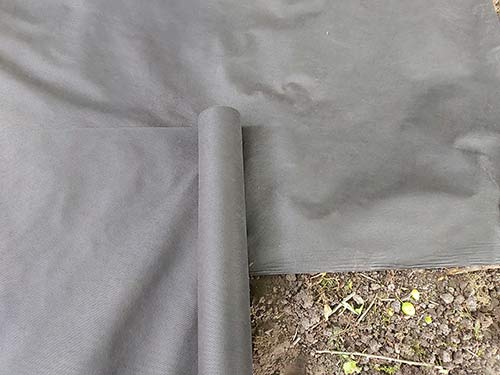
Weed fabric joint overlapping by around an 4 – 5 inches
If anything has moved, reposition it so that area is fully covered.
Hold the Weed Fabric in Place
Once you have laid out all of your weed fabric and it’s in the correct position it’s time to secure it in place
The best item to use to hold your weed block in place is a landscaping staple or ground staple as they are known. These are essentially very large staples that you hammer into the ground to hold objects in place.
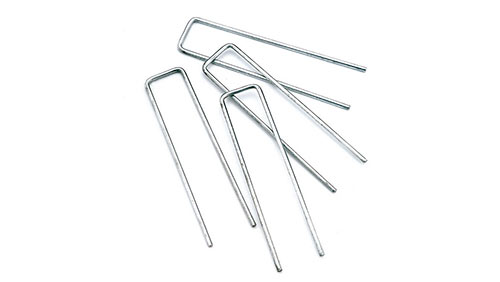
Ground staple or landscape staple for holding weed fabric in place
These are available from pretty much every DIY store and cost around £10 for a pack of 20. If you are doing a very large area then this can cost quite a bit of money.
A cheaper option is to but a reel of 2.5 or 3mm galvanised garden wire and make your own. A 10m reel of this costs around £5, a considerable saving!
To make your own, simply cut sections of wire to around 300mm in length, find the centre and make a mark 25mm either side and bend to 90° at this point to form your staple.
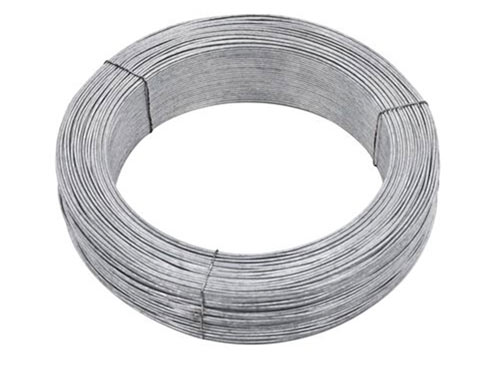
3mm galvanised garden wire to use to make into ground staples
Place a staple at each corner of the weed fabric, ensuring you pull it taught as you fix it in place. If the ground is quite hard use a hammer to knock them in.
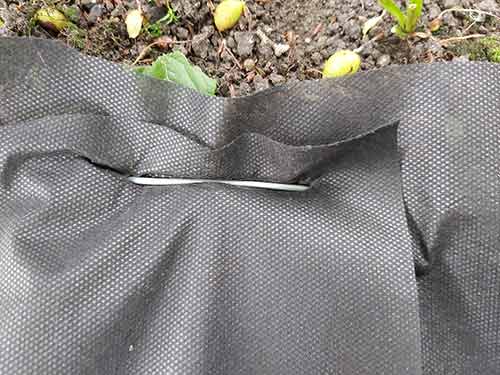
Placing ground staple at corner of weed fabric to hold it in place
Next, place a staple at the centre of either side and then at the centre of each of the 2 halves you’ve just created if the area is particularly long.
Where sections of weed fabric overlap, ensure that both pieces of the fabric are pinned securely down.
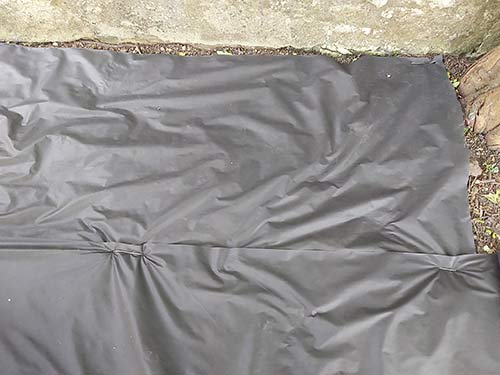
Weed fabric fully pinned in place
Even if you are lining the edges of your fabric with stones or other decorative objects it’s worth using staples to pin everything in place for added security.
Plant any Plants in Weed Fabric
If you are wanting to plant plants in your weed fabric, the first thing to do is to mark out all the locations of your plants.
As we have said the fewer punctures in the weed fabric the better as this will prevent too much weed growth. Use a garden marker or Sharpie to mark out each location. Draw a rough square at each location, roughly 100mm in length for each side or just a little larger than the size of the root ball of the plants you are planting.
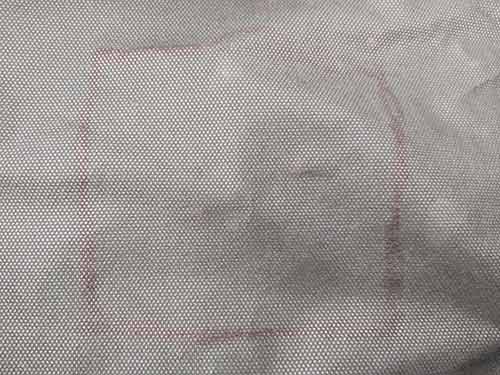
Plant square marked out on weed fabric
Using a Sharp utility knife cut an X in each square diagonally from corner to corner. Start at each corner and cut into the centre, this will make it easier. Leave the flaps in place as we will still use these.
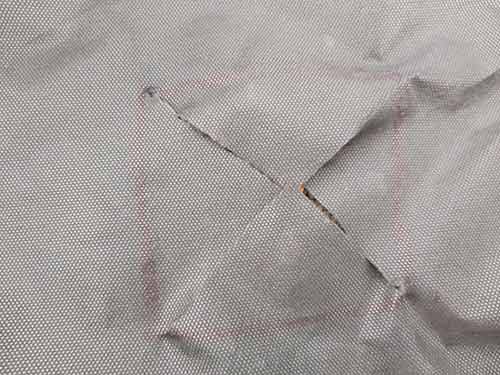
X- shape cut in weed fabric for plant
Using a small trowel dig out a hole and place the soil on a separate sheet or bag to prevent your new weed block getting covered in soil.
Pop the plant in the hole and then back fill with soil and compact the soil gently around it.
Finally fold each of the flaps back around the base of the plant to cover up any bare soil.
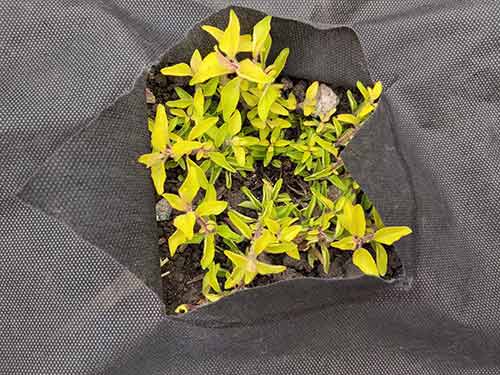
Plant planted through weed fabric
Lay Mulch, Forest Bark or Landscaping Gravel to Cover
You can just leave the weed fabric bare and this would be preferable if you were laying decking or a pathway over it, there’s noting wrong with that but if you’re not most like to cover with a decorative finishing such as forest bark or decorative stone.
If so gently shovel your chosen finish over the weed fabric. If using forest bark you want a decent covering, around 2 inches or so, but if laying a decorative stone an inch covering should suffice.
Use the back edge of a rake to gently spread the covering evenly around, being careful not to damage the fabric or any plants if there are any.
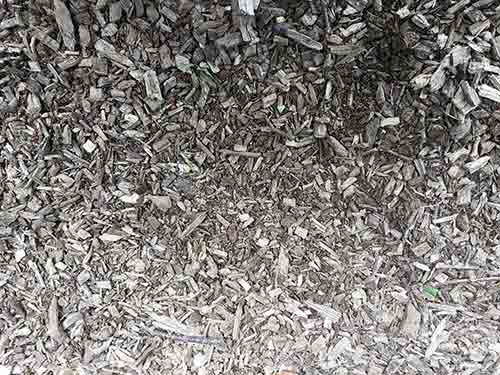
Weed fabric finished and covered with forest bark
Laying Weed Fabric Over Existing Plants
Laying weed fabric over an already planted garden is the trickiest method of laying it out due to the fact that you have to work around the existing plants. There are 2 ways of doing this.
Remove Existing Plants
One method is to wait until the colder months of Autumn, when all plant foliage is dying back and then dig them all out. This should minimise any trauma to the plant.
Once removed you can then lay out your weed fabric using the steps above and then cut slots to replant each plant. Once planted you can then finish with your desired decorative covering.
Laying Weed Fabric Around Plants
The second method for laying you fabric is to lay it around your existing plants and flowers.
To do this lay out the weed fabric to the size of the area that needs covering and cut it to size using a sharp pair of scissors.
Once cut to size move the fabric over to the area to cover and move it into position. Where if butts up to an existing plant, use your scissors to cut a long enough slit in the weed fabric to pull the fabric around the plant. Ensure the slit is long enough to run past the plant by around 6 inches or so.
Finally, use a ground staple to close the slit up and stop it from opening up.
Repeat this technique every time that you butt up to a plant until your entire desired area is fully covered and then cover over with your chosen decorative finish.
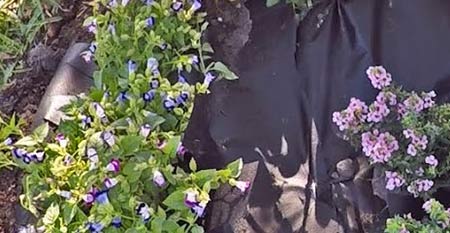
Weed fabric laid around existing plants
Laying weed fabric over an area that is going to be covered over, whether it’s being covered by decking, a pathway or even a driveway is an essential step to take in order to prevent any future weed growth coming back through and ruining the finish so if you’re worried about the cost or time it may take, don’t be, it’s well worth it.

