Copper pipe is a very common feature in most homes and is used to supply both hot and cold water to a variety of appliances such as taps, showers, radiators and central heating systems.
Not only does it look great but it also has antimicrobial properties so helps to keep water clean and free of germs and bacteria.
The one drawback with copper is that it is expensive and due to this, in recent years copper piping in the home has been replaced by PVC piping which on the whole is much cheaper and easier to install.
Nevertheless pretty much all homes in the UK will feature copper pipes somewhere within the water or heating system. With this in mind, at some point it is likely that you will need to cut one so here follows three of the main methods for cutting copper pipes.
Using a Hacksaw
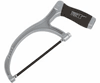
Junior hacksaw
One of the most obvious “go-to” tools for cutting copper pipe and most other metals for that matter is the hacksaw as it is cheap and in most cases even if you are only an occasional DIY’er you will have one knocking around in the garage or shed somewhere so this is an obvious choice.
Despite this there are some issues in that trying to cut a pipe in situ using a hacksaw is not easy! For example if you need to cut a section of copper pipe from the cold water supply that feeds the basin tap you are most likely going to have a pedestal in front of the pipes, some pipe boxing somewhere, the toilet a few feet away….you get the picture!
Even if you can squeeze yourself into a position to cut the pipe you will then probably find that your own body is now in the way and you can’t move the saw enough to do any cutting.
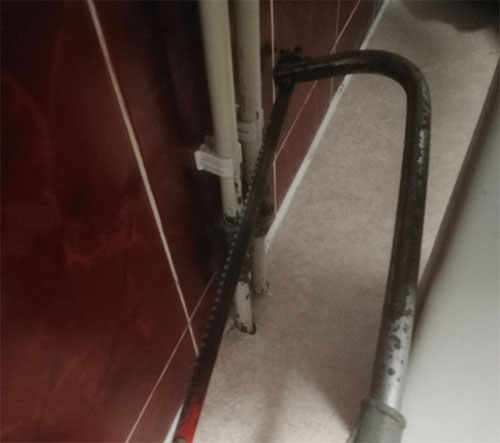
Trying to cut a copper pipe in-situ with too many obstructions is not easy
Another issue is that the act of cutting itself creates a lot of movement and vibration and no matter how tightly you grip the pipe you won’t be able to stop it totally.
As it moves while being cut it will put pressure on the nearest joint allowing the possibility of that joint to fail and leak.
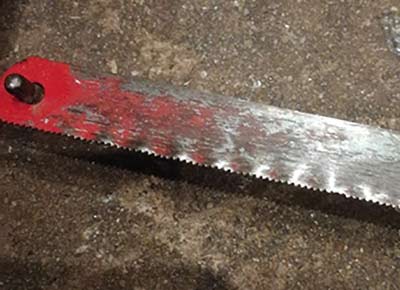
One final issue is that no matter how fine the blades teeth are it will leave burrs on the cut end of the pipe. These burrs will stop the fittings sliding nicely onto the pipe and the pipe will need to be filed smooth.
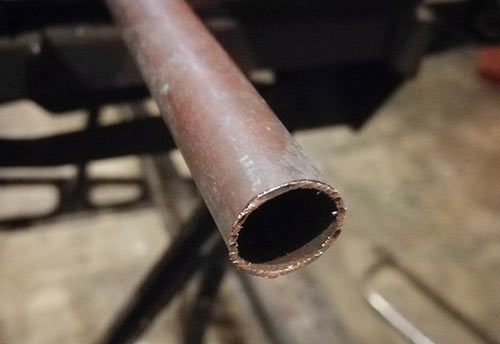
Burrs left on copper pipe after cutting with a hacksaw
Again, trying to use a file effectively in a tight space isn’t much easier than cutting the pipe in the first place!
As we have established from the above, trying to cut copper pipes while they are in place is pretty much impossible, there are better tools for this (see below).
However, if the pipe you are needing to cut is not currently fixed in place you can indeed use a hacksaw:
Cutting Copper Pipe With a Hacksaw
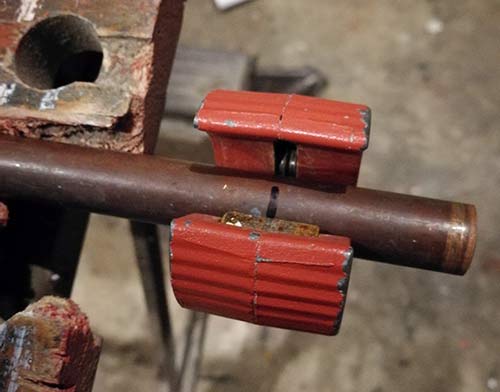
- First, measure and mark the cutting point on your length of copper pipe. Once marked use a piece of cardboard to run around the pipe next to the mark and line up the edges. Mark around the edge of the cardboard to give a perfectly straight cutting line
- Check that you have the correct blade in your hacksaw. To get the finest cut possible use a hacksaw blade that is 32-TPI (teeth per inch)
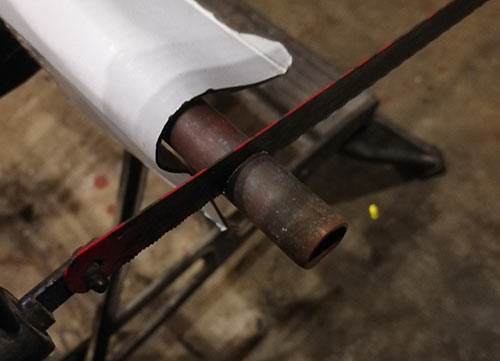
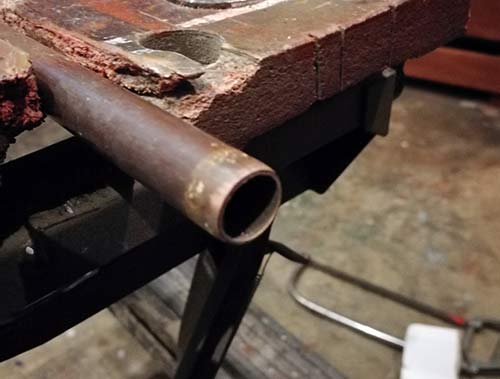
- Clamp the copper pipe up to a solid object such as a Workmate or work bench. Take care not to clamp the pipe too tightly as you can distort it
- Take your hacksaw and place the blade on to your cutting line. Depending on which way around the blade is will depend on whether it cuts on the forward or backward stroke. Gently push the saw forwards to score the pipe and provide a groove to keep the blade in place
- Cut through the pipe taking your time and ensuring that it stays straight and true to your cutting line
- Once cut, use a suitable file (keyhole file is best) to run over all the cut edges and remove any burrs. Once major burrs have been removed you can then go back over cut edges with some 120 grit sandpaper for a smooth finish
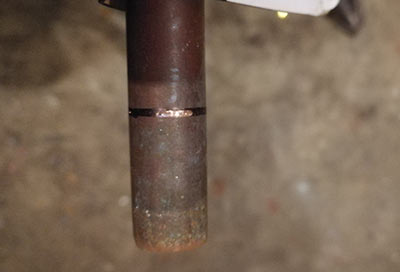
Marking cutting point on copper pipe
Fine cutting hacksaw blade with 32-TPI

Copper pipe securely clamped up for cutting
Score copper pipe with hacksaw blade to get it started and keep it in line
Cutting through copper pipe with a hacksaw
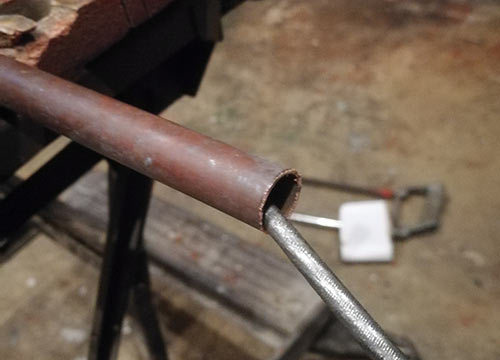
Using a file to file off burrs left from cutting through copper pipe
Using a Pipe Cutter
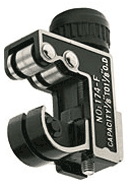
Pipe cutter
As we have established form the above, using a hacksaw to cut copper pipe is not the best, there are better tools to use and one of these is the pipe cutter.
The pipe cutter features a hardened steel wheel within the body of the tool. The tool itself is then placed over the pipe so that it sits between the cutting wheel and roller wheels and then the handle, or knob, at the top is turned clockwise, pulling the cutting wheel up until the pipe is firmly gripped between the cutting wheel and rollers.
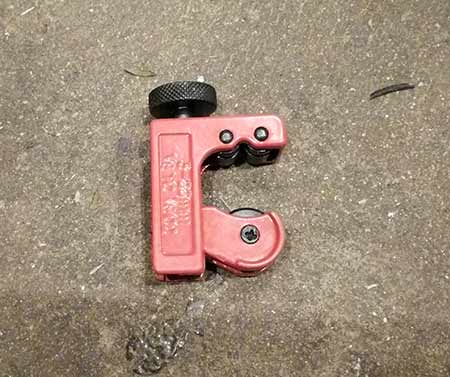
Small size pipe cutter able to cut pipes from 3-28mm
The whole cutter is then turned fully 360° around the circumference of the pipe where the cutting wheel then scores the pipe, cutting into it slightly.
The knob is then tightened a touch more and the cutter turned round the pipe again. The cutting wheel goes in a little deeper and the operation is repeated until the pipe simply drops in half.
Unlike using a hacksaw, the remaining cut end of the pipe is left clean and burr free and the minimum effort has been used.
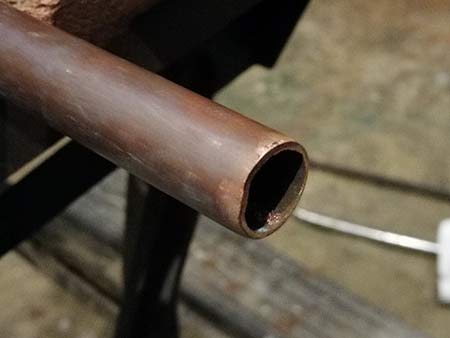
Clean and burr free cut made by pipe cutter
The one issue with the pipe cutter is that due to its size it’s not easy to use in confined spaces so again using it to cut existing copper pipes that are fixed in place is not that easy.
On the plus side, as pipe cutters are adjustable most standard size cutters will cut a variety of different sized pipes ranging from 3-28mm and larger cutters able to deal with pipes ranging from 15-45mm.
Cutting Copper pipe Using a Pipe Cutter
To cut a copper pipe using a pipe cutter, work through the following steps:
- You can cut copper pipe by just holding the pipe with one hand and operating the pipe cutter with the other but for more control and accuracy it is best to clamp the pipe securely if you can
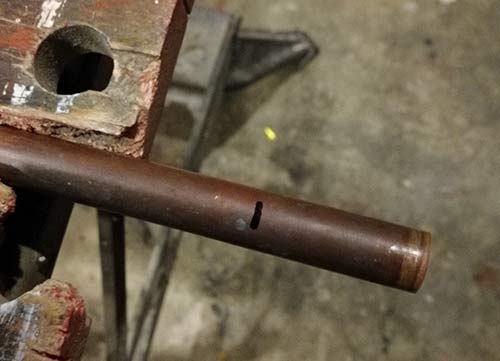
- Firstly, measure and mark the point that you need to cut your copper pipe to
- Once marked, turn the knob counter-clockwise on top of your pipe cutter so that the jaws open enough to fit your copper pipe in. Once in place, turn the knob clockwise to wind the jaws and the cutting wheel clamp down on to your copper pipe. Just pinch tight is fine
- With the cutting wheel in contact with the pipe, turn the body of the pipe cutter a full 360° around. This will score the pipe and provide a guide for the cutting wheel to follow
- Turn the knob once more to take up any slack and then rotate the pipe cutter around the pipe once more. Repeat this process over and over, tightening the knob after ever revolution until the pipe splits in half. After every turn check that the cutting wheel is still following the correct path and not wandering off
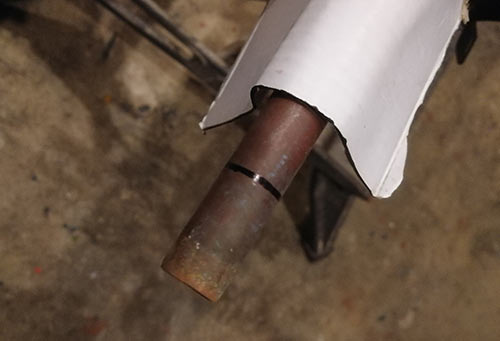
Copper pipe clamped in Workmate ready for cutting
Copper pipe marked ready for cutting
Cutting wheel wound down to grip copper pipe
Score mark created on copper pipe by cutting wheel
Copper pipe cut using pipe cutter
If looked after well, the pipe cutter will last you a life time, although you may need to change the cutting wheel from time to time as they do go blunt.
Using a Pipe Slice
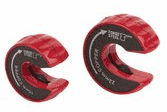
Pipe slice
Finally we get to the pipe slice. The pipe slice (or automatic pipe cutter as it’s also known) is arguably the best tool to use for cutting copper pipes. The pipe slice works in pretty much the same way as a pipe cutter, only this time the cutting wheel is spring loaded so no need to keep winding the jaws up to keep the cutter in contact with the pipes surface.
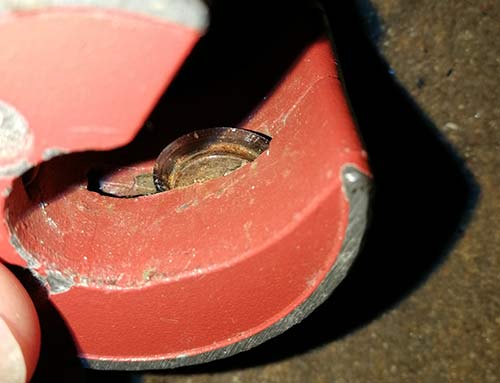
Spring loaded cutting wheel in pipe slice
Simply push the pipe slice around the pipe in the desired cutting spot simply turn it. As you turn, the wheel cuts into the pipe and the spring applies just enough pressure to push it in a tiny bit more each turn. Keep turning, the slice keeps cutting and seconds later the operation is complete.
As before the end of the pipe is neatly cut with no burrs and no need for files or wire wool.
Another amazing feature of the pipe slice is the fact that it is small and compact meaning that you can easily cut copper pipes that are in tight and confined spaces. Just pop it around the pipe and turn it….simple!
Due to their compact size, pipe slices can easily cut copper pipes in confined and hard to reach spaces
The only downside to a pipe slice is the fact that you need a different pipe slice for every diameter of pipe you need to cut as it’s a fixed size. However, the average DIY enthusiast will probably only ever need to cut either 15mm or 22mm pipes so you will only need these two sizes.
For around £20 you can purchase both in a set and like the pipe cutter, if looked after they will last years and years, although you will need to invest in new cutting wheels occasionally.
Cutting Copper pipe Using a Pipe Slice
To cut a copper pipe using a pipe slice, follow the steps below:
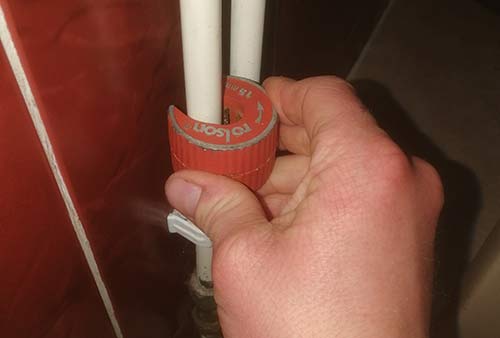
- As pipe slices are so easy to use you don’t need to clamp your work up but if you feel you need to, go ahead. Once clamped up measure and mark your cutting point
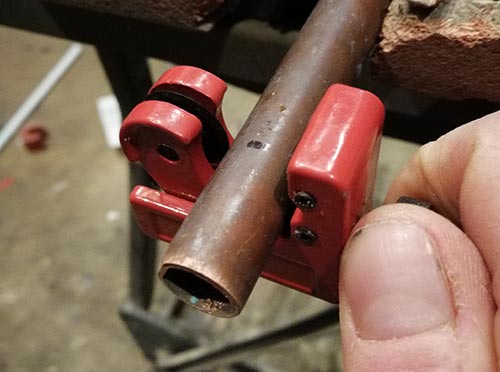
- If you know the size (diameter) of the pipe you need to cut select the correct sized pipe slice. If not, use a tape measure to measure the pipes diameter. In this case we are cutting a 15mm copper pipe
- Slip your pipe slice over your copper pipe ensuring that the cutting wheel is over the exact spot you want to make your cut. There are a few different designs of pipe slice, some are open at the front and these just clip over the pipe, some have a little door you need to open and close once the pipe is seated
- On the side of your slice you should see a a directional arrow. This is the direction you need to turn it in order for it to cut correctly.
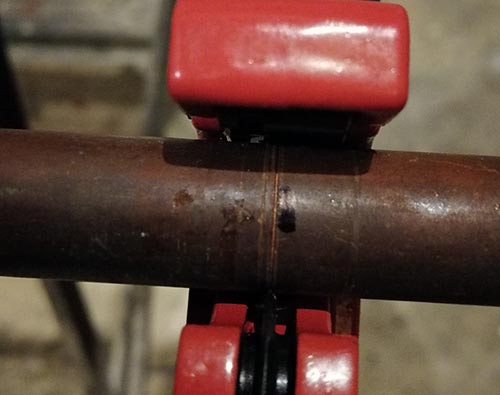
- If your pipe slice is brand new the cutting wheel will be nice and sharp and will probably cut through the pipe in 10-15 turns, if not it may take a little longer. Turn the slice around and around until you feel the pipe split as this point it should break into 2 sections
- As with the pipe cutter, you will be left with a nice smooth and slightly beveled cut edge ready for fitting
Copper pipe clamped in Workmate ready for cutting
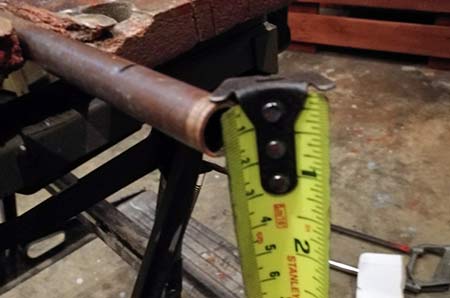
Measuring diameter of copper pipe to select correct sized pipe slice
Pipe slice clipped over pipe at cutting point
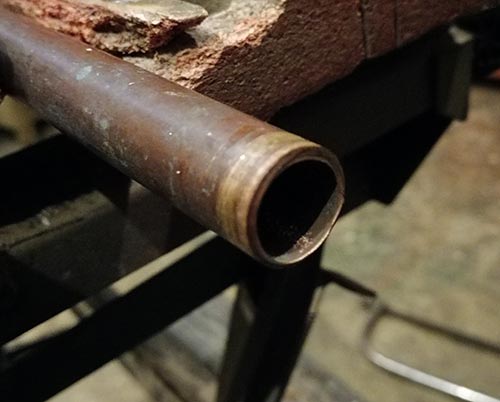
Copper pipe successfully cut using a pipe slice
Cutting copper pipes is a fairly straightforward job and one that is made considerably easier with the right tool. Although all three methods above work, we would suggest buying both a 15mm and 22mm pipe slice, they are by far and away the best tools to use for cutting copper pipes in any situation.