If you have arrived at this DIY guide looking to find out how to paint over varnish or a timber surface that’s previously been varnished, you have come to the right place.
In reality if you want the very best finish possible when painting over a varnished surface the only real solution is to strip the varnish off right back to the timber surface below and start from scratch.
How to Paint Over Varnish
If you have chosen to paint over the varnished surface or object you are working on, for example a chair or a door or other item then this is the slightly easier route to take than staining over a previously varnished wooden surface.
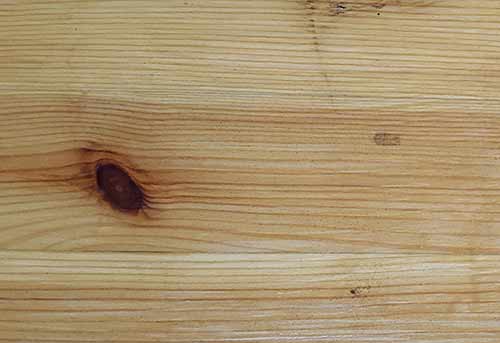
Varnished timber in need of painting
If you are just looking to do a quick makeover and don’t want to go the whole hog in terms of stripping the varnish off and starting with a clean base, there are products available today that will enable you to paint almost straight over any existing varnish. We will get to these shortly.
The main purpose of a varnish is to seal and protect the surface beneath, preventing moisture or other contaminants from damaging it.
To ensure that water and moisture is kept at bay, varnish by its very nature is non-porous e.g. waterproof.
This proves to be an issue when you want to apply paint over it as it stops the new paint coating from correctly bonding, meaning it just sits on the surface and can then easily be chipped or peeled off.
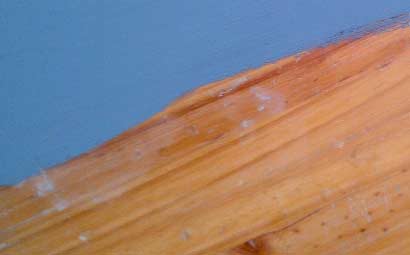
Painting directly over a varnished surface can lead to a poor finish – Image courtesy of Bitmac
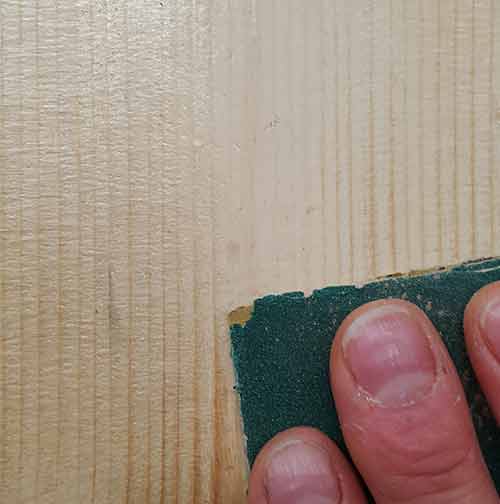
Step 1 – Sand the Surface Over
With the above in mind, the first job is to create a “key” so that any new coatings have something to bond to. This is also known as “deglossing” (remove the gloss shine produced by the varnish).
Using a fine grit sandpaper, something around the 220 grit mark, sand over the entire surface making sure you don’t miss any areas.
Sanding over varnish coating on piece of timber
Where areas have been damaged, sand these fully ensuring that any loose varnish is totally removed. Once all the loose bits have gone, feather in any and all hard edges that surround the damaged area so that when you run your finger over them you can’t feel anything other than a continuous smooth surface.
Where any fine detail or awkward, tight spaces are present, ensure that these are thoroughly sanded down. It’s easy to neglect these areas but if they are not prepared correctly they can completely ruin the overall job.

Sanding fine detailed area around balustrade
When you have completed all of your sanding and deglossing, check over the entire surface of the item you are working on to make sure you haven’t missed anything and then use a vacuum to fully clean everything down and remove all traces of any dust.
Finally, wipe over with a slightly damp clean rag to remove any dust or debris that is left.
Repair any Damaged Areas
Doors, floors, items of furniture and other timber objects suffer a fair amount of wear and tear during their lives, especially if they are fairly old.
Due to this, it’s inevitable that some of this may be quite heavy damage.
If any impact damage isn’t too bad you may choose to leave this but if you are aiming for the best finish you can get then it’s worth filling and repairing any heavy impact marks or depressions.
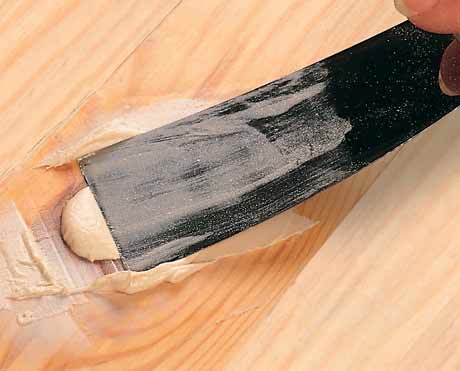
Filling damaged timber surface with wood filler – Image courtesy of Liberon
As we are painting, it may not necessarily be that important that any filler you use matches the colour tone of your timber, but the belt and braces approach is to colour match if you can as you may have a change of heart in years to come and want to strip the item back to timber again.
The best filler or wood putty to use to repair damage to timber surfaces and objects is a two-pack filler such as Ronseal High Performance Wood Filler.
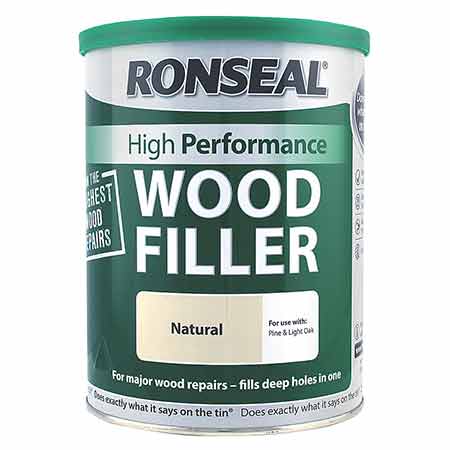
Ronseal High Performance Wood Filler
Which ever filler you go for, just make sure you are able to paint over it, it’s a non-shrink filler and that it can be easily sanded down. Don’t be tempted to use a powder filler such as Pollyfilla or a similar product, they are not suitable for use with wood!
Mix your filler up and apply it over the damaged area as instructed on the tin or packaging and then allow it to fully dry.
Once dried, sand it down until it is totally flush with the surfaces around it and make sure there are no steps or non-feathered edges. If there are, these will stand out like a sore thumb once a coating is applied!
Apply a Primer and Sealer
Once all the sanding and damage repair has been completed, it’s time to get some primer on the go.
In terms of the best primers, there are a few options to go for. Dulux Trade Super Grip Primer is pretty good for covering most surfaces and surface coverings as are many of the Zinsser primers such as their B.I.N primer.
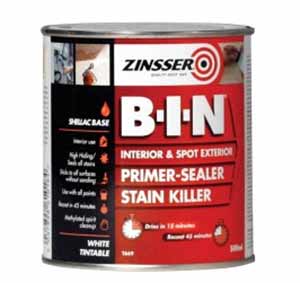
Zinsser BIN primer/sealer and stain blocker
In respect to the Zinsser primer this can technically be applied straight on to varnish without the need to sand it if you do really want to skip that step, but we would always recommend that you sand first.
Apply your first coat as recommended by the manufacturer using a 2 inch brush or mini roller, making sure any tight areas and fine details are fully covered and allow it to dry. Most are dry and workable within 8 hours but again, check on the tin for full instructions.
Paint with the wood grain e.g. in the same direction the wood grain is running in, not against it. Use fairly long, sweeping strokes and don’t put too much force on the brush, let it glide over the surface.
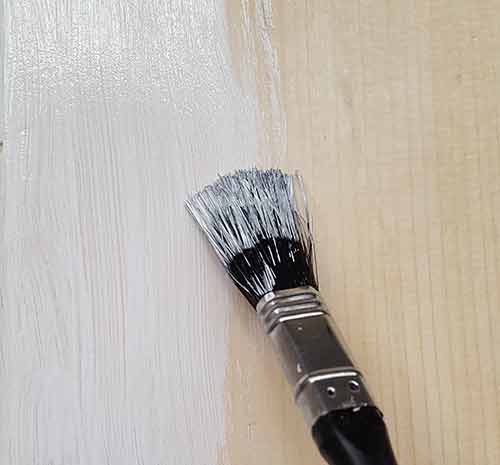
Painting on primer sealer over sanded varnish surface
Use a dry brush to brush out any drips or excess primer buildup.
Sand off First Primer Coat and Apply Second Coat
Once the first coat is dry, rub it down lightly using a 220 grit sandpaper to remove any brush or roller strokes and then wipe it off using a damp cloth to remove any remaining dust.
Once cleaned, apply a second coat and allow it to dry. It’s also a good idea to give this a light sand as this will produce the best top coat finish.
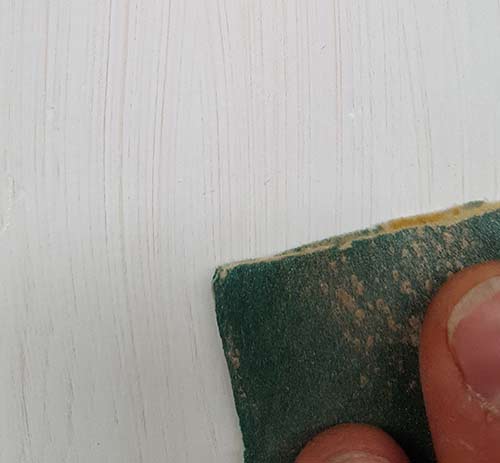
Sanding off first coat of primer to flat it down for an even base
Apply new Top Coat Paint
With your item now fully primed and ready, it’s time to get your final top coat applied.
Paint on your chosen top coat, again using a 2 inch brush that’s good quality. This is an important point as a good quality brush will reduce the amount or brush strokes in the surface and also the amount of bristles that come loose.
As with the primer, use long brush strokes that run in the same direction as the wood grain runs, not over it. Be sure to get a decent covering of top coat paint down into any tight, awkward areas.
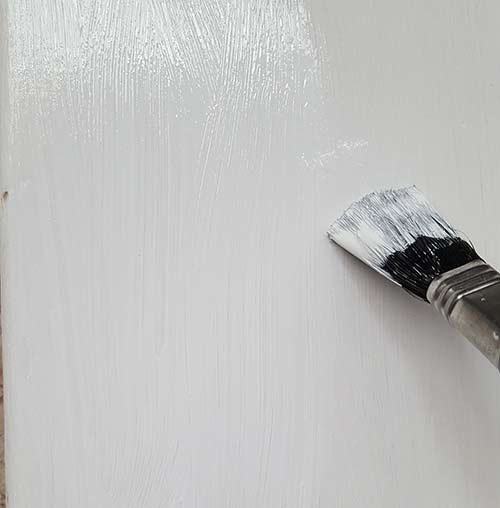
Applying top finishing coat of paint over base coat varnish
Once the entire object or surface is covered, leave it to fully dry, ideally for 12 hours or so overnight. This will give it a good chance to really harden off.
If you are applying a second top coat, give the first a very light dust over with some fine grit sandpaper, remove any dust and then apply your second topcoat.