If you have done any other research other than arriving at this tutorial you may have visited some sites that suggest that it’s ok to stain or dye over the top of existing varnish.
If you are going to be happy with a lack-luster job then that’s fine go right ahead, but if you want an end result you’re going to be happy with, then lets do it properly.
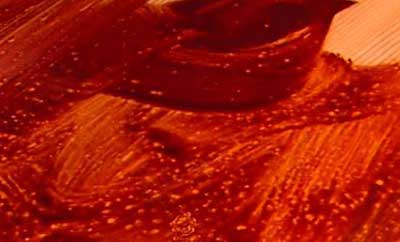
Painting stain directly over varnish can lead to an uneven and streaky finish
Ultimately this means stripping all of the old varnish off and getting back to the timber surface below. Not a nice job but unfortunately it’s necessary.
In the majority of cases, varnish is applied to a timber surface that’s been stained or dyed to protect it from damage, so the chances are that the timber surface below the varnish on your timber object may also be stained or indeed, dyed.
One important point to make in terms of wood stains and dyes is that wood stains tend to be effectively a coloured varnish or sorts. This means that the actual colour pigment is in the varnish or protective coating.
Why is this important to know? Well, this really means that any colour resides in the protective coating that in turn sits on the surface, meaning that it can be easily sanded off.
When it comes to timber dyes, these essentially soak into the actual timber, and this means that they are much harder to remove.
A quick way to test the current type of coating is to sand over an inconspicuous area and if any colouring fades as you sand, the surface is probably stained. If, however the colouring remains as you sand, it’s most probably dye.
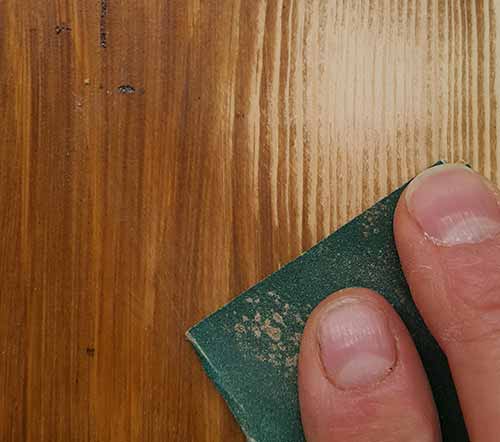
Sanding over an existing stained surface with colouring being removed
If after following the above step you find that the colouring still remains then you are probably dealing with a dye and at ths point you may want to think about changing your mind on what you want to do.
Step 1 – Remove the old Varnish
To remove the old varnish from the timber surface or object you’re working on, you have several choices:
- Sanding: You can sand by hand or use a mechanical sander. This can be hardwork and difficult at times, especially removing varnish from awkward, tight spaces, but is fairly cheap and straight forward
- Varnish Remover: Applying a specialist varnish stripper is propably the easiest and quickest solution. Simply paint it on, leave it to get to work and then scrape it off. Using a stripper will also enable you to rmove old varnish from tight awkward spaces much more easily. Decent paint and varnish strippers can be quite expensive though
- Heat Stripping: Similar to the above but this time using a heat gun. The heat generated by the gun effectively melts the varnish enabling you to scrape it off
Whichever of the above varnish stripping methods you go with, strip all of the old varnish off of your item and then thoroughly clean it down using a clean damp rag to remove any varnish residue.
It may be the case that once you have had a good clean up you notice patches that you have missed. Don’t be tempted to leave these, go back over them again with your chosen varnish stripping solution and remove them.
Step 2 – Repair Damage
Once your timber object or surface has been fully stripped of any varnish, the next job is to repair any damage.
To do this, the best product to use is a decent wood filler or wood putty. We have outlined one of the best products to use in the painting varnish section above.
For the purposes of this explanation you should use a high performance 2-part wood filler that’s flexible and doesn’t shrink, can be easily sanded and in this case, colour matches the original surface as close as possible (as the repair may be visible).
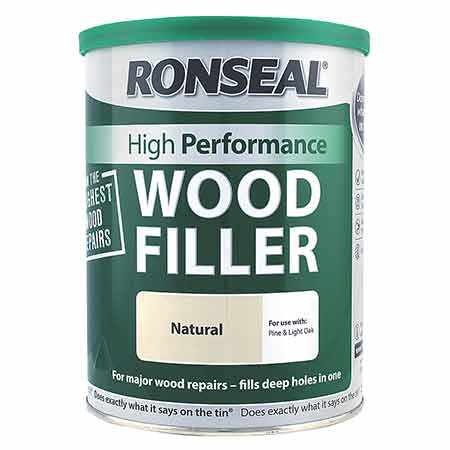
Ronseal High Performance Wood Filler
Apply your chosen filler as directed by the manufacturer on the packaging or conatiner and leave it to fully cure. Once cured, rub it down using a 220 grit sandpaper so that it is flush with the area surrounding it.
Step 3 – Sand Timber Surface
Once any repairs have been made the next task is to sand your object or surface over so that your new stain or dye can easily ahere to the timber surface with a decent key.
You can either sand over by hand or use a mechanical sander. For this stage it’s probably best to sand the object by hand as it’s easy to cause damage to a soft timber surface using a mechanical sander.
Use a fine grade paper somewhere around the 220 grit mark and work your way over the entire surface of the object, as before, paying close attension to any awkward spaces ensuring that they are fully sanded.
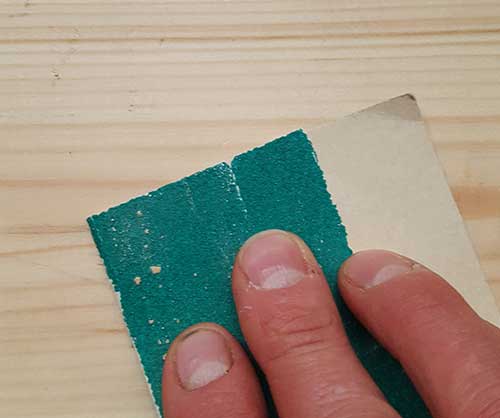
Sanding timber surface over to provide a good key
Once done, throughly clean the item using a vacuum with brush attachement (so that you don’t mark the timber) and then wipe over with a clean, lint free cloth that’s slightly damp.
Once wiped over, leave until fully dried.
Step 4 – Apply the new Stain
Now we get to the good part, actually getting some stain or dye onto our timber object.
In terms of what stain to use, this is entirely up to you. If you have no idea and this is your first encounter with stains, dyes and varnishes then here are a few pointers:
- Wood Stain / Coloured Varnish: This is essentially a varish with a pigment or colour added to it and is used to both stain the wood and provide a protective coating. Think shed and fence stain, it’s essentially this. Usually requires at least a few coats and doesn’t always guarantee a good even finish
- Wood Dye: Great for helping to emphasise the timber grain and penetrates much further down into the timber for a fuller and longer lasting finish. Needs to be coated with a protective layer once applied such as a varnish
- Varnish: As mentioned above, they can be coloured or clear and colourless. Normally used as a hard outer layer to protect and waterproof a softer surface beneath
- Oil Based: Normally uses a linseed oil base as a binder so requires a solvent to clean up. Oil based stain and varnishes take much longer to dry than water based and due to this give a much more balnanced and even finish as they penetrate into the timber much further. They are very durable and long-lasting meaning less overall maintenance, but they do takes ages to dry. Should not be mixed with a water-based topcoat
- Water Based: As they utilise water as a based they are much more environmentally freindly, with little to no odour or fumes and are also non-flamable. They dry very quickly and hold their colour well. They are also breathable and help prevent mold growth
If you do find that your timber object has had wood dye applied to it, all is not totally lost.
If using the same colour shade of stain/dye or a darker shade than the existing finish, you can apply your new coating straight away.
The existing stain or dye, however, may alter the colour of your new chosen coating ever so slightly, so be aware of this.
However, if you’re applying a lighter shade of stain than any existing colourings you will need to totally remove the existing coating that’s currently on the timber. If this is actually a stain e.g. a coloured varnish, as mentioned above you can strip or sand it off.
If it’s a good quality dye then this will be almost impossible to remove as it will have soaked down into the timber. Sanding it out is a possibility and this may lighten it enough to apply your new stain/dye but if not, I’m affraid you will have to match or go darker!
Once you have chosen your stain you can start applying it to your timber using the method suggested by the manufacturer.
Typically, a water-based stain or dye can be painted on using a good quality paint brush but the majority of oil-based equivilents will need to be brushed on and then the excess wiped off with a clean dry, lint-free rag.
In this case we are using a wood dye that can be applied by brush.
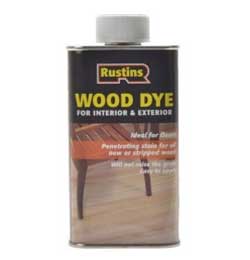
Rustins wood dye
Work your way systematically over your object, coating the stain on in the same running direction as the wood grain and using fairly long brush stokes until all is evenly covered. Allow to dry for the required time.
As stated in the pointers above, if you have used a water-based varient, this should dry pretty quickly, but if you are going with oil-based , this will take a fair while to dry fully.
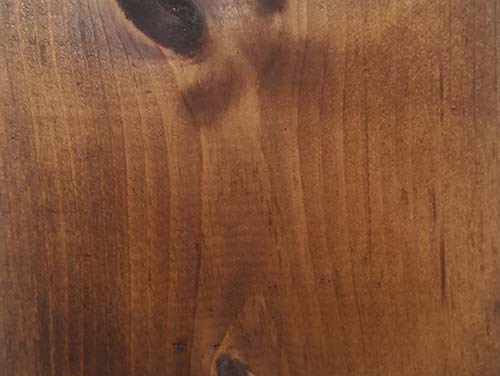
New dye applied to sanded timber surface
Once teh first coat is on and fully dried, you may need to apply a second coat. Again, apply it using your brush and allow it to dry fully.
Step 5 – Apply new Varnish
With your new stain or dye base coat and colour now applied and fully dried, the final job is to get a protective top coat of varnish applied.
This will ensure that your nice stained or dyed coating is fully protected form the outside world and also waterproofed to prevent water or moisture effecting the colour or damaging the timber.
In terms of the best varnish to use, this will depend on if you’ve used stain or dye. If you’ve used stain, this will more than likely contain a varnish base or provide a varnish-like protective layer, so this step is already covered.
Check the tin, packaging or manufacturers instructions and see if they recommend applying a protective topcoat.
If you have used a dye, then this will almost certainly require a protective varnish coating.
In either case, you will probably want to opt for a clear finish so that the coloured finish and natural wood grain beneath will be visible.
Note: One thing to be aware of is that even if you go with a clear varnish, this will affect the overall finish very slightly.
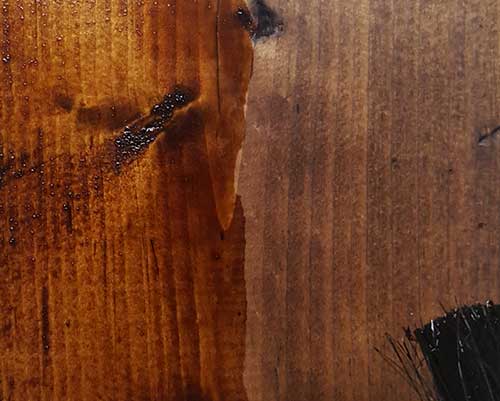
Colour difference between dye that’s been varnished over and area that hasn’t
As we have mentioned in the points above, there are really 2 types of varnish, stain etc to be aware of; oil-based and water-based.
In the interests of keeping things simple and straightforward, try to match like-for-like e.g. and oil-based stain or dye with an oil-based varnish or a water-based stain or dye with a water-based varnish.
It is possible to mix different types, but what you can use with what does get quite complicated
To apply your varnish, again, use a good quality fine 2 inch brush. Brush the varnish on using fairly long strokes running with the grain, ensuring that you get down into detailed areas and tight spaces.
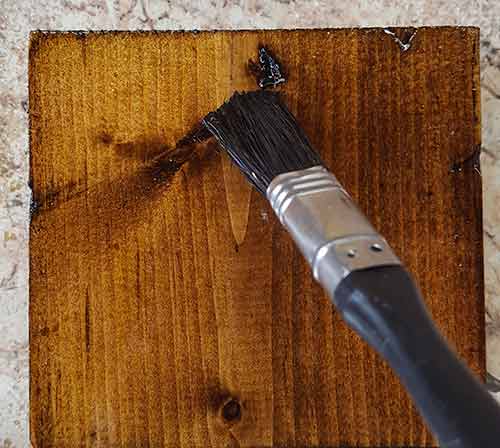
Brushing on top coat varnish
If you’ve applied too much in one place, use a dry brush to remove it. Varnish is fairly thick, sticky stuff and will run easily if allowed to buildup in one place.
Once you have applied your first coat allow it to cure fully. If any further coats are required, lightly sand off the first coat and then apply the second in teh same manner as the first.
Once this has fully dried, you have now completed your job or restaining. Give yourself a pat on the back for a job well done!