Removing graffiti from walls, whether it’s on a business premises or a child’s scribble on your living room wall, can be a challenging task, especially if it involves paint.
While some graffiti art is impressive and award-worthy, it’s often found in less desirable places. Even if it’s a masterpiece, you probably won’t want it on your house.
Fortunately, there are effective methods to remove graffiti from different surfaces.
Can You Paint Over Graffiti to Remove It?
Yes, you can paint over graffiti to remove it, but there are important considerations to keep in mind:
- Use a dark-coloured paint to effectively cover the graffiti. Lighter colours may allow the graffiti to show through over time.
- Ensure you repaint the entire affected area, not just the graffiti itself, to avoid mismatched colours due to fading of older paint.
- By covering graffiti with fresh paint, you create a blank canvas that could attract future graffiti. Using a dark colour can deter future tagging.
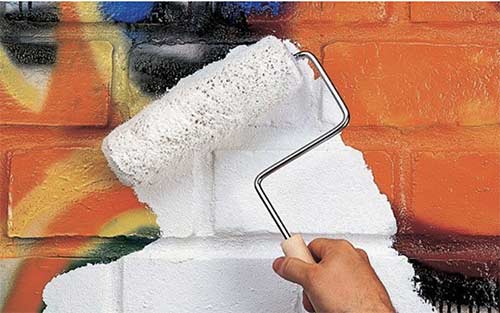
Painting over graffiti – Image courtesy of thedecoratorsforum.com
Types of Graffiti Products and How to Remove Them
Before attempting to remove graffiti from any surface, it’s crucial to identify the materials used to create it.
Graffiti typically involves paints such as spray paint or brush-on paint for most outdoor surfaces. In some cases, chalk or other less permanent substances may be used, which are easier to remove.
Removing paint-based graffiti often requires scrubbing, scraping, and specialised chemicals, whereas chalk graffiti can often be removed with scrubbing or power washing.
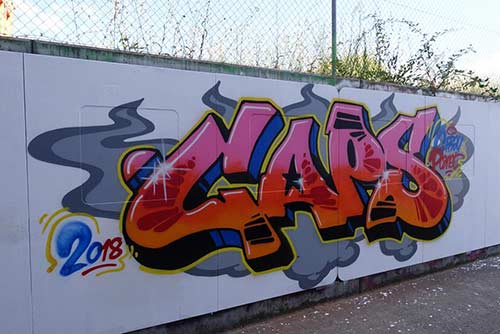
Graffiti that’s been sprayed on a wall – Image courtesy of sprayplanet.com
Types of Graffiti Removal Methods
There are several effective methods for removing graffiti from surfaces, each suited to different circumstances based on the type of surface involved.
Here are the most common graffiti removal methods and in what situation they are best used:
Baking Soda / Bicarbonate of Soda
Baking soda, also known as bicarbonate of soda, is an effective cleaning agent due to its mild alkalinity. It works well for removing grease, dirt, grime, and even paint by dissolving them in water.
Eco-friendly and non-toxic, baking soda is safe to use without the worry of harmful fumes or toxins.
The main drawback is the effort required. Scrubbing the area can be labor-intensive, especially for tough paint stains, and may need multiple applications for complete removal.
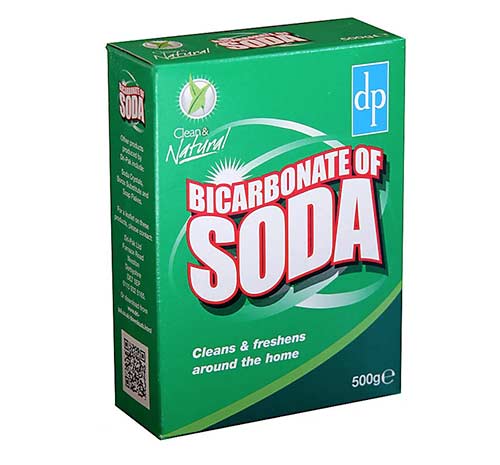
Bicarbonate of soda cleaner
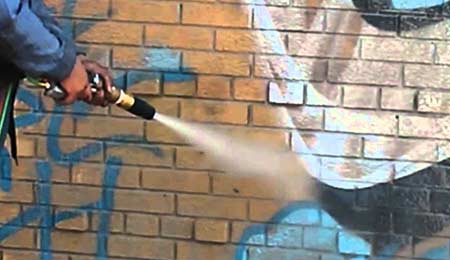
Pressure Washer
For cleaning tasks like cars or patios, a pressure washer is often the go-to tool. It uses a high-pressure water jet to blast away dirt and grime quickly.
While pressure washers are efficient, they can sometimes cause damage. On softer surfaces like limestone or render, the powerful water jet can cause significant damage to surfaces e.g. blowing off render and even brick faces if they are slightly soft, so be very careful.
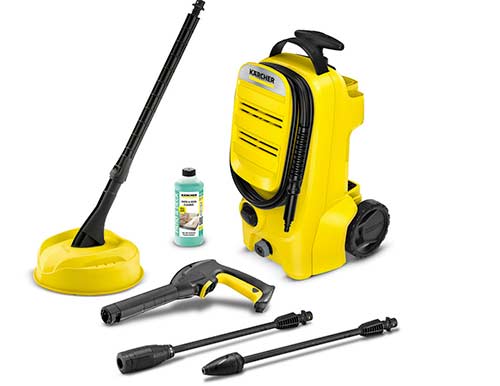
Pressure washer for cleaning graffiti
Steam Cleaner
A steam cleaner is similar to a pressure washer but uses high-pressure steam instead of water. It heats water to over 180° and ejects it from a nozzle, effectively dissolving and loosening dirt, grime, paint, and other surface buildup.
The hot steam evaporates quickly, leaving the surface dry. However, steam cleaners can be dangerous if not used in the correct manner or using the correct technique and similarly to pressure washers can cause damage to weakened and compromised surfaces, so be aware of this!
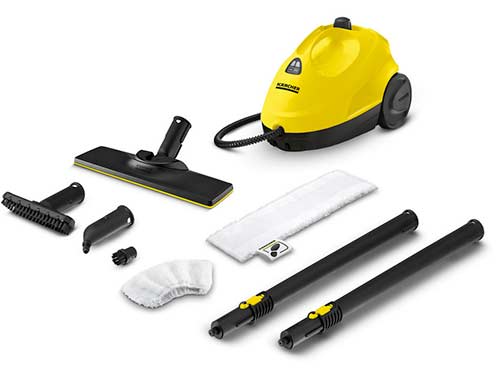
Steam cleaner for removing graffiti
Scraping the Surface
For graffiti on smooth, non-absorbent surfaces like glass, scraping is an effective removal method. Use a window scraper or similar tool to carefully scrape off the paint. Keep the blade flat against the surface to avoid scratches.
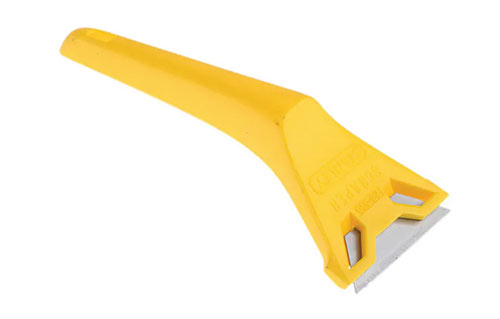
Window scraper for scraping glass surfaces
Solvent Cleaners (Acetone, Paint Stripper, Paint Thinners, White Spirit)
Solvent cleaners like acetone, paint stripper, and white spirit are effective for removing paint. These chemicals dissolve paint, making it easier to clean off surfaces, generally by scrubbing or pressure washing.
However, they emit toxic fumes that can cause nausea, headaches, and dizziness. Contact with skin can result in burns and injuries, and if you get any in your eyes this can cause lasting damage. Due to this, always wear protective gear, including goggles, gloves, old clothes, and a respirator mask.
Additionally, solvent cleaners can damage the surface you are cleaning by dissolving or discolouring materials like bricks and stone so you should always test on a small, inconspicuous area first.
Proper disposal of waste is crucial. Avoid letting chemicals seep into soil or water sources and keep them away from pets and wildlife due to their harmful nature.
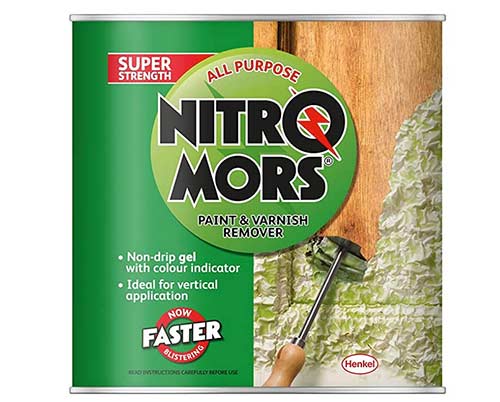
Solvent-based paint stripper
Eco-Friendly Cleaners
Awareness of environmental damage has led to a shift from harmful solvents to much more eco-friendly products. Traditional paint strippers contain environmentally damaging and toxic substances, but many of today’s more eco-friendly formulations are much less harmful.
Eco Solutions, a company that we have worked closely with for many years, offers Graffiti Go!™, an eco-friendly graffiti remover. This product helps to address the UK’s graffiti damage problem, estimated at over £2 billion.
Graffiti Go!™ is a safe, all-in-one solution, replacing multiple products. It uses advanced, patented water-based technology, making it harmless to humans and the environment. Both consumers and professionals prefer it for its effectiveness.
Key features include:
- Works on wood, metal, stone, brick, marble, concrete, and plastics
- Removes spray paint, adhesive, crayon, graffiti shadow, leather dye, and chewing gum
- Requires no pre or post-treatment
- No specialist personal protective equipment needed
- Won’t damage substrates if timing is followed; ideal for removing unwanted paint without harming the surface
- Minimal VOC content (0.000004%)
- Non-hazardous, non-toxic, solvent-free, and pH neutral
- Easy cleanup with a sponge and water
- Endorsed by award-winning decorator Wayne de Wet
We’ve used Graffiti Go!™ on site many times over the years and can confirm it works an absolute treat!
Graffiti Go
Abrasive Cleaners
Abrasive cleaners are effective at removing dirt, grime, and also graffiti. They come in liquid, powder, or gel forms and contain tiny hard particles like quartz, feldspar and granite.
These microscopic particles grind away surface buildup when rubbed onto a given surface. Using a stiff brush or scouring pad can enhance their effectiveness.
Abrasive cleaners vary in abrasiveness, so it’s crucial to follow the manufacturer’s guidelines. Incorrect use can quickly damage surfaces so always check on a small, inconspicuous area first.
Sand Blasting
Sand blasting combines abrasive cleaning and pressure washing. Tiny mineral particles, like sand and sometimes glass, are forced through a nozzle at high pressure.
The force of the sand or other particles hitting the surface removes paint and other unwanted buildup from surfaces.
While highly effective for graffiti removal, improper use can cause significant damage, leading to expensive repairs. Additionally, incorrect technique can leave a ghostly outline of the graffiti on the cleaned surface.
Due to the potential issues this technique can cause, this is best left to the professionals!
Sand blasting graffiti from a wall – Image courtesy of youtube.com
How to Remove Graffiti
Knowing the right products and techniques is just the beginning. Effective graffiti removal requires the right approach for the type of surface you’re working with.
If you catch graffiti while it’s still wet, use an old cloth to dab off as much as possible. Avoid wiping, as it can spread the paint and worsen the situation.
For dry graffiti, the removal method depends on the surface:
Removing Graffiti from Painted Surfaces
Masonry surfaces like brick, block, natural stone, and plaster are porous, absorbing liquids upon contact. Paint, which binds to these surfaces upon application, is particularly challenging to remove.
Due to their uneven texture, scraping graffiti from masonry surfaces is often ineffective. When removing graffiti from natural stone, avoid using high-pressure cleaners or strong chemical strippers, as these can cause huge amounts of damage to softer masonry surfaces.
Before applying any method, test it on a hidden area first and then monitor for any damage. If any occurs, you know not to use this particular technique.
For effective and safe removal, consider using a baking soda solution with a stiff brush or opt for the eco-friendly Graffiti Go™ solution.
These methods ensure graffiti is removed efficiently without risking surface damage or health hazards.
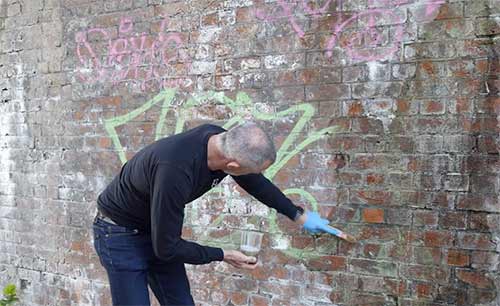
Scrubbing graffiti off of a wall
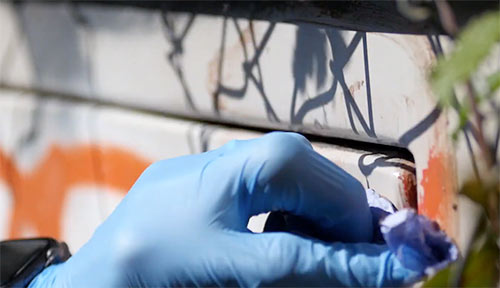
Removing Graffiti From Metal Surfaces
Removing graffiti from metal surfaces is generally easier compared to masonry surfaces because metal is non-porous and smooth, allowing paint to sit on the surface without soaking in.
Effective methods include scrubbing with a brush and bicarbonate of soda cleaner, using solvent-based strippers like paint thinners, employing pressure tools such as pressure washers, steam cleaners, and sandblasters, and using abrasive cleaners or sandpaper.
However, be cautious with metal surfaces that have coatings like zinc or paint, as any of the methods above may cause additional damage.
Test a small amount of solvent cleaner in an inconspicuous area first or consider using the Graffiti Go™ product for safer removal.
Graffiti to be cleaned off of metal surface
Removing Graffiti From Timber
Removing graffiti from timber can be challenging because wood is extremely porous and is also rarely smooth enough to scrape any graffiti off.
For any painted wooden surfaces, using a paint stripper or sanding are common solutions.
However, if the timber has been sealed or stained, the graffiti may sit on the surface and can sometimes be wiped off with white spirit.
In some cases, hardwoods can sometimes withstand pressure washing, but softwoods may splinter under the force. For best results, consider using white spirit or paint thinners on treated wood, gently scraping or pressure washing hardwoods, and using a paint stripper on softwoods. Alternatively, a safe and effective choice for all types of timber is Graffiti Go™.
Wiping graffiti off of timber surface using white spirit
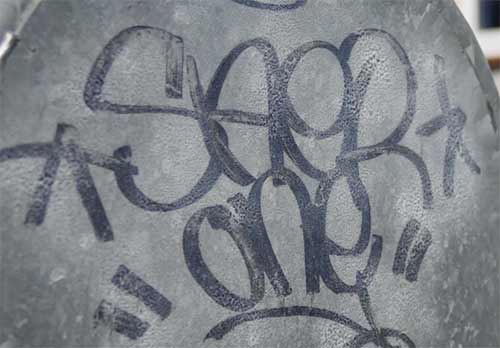
Removing Graffiti From Glass and Plastic/Acrylic
Both glass and plastic are non-porous, so graffiti paint stays on the surface without soaking in, which is a huge advantage.
For glass, use white spirit, acetone, or thinners, and then scrape the paint off. A pressure washer can also work on reinforced glass, but avoid using it on single-pane glass as the pressure can easily break it.
Plastic and acrylic surfaces are trickier. Solvent-based cleaners, steam cleaners, and abrasive methods can damage them. The best approach is to use a gentle pressure washer or Graffiti Go™ cleaner.
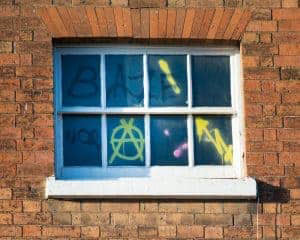
Graffiti to be cleaned off of window
Techniques for Graffiti Removal
Always test any graffiti removal method on a hidden area first. This ensures that if any damage occurs, it won’t be visible, and you’ll know to avoid that method.
Start with the least aggressive method to minimise potential damage. If it’s not effective, gradually move to stronger treatments, always testing on a small area first.
When using liquid-based treatments like pressure washers or strippers, start at the top and work your way down. This prevents runoff from damaging already cleaned areas.
In some cases, even after trying numerous removal methods there’s always the chance that none will work well enough to totally remove all traces. In these situations your fallback should be professional cleaning or graffiti removal company.
Preventing Graffiti After Removal
After removing graffiti, it’s crucial to take steps to prevent its return. Here are some effective deterrents that you should try:
- Remove graffiti promptly to show that it won’t be tolerated and discourage future incidents.
- Install security measures such as motion-activated lights or CCTV cameras (even fake ones) to deter vandals.
- Report graffiti to the police. They may increase patrols in your area, which can discourage graffiti.
- Paint surfaces with dark colours, as graffiti is less likely to be applied to them.
- Apply an anti-graffiti coating to cleaned surfaces. This coating prevents paint from bonding, making future graffiti easier to remove.
Anti-graffiti paint
While some graffiti can be impressive, having it on your home or business can be a major problem. It can devalue your property and make your business look uninviting. Removing it is essential, unless it’s a valuable piece like a Banksy!