This project deals with how to remove sealant from baths and basins and even windows. When applying silicone sealant to any area it is almost impossible to avoid getting it some where you don’t want it to be so in some cases, after applying sealant, you may then need to remove sealant residue from the surface you have just applied it to. Likewise, when you are attempting to remove sealant that’s old or been on a surface for quite a while, this can be a bit tricky and time consuming.
Applying New Silicone Sealant Over Old Sealant
If you then need to apply new silicone sealant to area once you have removed the old, make sure you get it all off before attempting to apply the new. Applying new sealant over the top of old, leaking sealant never works as the adhesion of the existing sealant to the bath or shower, and tiles, is what counts. It does not matter how much sealant you apply over the top, if the existing sealant is leaking then the odds are that it still will. See our project on leaking showers and baths also as the fact that the sealant has split means that your bath or shower may need some adjustment to stop it moving.
How To Remove Silicone Sealant
There is only really one way to remove sealant and this is to get a sharp knife, chisel, stanley knife etc…. (wear the appropriate safety gear for this thick gloves etc….) and gently slice the old sealant away until you have removed as much as you possibly can. Be very careful doing this as you don’t want to scratch or damage the surface that you are removing the sealant from
Once you have removed the bulk of the sealant from your surface, in most cases you will be left with at least some small strands. You can either use your finger or thumb to rub it off (can hurt after prolonged period of doing this) or you can use white spirit. Dab a little white spirit on an old cloth and rub over the excess strands repeatedly until they have come off or dissolved. This may take some work and may not be that effective on more substantial left overs
You can also purchase products known as "Silicone Eaters" that will remove any remaining silicone. Many people have reported mixed results using products of this type, some have found it to be very good while others have reported them to be of no use what so ever. This is really up to you, if you want to give it a go, by all means try it, but if it does not complete the job then the only option is more elbow grease with your sharp blade or chisel and white spirit.
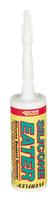
Silicone eater or silicone remover
Replacing Old Silicone Sealant With New
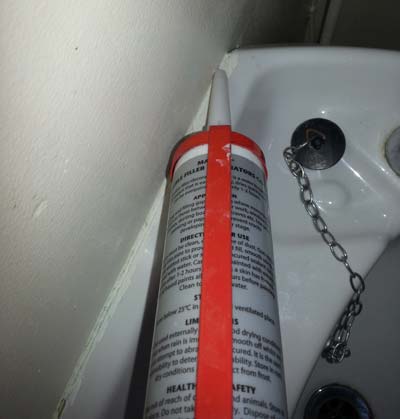
Once you have removed all the old sealant you will probably what to replace this with new sealant. For this you will need a skeleton gun or mastic gun and a new tube of silicone or bathroom sealant.
Simply place the sealant tube in a mastic gun, cut off the top (make sure you don’t cut too much off of the end of the tube as you will get too much sealant coming out and will likely go everywhere meaning you will have to repeat the above steps to get rid of any excess) and squeeze the trigger until until the sealant is pushed out of the end of the tube. The mastic gun, or sealant applicator, can be seen below. Some sealant removers do not need an applicator gun and can be simply squeezed out of the tube on to the surface to be sealed.
Position the tube length ways along the surface/joint to be sealed and squeeze the trigger as you move the sealant tube along the join leaving a nice even trail of sealant. Repeat this until you reach the end of the joint or area to be sealed.
Once you have reached the end you may be thinking that this does not look very neat. To finish the job and give a nice rounded joint wet your finger and run it over the top of the silicone joint slowly, pushing the silicone into the joint and giving it a concave finish. Make sure you do this slowly and keep you finger wet as it’s sticky stuff and will just stick to your finger if it’s not wet. This can be a messy job so wear old cloths while your doing it.
Once completed wipe off any residue and then once dry trim up any rough edges with a stanley blade.
Applying sealant along joint with skeleton gun
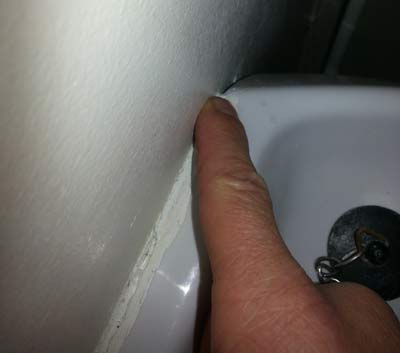
Run wet finger along silicone to create a nice finish to joint
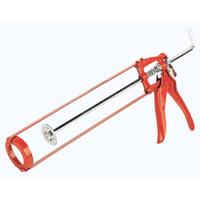
Sealant applicator or skeleton gun
Now that you have found out how to remove sealant these principles can also be applied to other similar materials such as silicone sealant, bathroom sealant, decorators caulk and other such flexible fillers.