The bog standard toilet (excuse the pun) as we know it today had undergone numerous changes over the years and one such area of constant development has been to the flushing system.
Historically the majority of homes in the UK used to feature toilets and cisterns with a flush handle, but these are pretty hideously inefficient in terms of the amount of water they use so today the more modern European push button cistern is generally preferred.
What is a Push Button Cistern?
As we have mentioned above, more traditional toilets generally feature a handle flush. A handle protrudes from the front of the cistern and when it’s pulled down and flushed the cistern valve opens and empties the contents of what is normally a fairly large cistern into the toilet bowl washing away the waste.
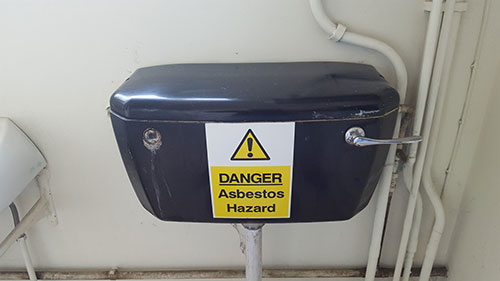
Older single handle flush cistern
With the more modern push button cistern, this operates in a similar way in that when the toilet is flushed the cistern valve opens and releases water to flush away waste, however as opposed to a single handle flush, it features a push button that’s split into two sections.
Each section of the button operates a different strength of flush. The smaller section operates a short flush for liquid waste and the larger section operates a longer flush for heavier solid waste.
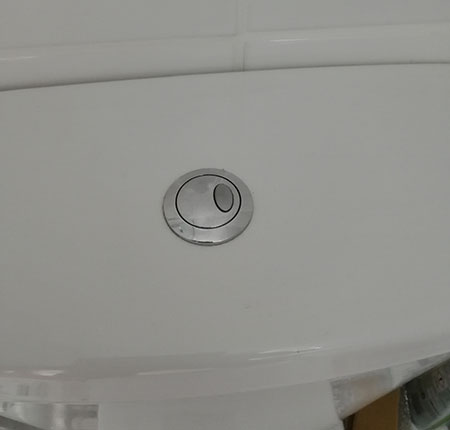
Modern push button toilet cistern
Coupled with the fact that push button cisterns are generally much smaller that older handle flush cisterns this makes then a huge amount more efficient in terms of water usage. This both saves you money on your water bill and is also much kinder to the environment.
How do Push Button Cisterns Work?
The push button toilet cistern works in pretty much the same way as a traditional handle flush cistern (See our project on cisterns, tanks and valves for more information) in that when a button is pushed it operates the central flush unit by opening it a little way (when you press the smaller button) via a lever attached to the polystyrene float arm.
The water flushes out of the cistern into the toilet bowl until the polystyrene float is lifted to the top which then closes the flush unit.
The inlet valve then opens up and lets in more water until the water gets to a sufficient level that it closes the inlet float valve and shuts the water off.
Pretty much every water containing fixture in the home will feature an overflow and the toilet cistern is no exception. The cistern overflow ensures that is the event that the inlet valve doesn’t close off and the cistern starts to fill with water that it has some where to drain off rather than flooding your bathroom.
With traditional cisterns this was simply a pipe that ran out of the top of one side of the cistern to a nearby drain, normally outside which would mean drilling a hole through the wall so the overflow pipe could exit the property and run to the drain.
On most push button cisterns the overflow is now internal (just below the number 2 in the below image) and if the inlet valve fails for any reason, the water flows over the centre of the flush unit into the toilet bowl.
This not only saves having to drill holes through the wall but will obviously be seen as constantly running water in your toilet bowl which will indicate that there is an issue potentially quicker than noticing the water running into the drain outside.
Coming back to how the push button system works there are a couple different types – one operated by a cable (flex mount), one by rods that link the push button to the top of the flush valve and one final one that’s a simple pressure plate that pushes down on the flush valve opening it when the button is pushed (top press).
All in all each variation is much of a muchness as they all work well and do the job they’re supposed to, the only difference comes in fitting them.
The cable and pressure plate variations are pretty easy in that you fit the button to the cistern lid which can then easily be removed, however with the rod version small plastic rods are inserted into the underside of the button which then slots down into the top of the cistern and operate the flush.
These are fairly tricky to fit and connect as you need to line them up and then only have about a 10mm gap between the lid and cistern to see when fitting and then you have to pull the whole lot out again when you want to remove the lid!
One other option is to assemble the button and rods, fit the lid and then screw the top of the button on. To disassemble it is a question of raising the lid as far as you can and reaching in to hold the bottom of the push button assembly. It is then possible to unscrew the button assembly from the top. Turn the push button anti-clockwise to unscrew it.
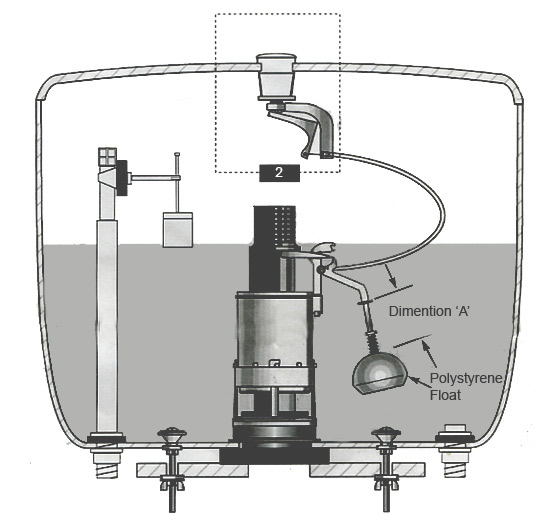
Cross section of a push button flush valve in a toilet cistern
Installing Push Button Cisterns
Fitting a push button cistern is a fairly straightforward job if you have some basic plumbing knowledge, if not the below steps will guide you through the process.
For the purposes of this guide we are going to replace an existing push button valve with a new one.
- Isolate water and empty cistern. First turn off the water. This can be done using an isolation valve if there is one, if not turn off at the main stopcock. Remove the cistern lid and flush the toilet several times to remove as much water as possible and then use old rags to remove any remaining water
- Remove lid and push button. Remove the cistern lid and disconnect the existing flush mechanism. Depending on manufacturer this may be a rod, cable or pressure plate which does not need disconnecting
- Disconnect water supply. Using an adjustable spanner, loosen the nut for the supply pipe where it screws on to the water inlet valve. Have a small bucket ready to catch any remaining water
- Remove cistern. To remove the cistern ,loosen the two bolts running through the cistern base (or via a bracket underneath) that hold it to the toilet pan. From under the cistern and toilet pan, loosen each wing nut, they should undo easily by hand. If they start turning the bolts use a screwdriver down in side the cistern to hold them. If they’re rusted use some WD40 or similar. Finally unscrew the two screws on the back of the cistern (inside) that hold it to the wall, remove it and put it safely to one side, removing the large foam or rubber “doughnut” washer also
- Remove old flush valve. Using a large pair of pump pliers, grip the large nut on the base of the cistern and loosen it. If it moves hold it steady inside the cistern as you turn. Fully remove the nut and then pull the old valve out including any rubber washers that may be present
- Clean and dry the cistern. Take a clean rag and fully dry the inside of the cistern and clean it, removing any grime that may be present. Repeat for the underside also making sure it’s sparkling clean. Any grime that is left can easily cause seals to fail and result in leaks
- Fit the new push button flush valve. Remove the new valve from its packaging and unscrew the large retaining nut from the base. Push the large rubber seal onto the base of the valve ensuring it’s the right way round, some are tapered (taper runs into the hole) and push it all the way up to the base of the valve. Insert the valve down into the cistern so that the outlet protrudes through the hole in the base. Screw the large retaining nut up tight (don’t forget the bracket if there is one) but as you do ensure the valve sits central to the hole and is level inside the cistern so that it doesn’t foul the ball float and then fit the new doughnut washer
- Refit cistern. Insert the bolts through the base or place them back into the bracket and position the cistern back on to the top of the toilet pan ensuring both bolts drop back through their respective holes, give it a clean firth tough. Screw on each wing nut and tighten up pinch tight making sure the cistern sits level. Add each screw back into the rear and screw it up to the wall. Don’t tighten too much as you’ll crack it! Pinch the two wing nuts up a little more also
- Refit water supply pipe. Screw the water supply pipe back on to the inlet valve until it’s pinch tight and then tighten using an adjustable spanner. Before fitting it, wrap a little PTFE tape around the pipe on the base of the cistern
- Turn on water. Turn the water back on at the isolation valve or stopcock and as the cistern fills inspect it fully looking for any leaks. Tighten wingnuts or water inlet pipes where required. If water is continually running into the toilet bowl then this is a sign that the big backing nut on the base of the cistern isn’t tight enough so you’ll need to remove the cistern and retighten it
- Fit new push button to cistern lid. Take the cistern lid and flip it over. Unscrew the backing nut holding the existing push button in place and remove it. Remove the backing nut from the new push button and pop it through the hole in the top of the lid. Screw the backing nut back on ensuring the button is straight and level before tightening fully. Connect the cable to the valve (or add rods etc depending on type of push button you have) and pop lid back on
- Test flush. With everything fully in place and the push button connect, push it down and flush the toilet to make sure everything is working as it should be. Also carefully inspect the whole cistern and any connections for any leaks
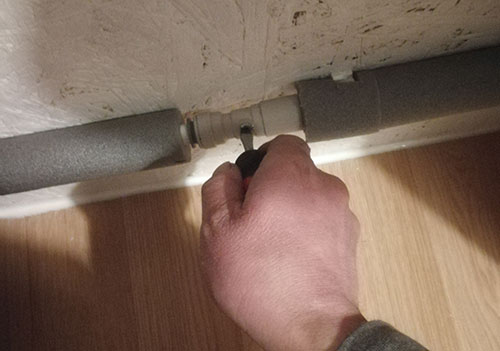
Isolate water supply to cistern
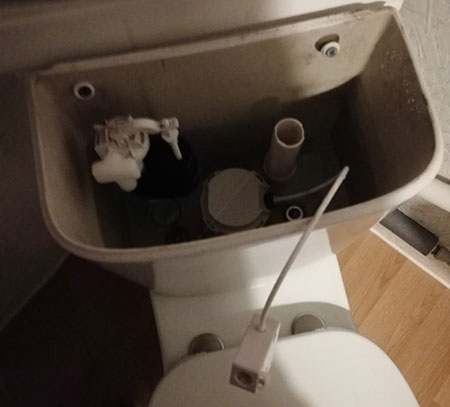
Remove cistern lid and disconnect flush
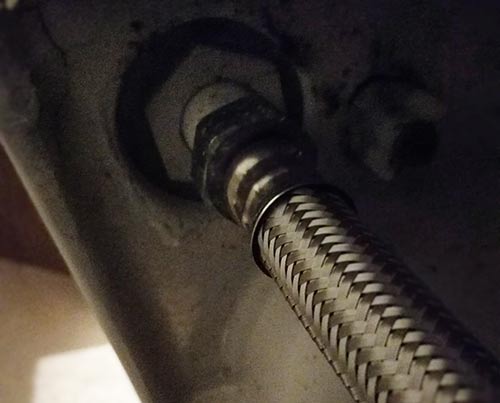
Disconnect water supply from cistern
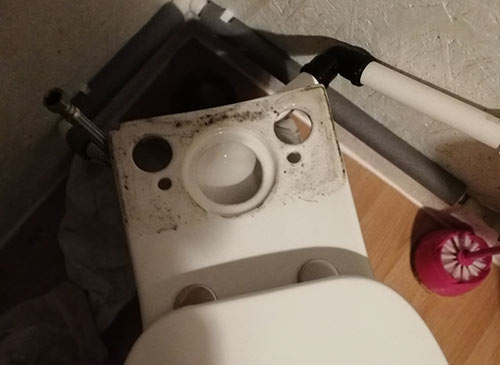
Cistern removed from toilet pan
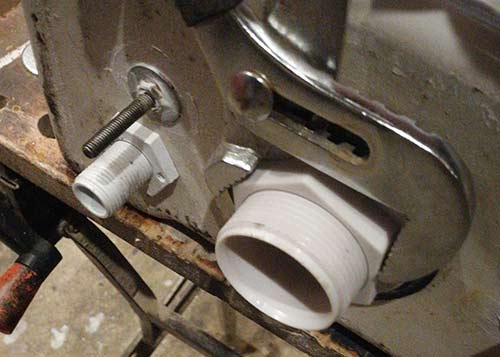
Unscrew the large retaining nut and remove the old flush valve from the cistern
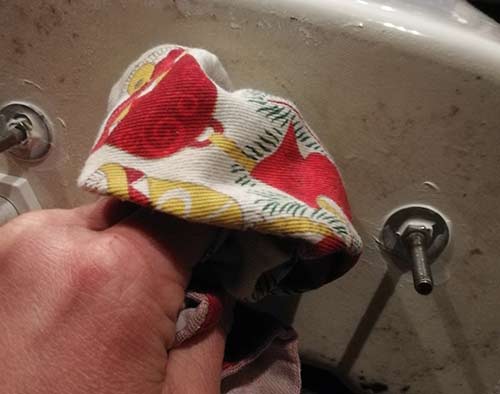
Clean and dry the cistern thoroughly
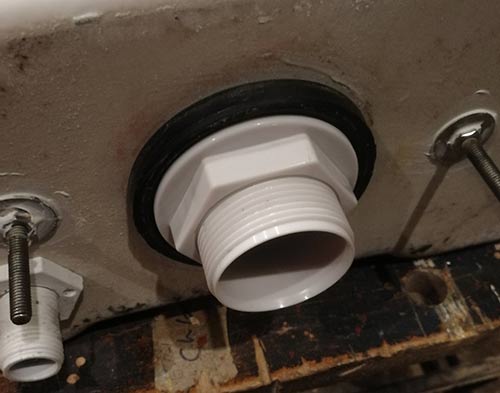
Fit new cistern valve to cistern
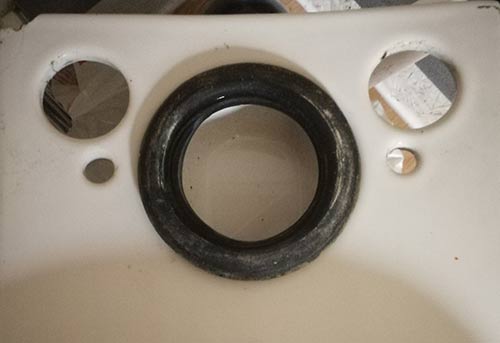
Fit cistern back on toilet pan
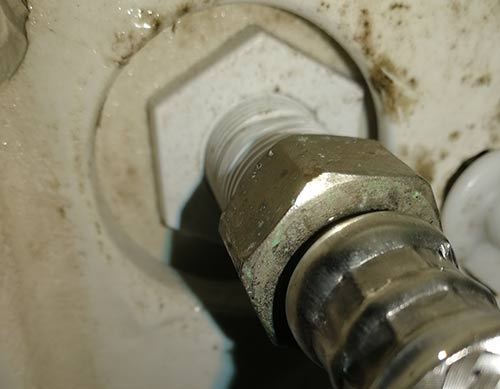
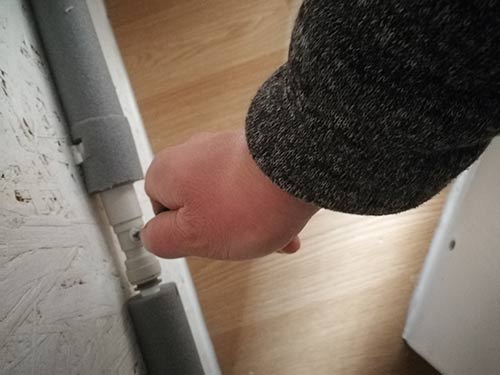
Turn on water supply to fill cistern
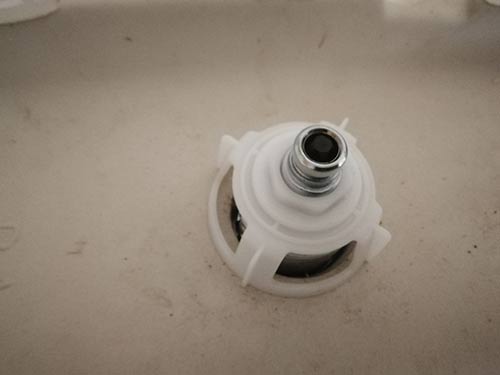
Fit new push button to cistern lid
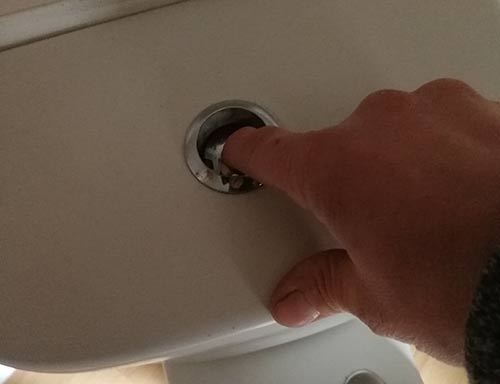
Test flush the cistern
Troubleshooting Push Button Cistern Problems
Although push button cisterns or “European” cisterns as they are also known are failry simple devices they do occasionally develop the odd issue. To this end we have included below a troubleshooting guide for the most common issues and how to fix them.
| Problem | Cause of Problem | Solution(s) |
|---|---|---|
| Water leaks from base of cistern valve | The Large backing nut on the base of the cistern isn’t tightened enough | Remove the cistern and retighten the backing nut |
| Water leaks from base of cistern valve | The large rubber washer seal is not positioned correctly | Remove the cistern valve and reposition the seal |
| Water leaks from base of cistern valve | The fork support that operates the valve is not clippped in correctly | Clip the fork support in correctly |
| Water leaks from base of cistern valve | The cistern valve is not closing fully | Dirt or debris is preventing the valve from closing fully |
| Water leaks from base of cistern valve | The flush mechanism is jammed | Check flush mechanism to ensure it’s not holding the valve open |
| Water leaks from base of cistern valve | Rubber valve seal has deteriorated and is not sealing any more | Replace flush valve |
| Water leaks from base of cistern valve | Adjustable overflow is set too low | Raise the adjustable overflow pipe |
| Water leaks from base of cistern valve | Water inlet float valve set too high | Lower the float valve so it shuts water flow off sooner |
| Push button remains in the push position whether half flush or full flush | The cable is clipped on to the base the wrong way around | Unclip the cable and turn it around |
| The push button does not go down correctly | The connecting rods are not connected correctly | Disconnect the push button and reconnect the connecting rods correctly |
| Water will not stop entering the cistern | This is because the cistern entry valve is faulty | This can be rectified by reading our project on cisterns, tanks and valves and scrolling down to the valves section. |
The push button cistern is a fairly straightforward piece of kit to install and repair if you have any issues. If you are still using an older style large handle flush cistern then it’s well worth you time replacing it with a push button one. It’s kinder to the environment and also better for your bank balance!

