Flexible filler also known as decorators caulk comes in external and internal grades. Caulk, by definition, means to make water or air-tight by filling or sealing, so decorators caulk is ideal for sealing any gap such as around windows and doors, between skirting and walls and the similar.
The reason for using a flexible filler is that some cracks or small gaps that may still have some minimal movement in them or may increase with time as, remember, buildings are always moving, you might not be able to see this immediately but they do move and always will and using a flexible filler will ensure the filler flexes with the movement and doesn’t split or crack. Skirting gap with flaky paint ideal for filling with caulk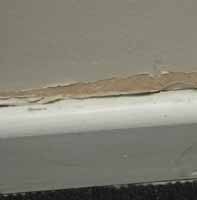
Is Caulk the Same as Silicone Sealant?
In short the answer is no, caulk is not quite the same as silicone sealant. The main difference between the two is their flexibility or elasticity as silicone sealants tend to be more flexible than caulk-based fillers.
Typically, silicone sealants tend to be a fair bit more flexible than caulks as they are made using silicone (flexible polymer-based substances) that are very malleable and remain flexible even once cured which makes them ideal for filling and sealing gaps in areas such as bathrooms and kitchens that are subject to extreme temperature changes and expansion and contraction and also high levels of water and moisture where they need to remain fully flexible.
One other feature of silicone sealants is that they are highly waterproof, can bond to a variety of materials including wood, metal, brick, stone, glass etc. and also have a high resistance to temperatures, some up to 1300°C!
When it comes to flexible filler or caulk these tend to not be quite as elastic as their silicone counterparts but still retain a decent amount of flexibility, more than enough to cope with the general amount of movement encountered in most rooms in the home.
The reasons for this are two-fold, the first being that they are constructed using a mixture of acrylic, latex and some other components which don’t poses the same extreme flexibility as silicone-based sealants.
The second reason and arguably the most important one in terms of the main purpose and use of flexible filler or decorators caulk is that as it doesn’t flex as much as silicone it can be painted over without cracking over time and as it’s not silicone-based the paint will actually stick to it.
So as you can see the two differ quite a lot with each being suited to a specific area of application and these should not be confused.
What Type of Caulk Should I use?
When choosing a caulk or flexible filler, opt for a Acrylic Latex-based caulk (also known as general purpose caulk) as these can be used for a variety of different jobs around the home, are cheap to buy, are fairly fast curing (some in under 60 minutes!) and as mentioned can be painted over with pretty much all paint-types.
As we have discovered above it is essential that you use the correct type of filler or sealant for the job at hand and although acrylic-latex caulks are great for the afore mentioned jobs, they should not be used in areas of humidity and moisture, high expansion and contraction or extreme temperature changes e.g. kitchens and bathrooms, silicone-based sealants should be used here. Gap around window trim to fill with caulk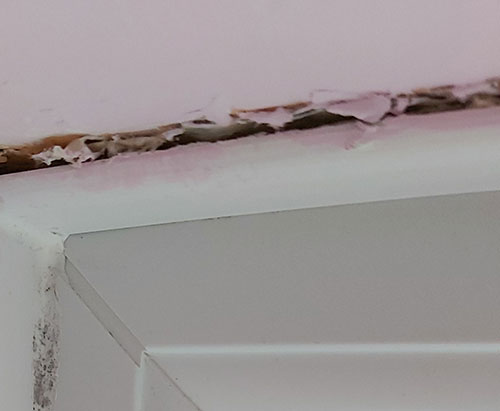
Where Should Caulk be Used?
General purpose latex acrylic-based caulks can be used for a wide variety of jobs in the home as it is the general purpose workhorse of fillers. Some common applications are:
- sealing joints between windows/doors and adjoining walls
- Sealing gaps between walls and skirting boards
- Sealing around coving and architectural mouldings
- Sealing architrave around doors
- Sealing around radiator pipes protruding through walls
The most common use for flexible filler is between a flexible material such as wood and a non flexible material such as plaster or masonry. You will often find a crack between these two materials due to movement and expansion.
In general a single application caulk can be used to fill gaps around 6-8mm (roughly 1/4 an inch) in width, however for any gaps wider than this a layer of caulk should be applied below the final surface level and allowed to fully cure before a final flush fill layer of caulk is applied.
Caulking a building or property correctly can have a dramatic affect on how efficient it is in terms of keeping it water tight and air tight to prevent water and moisture creating mold, cold air entering and hot air escaping. When done correctly this can dramatically reduce heating costs and associated maintenance costs. General purpose latex acrylic-based caulk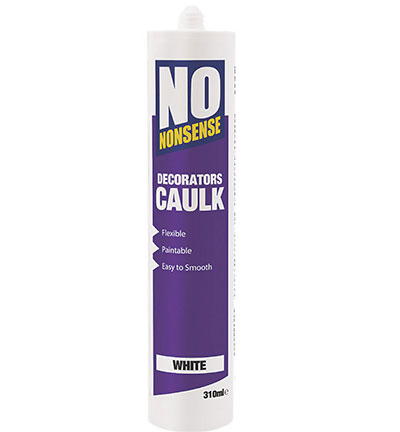
How is Caulk Applied?
Typically decorators caulk or flexible filler is applied using a caulk gun (cartridge gun, mastic gun or skeleton gun as they are also known). A tube or cartridge of caulk is inserted into the gun, the trigger is repeatedly squeezed and the caulk comes out of the nozzle at the front. Caulk sealant tube inserted into sealant gun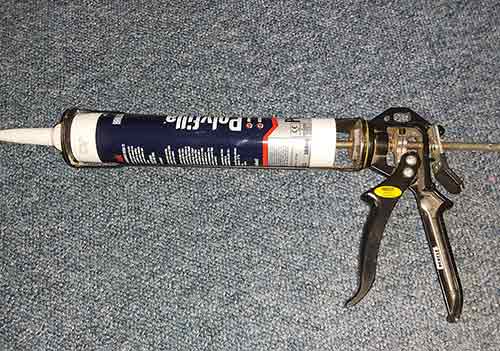
If you are using a cartridge gun to apply the filler more information on these tools and how to use them can be found in our how to use a sealant gun project here.
As mentioned, in most cases caulk is purchased in plastic tubes but as we all know, this is horrendously un-eco friendly so today caulk is also sold in foil-wrapped (or similar wrapping) “sausages”. Foil-wrapped eco-friendly caulk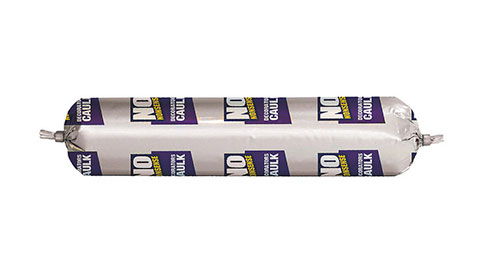
These more eco-friendly products save a huge amount of waste and if you can use them certainly do, however they do require a special sealant gun and nozzle so they can be loaded and squeezed correctly.

Eco-friendly foil pack caulk tube application gun
How to Fill Gaps, Joints and Damaged Areas Using Caulk or Flexible Filler
Applying caulk to a gap or damaged area may seem like a fairly straight forward job if you haven’t done it before, smoothing the caulk out to get a perfect and uniform joint can be a little tricky so it’s a great idea to practice getting this absolutely spot on before your final finished application.
Simply use some scrap 3×2 inch or similar timber and screw it to a 4×2 or larger timber so that you have a 90° joint to practice on. Once you have perfected the application you can now get caulking.
Step 1 – Prepare Area for Applying Caulk
Before applying any filler you must first make sure that your gap or cracked/damaged area is free of all dust, dirt and loose or flakey bits.
Firstly use a scraper to remove any chunks of debris if they are present and then use a suitable brush or paint brush to fully remove any dust and then finally use a vacuum to remove any final dust and debris and the items that you have removed.
Also some fillers and caulks require a dry area for application and some do not, so check the instructions on your tub/tube etc. before application. All loose material removed from gap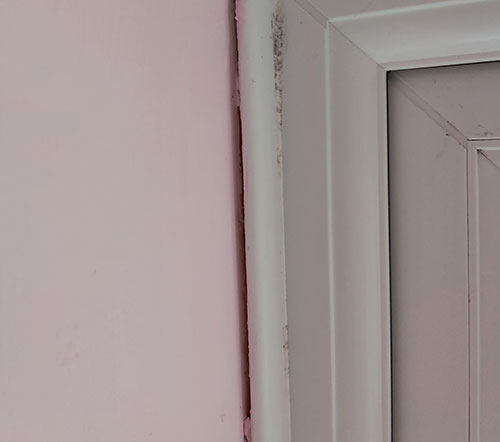
Step 2 – Add Caulk Cartridge to Caulk Gun
In this example, as we have an abundance of caulk available that shouldn’t be wasted we are using a cartridge of caulk.
Use a Stanley knife or utility knife to remove the top of the threaded part of the cartridge so you can then screw on the nozzle director (the nozzle can be trimmed to deliver the filler at whatever rate you require).
Place the cartridge into the gun and squeeze the trigger until the plunger travels down the tube of the cartridge and secures it in the gun. Caulk cartridge inserted into caulk gun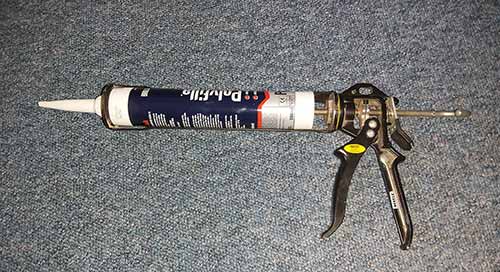
If you have a wide gap to fill you can cut the end of the nozzle to allow more caulk to flow but as our gap is only fairly slight we left the nozzle tip as it is.
To make the application easier you can also cut the nozzle at an angle of roughly 45° as this makes it slightly easier to fill the gap and smooth the caulk as you go. Cutting the nozzle at an angle to allow filler out of tube
Step 3 – Apply Caulk to Gap
Squeeze the trigger until the caulk starts to emerge from the nozzle and then click the release button on the gun to release the pressure and stop any more caulk flowing. The gun is now primed and ready for use.
Position the nozzle at the point you want the caulk to fill the gap and start squeezing the trigger of the caulk gun gently. As the caulk starts to flow move the gun and nozzle along the gap ensuring that the caulk is fully filling the gap as you move. Work slowly and methodically. Moving caulk gun along gap slowing and gently ensure gap is fully filled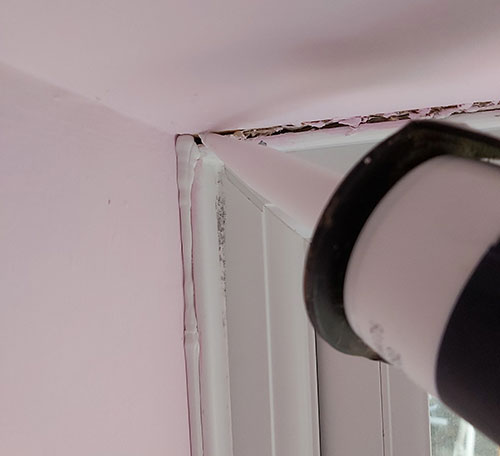
In most cases you will find it easier to work from top to bottom or left to right depending on whether your gap runs horizontally or vertically.
Note: If you don’t have a caulk gun you can deliver the filler into the crack until filled using a clean wet scraper or filling knife (wetting stops the filler adhering to the scraper and dragging out of the crack). Gap around window and trim fully filled with decorators caulk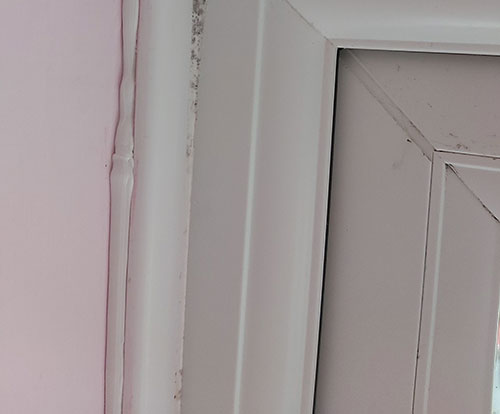
Step 4 – Smooth Caulk and Remove Excess
Once the caulk has been applied the final task now is to smooth it off for a neat and tidy finish.
Dip your finger in a cup or glass of water and ensure it is wet and position it over one end of the caulk (again it’s easier to work top to bottom/left to right). Wetting finger in a glass of water for smoothing caulk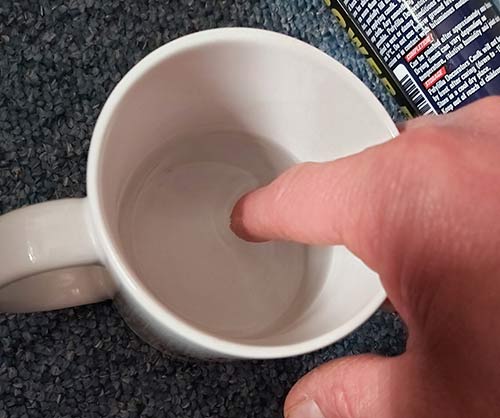
As with applying the caulk, move your finger slowly down the gap at roughly a 45° angle, gently pressing the caulk into the gap as you go.
Stop periodically and wipe any excess caulk from your finger to prevent it spilling out around the edge of your gap. Use an old cloth to wipe away the excess. Using a wetted finger to smooth out caulk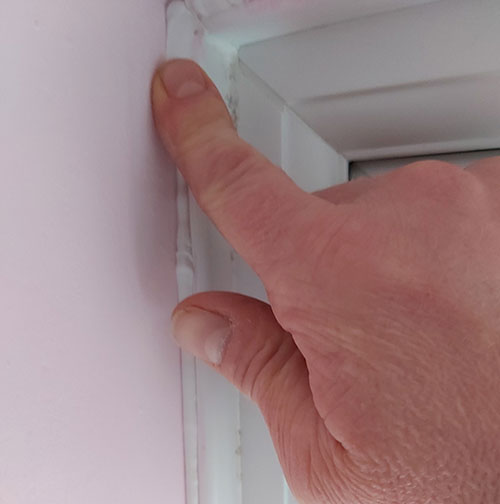
There are smoothing tools available for decorators caulk but most pros use the wetted their finger technique or a rag and smooth the filler down. The rag can also be used to wipe the excess off the surface of the project.
Once you have smoothed over all areas of the gap check over to make sure you haven’t missed any areas.
Finally use an old cloth, piece of kitchen roll or similar to remove any excess caulk and all that’s left to do now is to leave it to fully cure, good work! Gap around window fully filled with decorators caulk or flexible filler and smoothed off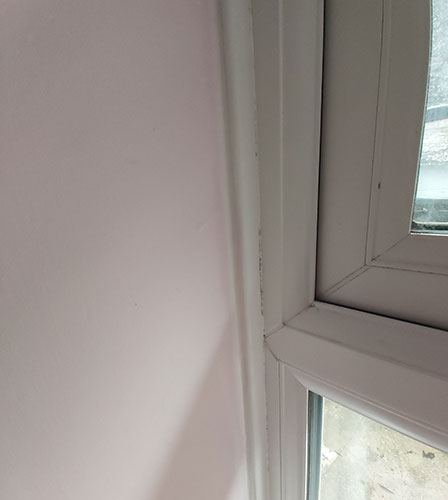
Some caulks can be sanded, others rely on the skilled smoothing process for a good job. As with everything else in the building trade. Practice makes perfect.
Now that you have learnt how to fill various gaps around the home using decorators caulk or flexible filler why not closely inspect your home for any further gaps, as mentioned filling them can help to reduce your heating costs and save you money!