Decorating plasterboard is not so different to decorating new plaster in terms of the preparation work required as it is as porous if not more than new plaster, however unlike decorating new plaster you also need to fill over all the plasterboard joints and screw holes if you are simply going to paint or wallpaper straight on to the board.
By taking your time and using the correct products you can get a finish that is as flat and smooth as a freshly plastered wall without the expense of actually having to plaster it.
What Type of Plasterboard Should you use?
If you are not going to plaster your recently installed plasterboard or drywall and just want to fill the joints, to get the smoothest finish possible it is important to use tapered edge plasterboard.
As the name suggests the edges are slightly tapered or bevelled so that when the boards are butted up together there is a slight depression where they meet. This allows you fill this depression with plasterboard joint filler and hide the joint.
It is possible to fill over and hide standard square edge plasterboard joints if you are working with an existing plasterboard wall and that’s what has been used, but if starting from scratch always try to use tapered edges boards.
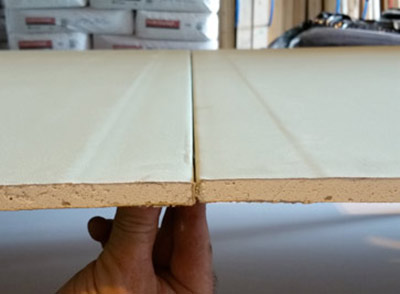
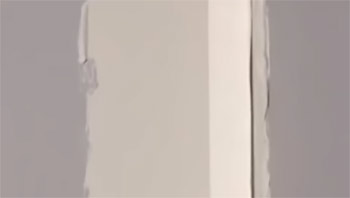
Tapered edge plasterboard
Which Side of the Plasterboard Should you Decorate?
For the answer to the eternal question, which side of the plasterboard should I paint or decorate and indeed which way around should plasterboard be installed, the short answer is it really doesn’t matter!
Despite a million posts in various forums and different opinions coming from every direction we can clearly state on this website that it does not matter at all which side of the plasterboard you paint on and which side you plaster on.
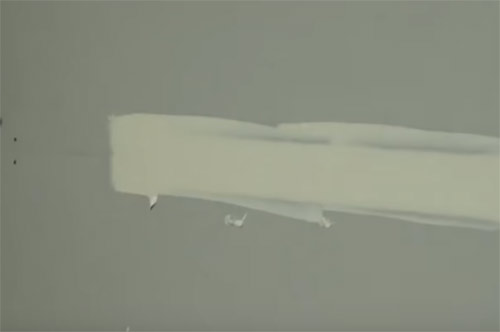
The ivory side of normal plasterboard is a little smoother than the brown side. This makes it a little easier to get a good finish when decorating but the difference is barely noticeable. Thistle Multi finish plaster and board plaster will stick like glue to either side and if you want to check this out then please feel free to ring Lafarge. They will tell you exactly the same thing.
With the above in mind if you are constructing a plasterboard stud wall from scratch fix all of your boards with the lighter face facing into the room as you will get a slightly better finish, but this will be barely noticeable to the naked eye.
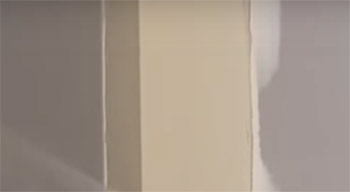
The two different faces of a sheet of plasterboard
Tools Needed for Decorating Plasterboard
Only a few basic tools are required when filling and decorating plasterboard, these are as follows:
- 6, 8 and 12 inch (15mm, 200mm, 300mm) stainless steel joint filling or taping knives
- Paper joint filling tape
- Plasterboard joint filler – Gyproc Easi Fill or similar (powder or ready mixed)
- Matt emulsion for mist coats
- Construction PVA glue or SBR Bond
- Paint brush
- Mixing bucket for paint
- Mixing bucket for filler
How to Fill and Hide Joints Between Plasterboards
The basic process for filling plasterboard joints is to build up several layers with a paper tape layer in between the first and second layers and then feather the edges of each layer in.
Once all layers of joint filler have fully cured everything is then sanded back to create a smooth seamless covering over the joint that once decorated is then invisible to the eye.
Filling Standard Plasterboard Joints
Firstly, run the 200mm jointing knife over each joint and fixing and take note of any areas where any boards sit slightly higher than the board it butts up to or where any screw heads are slightly proud.
For any slightly proud joints try and screw in any existing fixings a little more or add some additional fixings to try and pull the board down a bit more.
Also, screw in any proud screw heads so they can be filled.
Next, mix up some joint filler in the mixing bucket and then using the 1500mm jointing knife, scoop some on the knife and apply it over the joint.
As you run the knife and filler down over the joint, hold the knife at an angle of around 20-25° as you run it over the joint. This ensures that the filler is forced down into the joint and on to the board. If the knife is held up towards the 90° mark this will actually start to take the filler off so ensure you stick to a more shallow angle.
Once you have completed the first pass, scrape off any excess filler from the knife and give it a wipe and then run it over the edges to remove any over spill and reduce any sanding work later down the line.
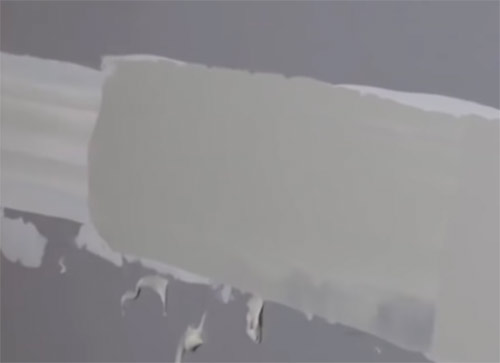
Applying first coat of filler over joint
While the filler is still damp, measure the length of the joint and cut a piece of paper joint filling tape to the same length. Apply the tape to the filler central to the joint running the jointing knife over it to press it into the filler and hold it in place. Run an additional thin layer over the top of the tape to fully cover it and the allow to dry for the stated time.
Note: Some paper jointing tapes have a natural fold running through the middle, if yours does make sure the fold runs down into the joint.
Paper jointing tape added over first pass of joint filler
Once the first coat and tape coat have fully dried, run your 150mm jointing knife over the dried filler to scrape off any rough edges or lumps.
Mix up a new batch of filler and apply a second coat over the first filler coat.
This time use your 200mm jointing knife to get the filler on the wall, ensuring that you leave roughly a 1 inch either side of the first coat.
As before, once the second coat is on, run the jointing knife over each edge to feather it in and also remove any over spill. Allow the second coat to fully dry before moving on to the third and final coat.
Second coat of joint filler apply over plasterboard joint
With the second coat fully cured the final coat can now be applied. Before getting it on the wall give the first two coats a light sand over using a fine grit sand paper and then wipe everything over with a slightly damp cloth to remove the dust.
Mix up your final batch of joint filler and then apply using your 300mm jointing knife making sure that you keep it as central to the joint as possible and leave roughly 50mm either side of the second coat.
Once it’s on the wall, as with the other coats, run your 150mm jointing knife over the edges to feather in and remove any over spill and then leave the final coat to fully cure. This should generally be at least 24 hours.
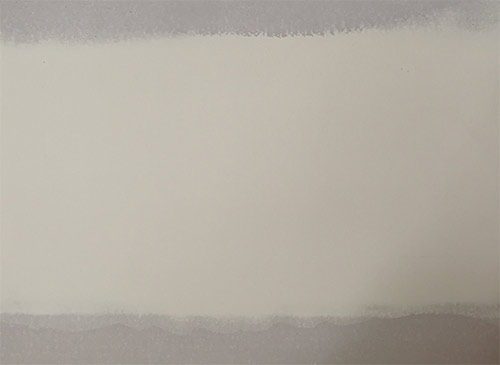
Third and final jointing coat applied to plasterboard joint
With all the joints fully covered the final filling job is to now fill over any screw or fixing holes. Use your 150mm filling knife to fill each uncovered hole, applying two layers of filler, one applied top to bottom the other applied from left to right.
Once the final coat and screw holes have fully dried the very last job is to sand the whole lot down including the filled screw holes using some fine grit sand paper, around the 120-240 grit mark.
When sanding over the edges and screw holes ensure you feather them in to the surface of the board removing any “hard edges” as once you get paint on, edges like this will stand out a mile off.
As you sand be extremely careful not to actually abrade the surface of the board. If you do then this will be a nightmare to cover and will ruin the finish.
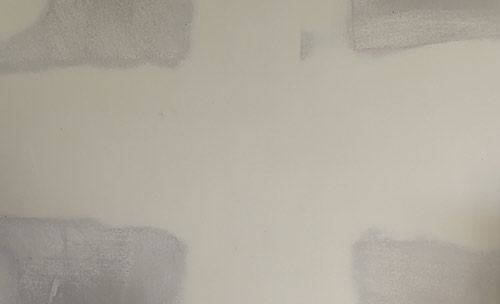
Filled plasterboard joint fully sanded down
The joints that have been filled above have all been flat joints featured on a flat wall but at some point every wall meets a corner, whether that’s an internal or external corner and these need to be filled also.
Filling Internal Plasterboard Joints
The process of filling over an internal corner joint is pretty much the same as filling a joint on a flat surface only in this case you only need to apply two coats.
Using the 150mm jointing knife, apply joint filler to both sides of the corner making sure you get the filler right into the corner itself and then smooth it out towards the edges.
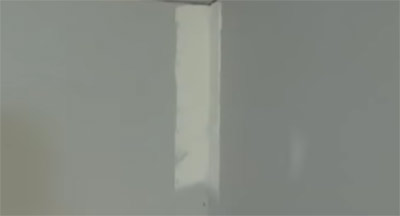
Internal corner joint filled with jointing filler
You can use a corner trowel to smooth this out but these are notoriously hard to use if you are a beginner so if you are unsure stick to your jointing knife.
Once the first layer of filler is on cut a strip of the paper jointing tape to length, fold it to 90° along the centre crease and apply it to the corner gently pushing it into the filler to hold it in place and making sure the fold in the tape is right in the corner.
Apply another thin layer of filler over the top of the tape again ensuring that it covers the tape fully and that it’s applied right into the corner and then smooth it out towards the edge.
Paper jointing tape applied to internal corner joint
Remove any remaining filler from the trowel and then run over the edge with the jointing knife feathering out as much as possible and removing any over spill and then allow it to dry for the required time.
Once fully dry use the jointing knife to remove any lumps and then apply your second coat using the same method, feathering out to the edges as much as possible.
Second and final filling coat applied to internal plasterboard corner
Once the final second coat has fully dried, use a finer grit sandpaper, around 120 grit or more to sand back flat taking care not to rough up and damage the surface of the plasterboard.
Filling External Plasterboard Joints
External plasterboard corners are delt with in much the same way as they would be if actually plastered using skim plaster. The best method is to use an angle bead that is fixed to the wall and then filled over.
Typically external corners will suffer much more wear and tear than internal corners so they do need to be a fair bit stronger, hence the use of a steel angle bead. Additionally three coats of filler will also be used to provide as much protection as possible.
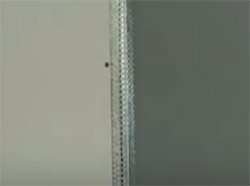
Steel angle bead fixed to external corner
Once the angle bead is secured in place mix up some joint filler and use the 150mm jointing knife to apply it either side of the plaster bead right up to the 90° corner.
As with the other joints and corners use the jointing knife to remove any over spill and then feather the edge out into the surface of the plasterboard as much as possible as this will save on sanding later down the line.
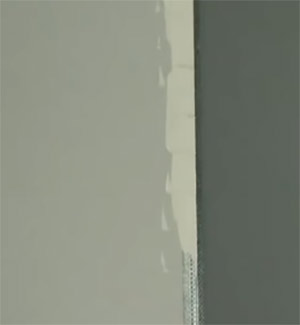
First coat of jointing compound applied to external plasterboard corner
Once the first coat is on, apply the second coat in the same way but this time use the 200mm knife.
Applying second external filler coat
Once the second coat has dried the third and final coat is then applied but this time the 300mm jointing knife is used.
Applying third and final external corner filler coat
Once dried use a suitable fine sandpaper to sand all the edges down, blending into the surface of the plasterboard as much as possible and ensuring you don’t leave any hard edges.
How to Paint or Wallpaper onto Plasterboard
Once you have completed all the filling and ensured that all edges are fully feathered leaving no hard edges and also that all joints are fully filled with no visible depressions you now finally get to the decorating stage.
Painting Over Plasterboard
As we have mentioned at the top of this guide plasterboard is extremely prous even more than bare plaster so before any finishing coats of paint can be applied it needs to be sealed using a mist coat so that any finishing coats bond correctly and don’t flake off.
A mist coat is essentially watered down matt emulsion paint (find out how to mix a mist coat in our project here).
Once you have mixed up your mist coat, apply it to all plasterboard surfaces in two coats, allowing the first coat to fully dry before applying the second.
Once both coats have been applied and have fully dried you can then add your finishing coats or top coats.
Wallpapering onto Plasterboard
If you plan to wallpaper the wall, then these mist coats will work as well to seal the board prior to pasting or you can size the boards with a sizing solution just as you would an ordinary plastered wall. Find out more about sizing solutions in our wallpapering project here.
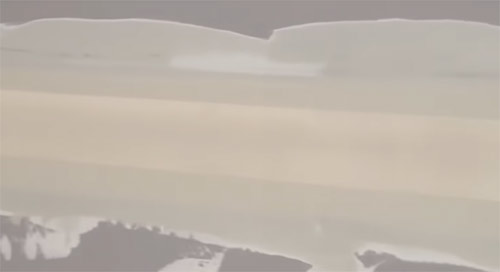
Instead of using a sizing solution you can also use diluted PVA as a form of “mist coat”. Mix a 50/50 PVA and water mix and then brush this over all plasterboard surfaces and allow to dry and then add a second coat.
Once the second coat is dry you can then wallpaper the surface as you would a normal wall.
Sheet of plasterboard sealed using PVA
Painting or wallpapering over a plasterboard wall is pretty straightforward as long as all the joints and fixing holes are filled correctly so they don’t show through your chosen wall covering and that you also seal the surface correctly to ensure a good bond.