A dull or rusty radiator can stand out like sore thumb in a room, so if you want to paint it a different colour to match the colour theme of the room or simply want to give it a refresh, this can be a quick and easy job.
To find out the best way of painting a radiator or refreshing it, read on below.
Why Paint a Radiator?
There are numerous reasons why you might want to paint one or more radiators in your home but generally it’s either to refresh a damaged or tired looking radiator, make them match a particular colour scheme or style or just to make a feature of them and make them stand out.
Whatever the reason, you will have to ensure that it’s firstly painted properly, but more importantly prepared properly before it’s painted so that the finish is absolutely spot on.
If it’s not then then it will probably stand out for all the wrong reasons.
What Paint to use for Painting a Radiator?
As well as preparing and painting your radiator properly, it is absolutely essential that you use the right type of paint, one that is suitable for metal surfaces and also heat resistant so that it doesn’t discolour or crack over time.
So, with the above in mind, you really need to use a paint made specifically for use on radiators, however the downside to this is that it usually only comes in a limited range of colours.
When it comes to topcoats, there are several options for paints you can use for your radiator.
Specialist Radiator Paint
We advise you to use radiator paint if you are painting your radiator white, as other paint types can as said go yellow and also crack over time.
If you want to go for colours other than white, as said sometimes colour options are pretty limited, however there are specialist companies that can mix colours for you for specific uses such as for radiators, but these do cost!
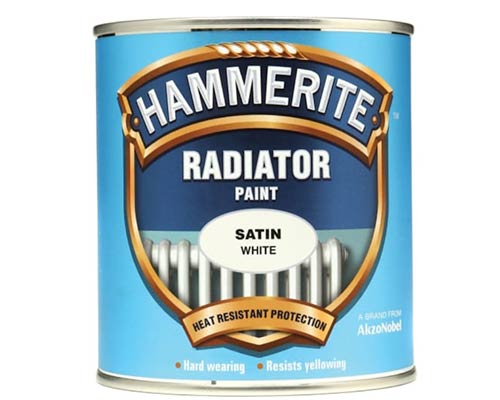
Standard radiator white paint
Solvent-Based Paints/Enamels
Pretty much all enamel paints tend to be solvent-based as, once dried, they set to a very hard finish, but some oil-based paints can also contain solvents.
Today, solvent-based paints are very few and far between and are generally not used due to the VOC’s (volatile organic compounds) they contain as this makes then extremely damaging to the environment.
However, if you do choose to use one, you can use a non-drip gloss or satinwood, which are available in a wide range of colours.
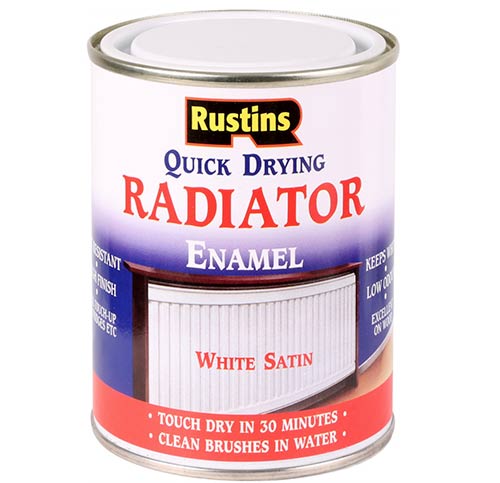
Radiator enamel paint
Clear Radiator Overcoat/Lacquer
The third option is a clear radiator overcoat, sold by many paint manufacturers.
What this allows you to do is to use an ordinary standard emulsion paint onto the radiator, then paint the clear overcoat over the top, sealing it in.
This then gives it a protective coating that helps to prevent it from cracking, discolouring and light knocks and scrapes.
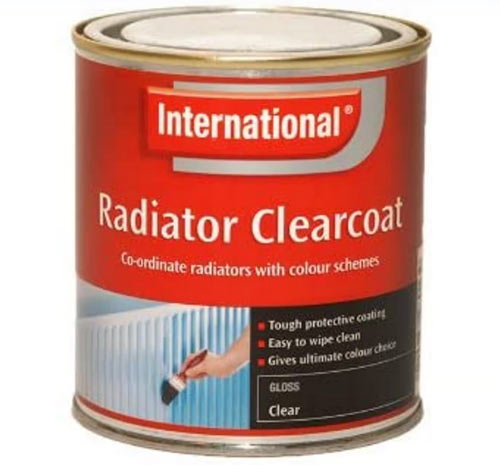
Radiator clearcoat protective coating
Spray Paint
Your fourth option is spray paint. There are a few spray paints specially formulated for radiators available, with a limited selection of colours.
If you are planning to use spray paint, you will need to make sure you protect the surrounding area really well, as spray paint is difficult to direct and can drift in the air.
You should wear a face mask and make sure the room is well-ventilated. Gloves are also advisable, as spray paint can drip from the nozzle onto your hands and is difficult to remove.
Generally, using spray paint gives the best and most flat and even finish as there are no brush strokes.
Latex-Based Paints
Despite saying that you shouldn’t use standard paints when painting a radiator, there is a slight exception in the form of latex-based paints (a water-based polymer paint).
These types of paints can generally deal with higher temperatures much better than standard paints so don’t crack or discolour.
Powder Coating
One final option is powder coating. This is a process whereby a paint powder is applied to the radiators surface and then it is put into an oven and the paint is baked on to the surface.
This produces a very hardwearing finish that can also resist temperatures of up to 250°!
However, powder coating is a specialist job, so radiators will need to be taken to a specialist company to do the work.
Power coating is not often used on standard radiators and is generally reserved for cast iron radiators instead.
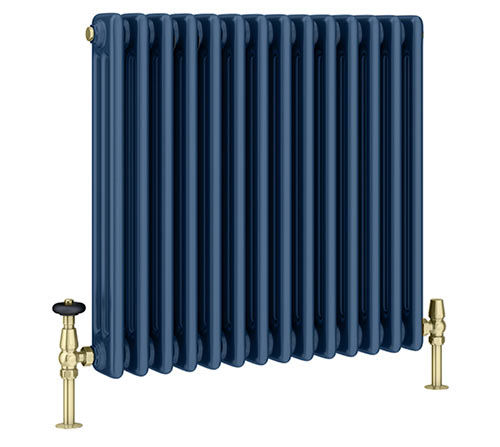
Powder coated cast iron radiator
Primer Paint
One of the key steps in getting a great finish when painting radiators is to apply a primer coat before your topcoat. This produces a nice flat and even surface for your top coat to ensure it also is flat and even.
When it comes to what primer to use for a radiator, again this should be a primer paint specifically formulated for use on metal surfaces, some good options are those made by Zinsser, Rust-oleum and Hammerite.

Metal primer paint
Matt, Satin or Gloss
One final point to consider when it comes to radiator paint is the type of finish you want your topcoat to provide. Generally, this is either a matt, a satin or a gloss finish. The characteristics of each finish-type are as follows:
- Matt Finish: A matt finish produces a very low level of sheen as it absorbs light rather than reflects it so it’s great for hiding imperfections. Matt finishes are often produced by water-based paints and overall produce a decent finish, however generally not too hardwearing
- Satin Finish: These tend to sit between matt and gloss finishes and produce a medium amount of light reflectivity and due to this are most suited to again fairly flat and even surfaces. In terms of wear, they do generally offer a good level of resistance to light knock and bangs. Again, mostly water based but also available in oil, latex and others
- Gloss Finish: Unlike all the rest, a gloss finish produces a very high level of sheen and therefore light reflectivity, so will show up any imperfections when the light hits in the right spot. Available in all forms including water, latex, enamel and solvent composition it produces an extremely tough and hardwearing finish
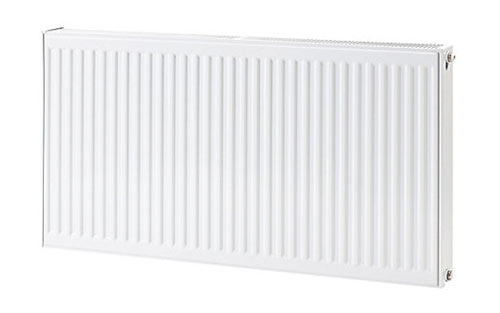
Standard matt finish radiator
Do I have to remove a Radiator to Paint it?
In short, no you do not have to remove a radiator in order to paint it, it can easily be painted in situ, however if you want to get a great finish and ensure the entire radiator is fully covered then you really do need to remove it.
If you have never attempted such a job before and think it sounds extremely daunting, don’t fear, it’s not that hard using a few simple tools. For a full explanation of how it’s done, see our removing a radiator project here.
How do you Paint tha Back of a Radiator if it’s Still in Place?
If you opt to leave your radiator in place while you paint it, once you’ve prepared and painted the front, which is obviously the easiest face to deal with, you will eventually come to painting the rear.
At this point you have 2 options in that you can use a standard paint brush to paint all of the visible parts you can reach and leave it at that or you can get hold of a long handled radiator brush and paint all the way down the back.
In most cases, as long as you do a really good job on anything visible then this should suffice and create the desired effect.
But, if you want to take the belt and braces approach and do the whole thing, as said, you will need to buy pr borrow a long handled radiator brush.
This type of brush is specially made with a long handle, angled head and long bristles so that you can get all the way down the back and between all the fins and lay on an even coat of paint.
Before attempting this though, make sure you lay down dust sheets underneath and newspaper or cardboard down the back of the radiator to prevent getting any paint on the wall.
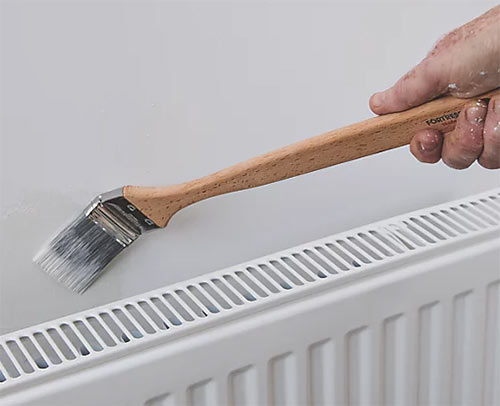
Long handled radiator brush
What About Painting Pipes and Other Radiators?
When it comes to painting other types of radiators such as towel radiators, cast iron radiators and the likes, it’s certainly possible to paint these.
As with standard radiators, you will get the best finish if you remove them to paint them.
Also similarly, the best method pf painting them is to spray them, but again you should use a specific metal primer paint and also top coat.
When it comes to pipework, generally copper, this can also be painted if required. Again specific metal paint should be used and all surfaces need to be prepared correctly first to get a good finish.
Before painting you should also wait for them to cool down fully.
Another option other than painting is to use tape to wrap them or you can buy special pipe sleeves that simply slip over the pipe covering it. These are generally available in a range of colours and styles.
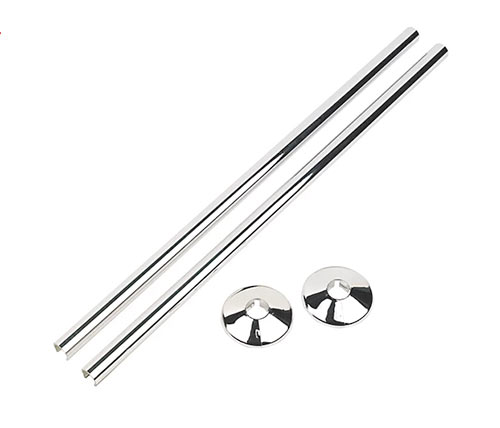
Radiator pipe sleeves
Does the Type of Paint Used Affect the Radiator Performance?
One question that we have heard asked before is “does the type of paint used affect the performance of the radiator?” This is indeed a good question.
In terms of an answer, it does, but only if you end up covering it with a metallic-based paint. Using a standard matt, satin or gloss paint made for use on metal surfaces and radiators should not affect it at all.
Tools Needed for Painting a Radiator
To successfully paint a radiator and get a great finish you will need the following tools and products:
- Desired colour and type of radiator paint (brush on, spray etc.)
- Suitable metal primer paint
- 120,240 and 600 grit sandpaper
- Orbital sander (if you have one)
- Selection of good quality fine bristled paint brushes
- Dust sheets
- Masking tape
- Old newspaper
- Long-handled radiator paint brush
- Suitable old clothes
- Gloves
- Eye protection
- Mask
- Mini paint roller
How to Paint a Radiator
In the steps below we run through the process of how to correctly paint a radiator. Follow each step and take your time and you should end up with a tip top finish worthy of the pros!
As a basic run down, the steps involved in panting a radiator are as follows:
- Step 1 – Cool Down
- Step 2 – Remove Radiator (if you’re up to the job)
- Step 3 – Mask and Sheet up
- Step 4 – Prepare the Radiator
- Step 5 – Apply Primer Paint
- Step 6 – Apply Topcoat Paint
Note: Most paints can give off harmful and sometimes toxic fumes so make absolutely sure the area you’re working in is well ventilated!
Step 1 – Cool Down
The very first step before any paint is applied is you need to turn off your heating system and allow it to cool right down.
This is both to protect you from burning yourself and also to ensure the surface isn’t too hot for the paint, as if it is then it may not adhere to the surface and dry properly.
Step 2 – Remove Radiator
As we have commented the best method of painting a radiator is to remove it and lay it on a suitable work surface where it can be prepared and painted in such a way that you can easily access all areas.
If you have never done this before, see our removing a radiator project here for tips on how to do it.
If you’re not comfortable is doing so, move on to the next step below.
Step 3 – Mask and Sheet up
The next job is to cover up any exposed surface before any preparation work or paint is applied.
Lay out a dust sheet or protective covering below the radiator and out to the sides. Also ensure it gives enough area in front for you to place the paint and work in.
If you are using spray paint then you will need to ensure you cover a much larger area around the radiator and also up the wall and any surfaces behind. Over spray can travel a long way in the air and leave many tiny spot of paint on any exposed surfaces, so ensure you cover as much as possible.
Also make sure that you cover any valves using newspaper or masking tape. If paint is allowed to dry on them, then it can cause them to stick which is what you don’t want!
For any help doing this, see our masking up project here for tips.
Dust sheet roll
Step 4 – Prepare the Radiator
The next and arguably most important job is to prepare the radiator correctly.
Firstly, clean your radiator using a decent household cleaner/degreaser to remove any dust and grease that may have built up over the years and then dry it off.
Next it now needs to be fully rubbed down using a fine sandpaper or wet and dry paper – this is to give a slightly roughened surface for the paint to adhere to.
You can use an orbital sander or similar on any large flat surfaces, this will save you a little time. Ensure you attach a vacuum and have it running to remove as much dust as possible and prevent it getting into the air.
For any tighter spaces, you will need to use your hand, fingertip or you can use a detail sander.
Pay special attention to any rust spots, ensuring you remove them and leave a smooth surface otherwise it will always look rough.
Once you have finished and every accessible part of the radiator has been sanded evenly, vacuum all around to remove any remaining unwanted dust and then wipe over using a slightly damp rag to collect any fine remaining dust.
Step 5 – Apply Primer Paint
To produce a flat and even base for your top coat, the first paint coat applied is a good quality metal primer.
Use an anti-corrosive primer if you have a few rust spots, as it will help to stop the rust from getting any worse.
Brush or roll the primer on evenly over the entire surface of the radiator, using suitably sized smaller brushes for covering any tighter areas.
If brushing on, try to use a flowing, fluid motion to minimise any brush strokes.
Once the first coat is on, allow it to dry for 24 hours and then apply a second coat.
Once this has been left for 24 hours and fully dried, use a very fine (600’ish grit) sandpaper and lightly rub over the surface to remove any proud brush strokes.
Once again, wipe over with a damp cloth to remove any dust clumps and then dry and vacuum once more.
Is using spray paint, again keep a fluid motion when spraying to ensure you lay on an even coat.
If you’re working in situ, you will need to use a long handled radiator brush to reach down the back of the radiator.
Step 6 – Apply Topcoat Paint
Once the undercoat is on and complete, the final finishing top coat is next.
Using your chosen good quality brush, apply your topcoat paint to the radiators surface, covering it fully but making sure the paint is not too thick as this will cause runs. As mentioned, an angled radiator brush can come in handy when trying to paint in hard to reach areas.
As before, if brushing, use flowing and even brush strokes for a uniform finish and if sprying use similar even flowing movements. Don’t dwell too long in one place as this can cause runs.
Once the first coat is complete leave it to fully dry for at least 24 hours.
Once the first coat is dry, repeat again and apply a second finishing coat and again allow this to dry for at least 24 hours and you’re then done!
Make sure that the paint is completely dry before you turn the radiator on again.
The first time you turn the radiator on, it is likely that you will smell a strong paint aroma, but this will fade and doesn’t mean that the paint is reacting in a bad way. Keep a window open until the smell goes away.
Painting a radiator is a quick and easy way to either revive one that’s looking tired, match the existing colour-theme in the room or even make it into a feature itself.

