One of the trickiest parts of painting and decorating is painting around objects that you don’t want to get any paint on such as door frames, window sills etc. If you don’t have a steady hand this job can prove quite tricky.
Fortunately to help prevent any of these over painting issues we have a handy tool to hand known as masking tape, find out exactly how to best use this below.
What is Masking Tape?
Masking tape is a versatile, pressure-sensitive adhesive tape designed for easy application and removal. Made from thin, crepe paper with a low-tack adhesive, it’s commonly used in painting, decorating, crafting and other similar DIY projects.
Its ability to create clean lines, protect surfaces, and temporarily hold items in place makes it an essential tool for professionals and home users alike.
One of the key benefits of masking tape is its clean removal. Unlike stronger adhesives, it peels off without leaving residue or damaging surfaces, making it ideal for temporary applications, as long as it’s not left on the surface for too long!
Special tape for curved surfaces
It is available in various widths, adhesive strengths, and heat-resistant options to suit different needs, from delicate surfaces to high-temperature industrial use.
Although similar, but not quite the same, painter’s tape, a specialised type of masking tape, is designed to prevent paint bleed and ensure crisp edges around skirting boards, ceilings, and windows. Additionally, it is used in automotive refinishing, industrial applications, and even household repairs.
A common mistake when using masking tape is assuming it will completely block paint without careful application. If the tape isn’t pressed down firmly along the edges, paint can seep underneath, leaving uneven lines.
Choosing the right masking tape is key. Low-adhesive, high-quality tape delivers better results, while cheap alternatives often fail. Budget tapes, costing as little as 30p per roll, may not provide a clean finish, whereas professional-grade masking tape ensures sharp edges and easy removal.
The quality of masking tape is determined by its “clean peel” time, e.g. how long it can stay on surfaces without leaving behind sticky residue. Standard masking tape should be removed within 3 hours, while premium options, depending on colour, can stay in place for up to 14 days in some cases.
14 day masking tape
Masking tape is available in various widths to suit different tasks, from 12mm tape for beading on glass-panelled doors to wider rolls for protecting skirting boards. For larger areas, it can secure protective sheets, and for curved surfaces, flexible tape is specially designed to conform to shapes.
What are the Different Types of Masking Tape?
In order to get the best painting job results it’s essential that you use the right tools and that includes using the right type of masking tape. With this is mind here follows a selection of different types of masking tape and what they should be used for:
General-Purpose Masking Tape (White Masking Tape)
General-purpose masking tape is the most common type and is widely available in UK hardware stores.
It’s great for a range of simple jobs like labelling, bundling, and temporary surface protection and is used by both professional and DIY decorators alike.
This tape sticks well to most surfaces but isn’t ideal for delicate or heat-exposed areas, as it can leave residue when removed and is also quite sticky so can potentially damage surfaces when removed.
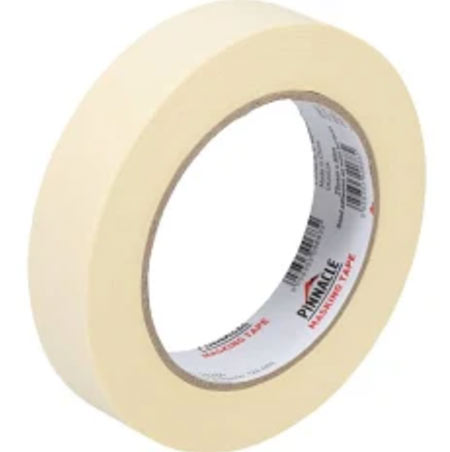
Standard white masking tape
Painter’s Masking Tape (Blue or Low-Tack Tape)
For professional decorators and DIY painters, low-tack painter’s masking tape is essential an essentail tool when trying protect delicate surfaces.
It allows for crisp, clean paint lines and, more importantly is very low-tack, so allows for easy removal without damaging the surface it’s stuck to.
Due to its low-tack nature it can be left in place for what some claim to be up to 14 days and still be removed ok without causing any damage or leaving any residue.
In the UK, you’ll find a few different variations, including:
- Standard painter’s tape – Ideal for indoor wall and ceiling painting.
- Delicate surface painter’s tape – Designed for freshly painted walls, wallpaper, and sensitive surfaces.
- Outdoor painter’s tape – UV-resistant and waterproof, perfect for exterior painting.
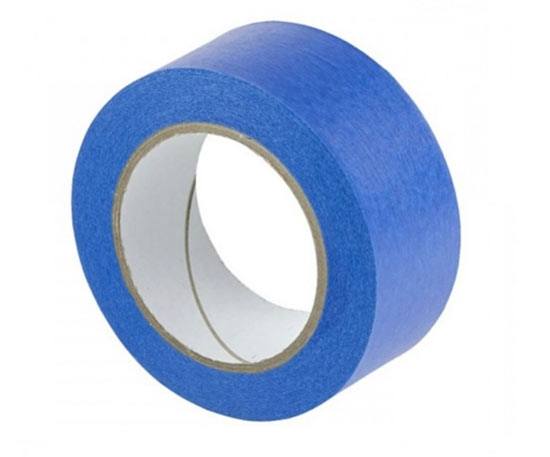
Blue or low-tack masking tape
Automotive Masking Tape (Yellow Tape)
Used by car detailers and bodywork professionals, automotive masking tape has a strong adhesive that sticks to metal and plastic surfaces without peeling or leaving marks.
It’s also resistant to solvents and heat, making it ideal for vehicle painting, panel repairs, and precision masking.
Often coming in yellow (but can also be white or blue) due to its bright, stand out nature, it contrasts well against many backgrounds making it easy to see and follow to get clean, crisp lines.
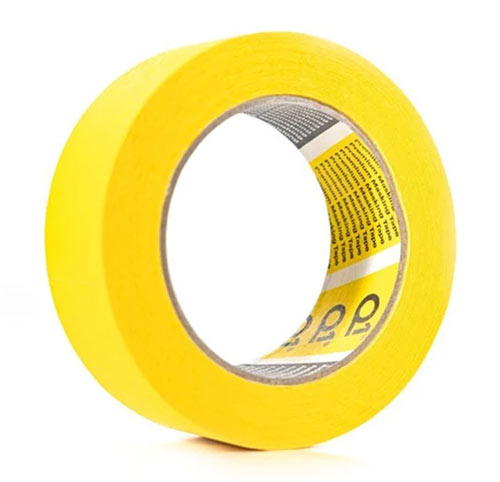
Yellow automotive masking tape
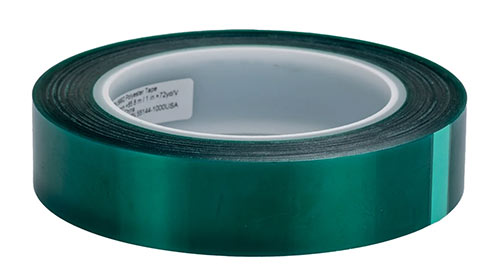
High-Temperature Masking Tape (Usually Green Masking Tape)
Commonly used in automotive and industrial applications, as you may guess, high-temperature masking tape can withstand extreme heat.
It’s designed for use in processes such as spray painting, powder coating, and oven baking, often handling temperatures up to 260°C.
This makes it a popular choice for UK body shops and garages that heat-cure paint jobs in large ovens.
UV-Resistant Masking Tape
For projects exposed to direct sunlight, UV-resistant masking tape is the best choice.
Unlike regular masking tape, which can become brittle and difficult to remove when exposed to UV rays, this tape retains its flexibility and removes cleanly even after several weeks of outdoor use.
It’s also well worth mentioning that masking tape can come in several different widths to suit different applications. The standard widths available are as follows:
- 100mm (extra wide)
- 48mm
- 30mm
- 24mm
- 18mm
In terms of what should be used where, generally the thicker the tape the larger the job it’s for as it covers more area, whereas the thinner tapes are more suited to smaller, more delicate jobs.
The Problem With Masking Tape
Despite its obvious huge range of uses, masking tape does have a few downsides.
Professional decorators rarely use masking tape. Why? Because relying on tape often leads to rushed painting, less precision and an overall sloppy job.
With tape in place, it’s tempting to apply paint carelessly, focusing more on coverage than technique. While it may prevent paint from spreading where it shouldn’t, the overall finish can suffer due to poor brush control and uneven strokes.
So when using masking tape, keep this issue in mind and always concentrate on the quality of the job and not just getting the paint on the wall or surface as quick as you can.
How to Mask up Using Masking Tape
After looking at the various different types fo masking tape and what they should be used for, the next stage is to run through the steps involved in actually applying it to a surface for protection before painting.
Step 1. Choose the Right Masking Tape
As we have discussed, not all masking tapes are the same and suitable for every job so you first need to select the best tape-type for the job you are doing.
For standard indoor painting, a standard or low-tack tape works best. If working on delicate surfaces like wallpaper or freshly painted walls, choose a specialist painter’s or again, low-adhesion tape to prevent the tape sticking to the surface too much.
For outdoor or high-temperature projects, opt for a UV-resistant or heat-resistant masking tape to ensure durability.
Step 2. Clean and Dry the Surface
To ensure that the tape’s adhesive sticks to the surface you’re working on, the next task is to ensure the surface is clean, dry, and free from dust or grease.
Wiping down surfaces with a clean, dry cloth or also using some mild detergent prevents the tape from peeling off prematurely and ensures crisp, clean lines when applying the paint.
Ensure that the entire area is both clean and dry and this includes the area that is going to be painted.
Step 3. Apply the Tape Carefully
Now we get to the stage where we need to start masking up before applying any paint.
Pull off a length of tape, preferably no more than 300mm and hold it between each hand between thumb and fore finger. Position it roughly over the area to be masked.
Starting at one end, press the tape down firmly along an edge where you want to mask off.
Avoid stretching it too much, as this can cause it to lift and let paint bleed underneath. Use a putty knife or your fingernail to press along the edges for a secure seal.
Placing and pressing masking tape to a window frame
Now, depending on what you are masking up will depend on how much tape you apply and to what area.
If masking off door frames, windows frames and the likes, you would simply mask along the line of the timber to isolate it from the wall. The same would be done for other similar objects.
One thing to remember however is that if you paint up to the edge of the tape, once it’s removed it will leave a hard visible line. This may not be an issue if masking up to the edge of an object, but it it’s in the middle of a surface then it will stand out like a sore thumb!
Masking a light switch before painting
Step 4. Mask Off Large Areas if Needed
For bigger projects, such as skirting boards or windowsills, use masking paper or plastic sheeting alongside the tape to protect wider surfaces. This is especially useful when spraying paint or using a roller.
This would also be the case if you were spraying large areas of a car or similar.
Along side masking paper or plastic dust sheets, you can also use newspaper
Masking a carpet before painting skirting board
Step 5. Remove the Tape at the Right Time
Timing is crucial when removing masking tape. For best results, remove it while the paint is still slightly tacky, typically within 30-60 minutes of application.
If it fully dries before you remove it sometimes the act of pulling it off will tear it off the surface, ruining it!
If the paint has dried completely, use a sharp blade to score along the edge of the tape before peeling it off slowly at a 45-degree angle.
Step 6. Check for Any Touch-Ups
Even with careful masking, minor touch-ups may be needed. Keep a fine brush handy to correct any small imperfections for a flawless finish.
Other Methods of Accurate Painting
Painting around edges without unwanted paint marks is called “cutting in.” This technique uses a specialised brush, often more cost-effective than multiple rolls of masking tape.
A high-quality cutting-in brush saves time, eliminates the hassle of taping, and ensures a flawless finish. With the right technique, you can achieve sharp, professional lines without the risk of paint bleeding under tape.
Like any trade skill, cutting in takes practice. The key difference between DIY and professional work isn’t just the tools, it’s precision, patience, and technique.
A good cutting-in or chisel brush delivers cleaner results than tape.
Removing Masking Tape Residue
As good a tool as masking tape is there is one slight issue in that if left on too long or exposed to heat, it can leave behind a sticky residue when removed.
This can make removal frustrating, but with the right approach, you can get surfaces clean quickly and easily.
Step 1. Peel Off Tape Correctly to Avoid Residue
The best way to prevent sticky residue is by removing masking tape properly and in a timely manner.
Always peel it off slowly at a 45-degree angle while the paint is slightly tacky, typically within an hour of painting.
If the tape has been left on too long, gently score along the edge with a sharp blade before peeling to prevent tearing and residue buildup.
Step 2. Use Warm Soapy Water for Light Residue
For small amounts of sticky residue, warm water and washing-up liquid can do the trick.
Soak a cloth in the soapy solution, apply it to the affected area, and gently rub until the adhesive softens and lifts away.
Step 3. Try White Vinegar for Stubborn Residue
White vinegar is a natural and effective way to break down tough tape residue.
Soak a cloth in vinegar, press it against the sticky area for a few minutes, then wipe clean.
This method works well on glass, painted walls, and wood.
Step 4. Use Rubbing Alcohol or Nail Polish Remover
For harder-to-remove residue, apply a small amount of rubbing alcohol or acetone (nail polish remover) to a cloth and rub the area gently.
This dissolves the adhesive without damaging most surfaces.
With this method, always test on a hidden spot first to ensure it won’t affect the finish as substances such as these can damage some paints.
Step 5. Remove Residue from Delicate Surfaces with Cooking Oil*
On delicate surfaces like wood or plastic, apply a small amount of olive oil or baby oil, let it sit for a few minutes, and then wipe away with a soft cloth.
This method is gentle and won’t damage the surface.
Step 6. Finish with a Clean Wipe Down
Once the residue is removed, wipe the area with a damp cloth to remove any leftover cleaning product and ensure the surface is completely clean.
To get a great end result when painting, it’s essential that any lines or borders are followed accurately and you do not creat any overspill marks or similar. If you don’t have a particularly steady hand or an accurate eye with a brush, then using masking tape is an absolute must.