A decent sturdy washing line is an absolute must for every home. During the warmer spring and summer months there’s nothing better than drying your clothes out doors. Not only is line drying much better for your clothes and they smell and feel much fresher, but also it’s free, unlike the huge costs involved in running a tumble dryer.
When it comes to the different types of washing line there are several but the most common types tend to be the standard line fixed between 2 points and the rotary washing line.
In this DIY how-to guide we are going to look at how to correctly install a rotary washing line so that it stays upright and stable for a good long while.
Types of Washing Line
Before we go into exactly how to install our rotary washing line, it’s always good idea to take a look at the other types of washing line available so that you know exactly what’s on offer and that a rotary washing line is suitable for your needs.
Fixed Line Washing Line
A staple feature in pretty much all homes years back but a little less common these days, the fixed line washing line, as the name suggests, is a line fixed between 2 point, normally a house wall and a nearby wall or between 2 poles in the garden.
One of the main reasons for the fixed line washing lines popularity is the fact that it’s very cheap. In most cases it’s just some standard washing line chord and 2 eye bolts which can be bought for less then a tenner!
As mentioned the popularity of the fixed line washing line has declined some what over recent years, mainly due to the fact that many newer homes have much smaller gardens that those of years ago so the more compact and space saving options tend to get more of a look in.
Retractable Washing Line
The retractable washing line is kind of an evolution of the fixed line version. One other downside that many considered the fixed to washing line to have is that fact that when it’s not in use it’s a little bit of an eyesore.
The retractable washing line aims to solve this issue. When it’s not in use it can be unclipped form its retaining point and then retracted back into the winder mechanism housing fully concealing the line until it’s next needed.
There are also several variations of this design – the standard single line version and also multi line versions featuring up to 4 lines.

Retractable washing line
Wall-Mounted Washing Lines
The wall-mounted washing line is essentially a rotary washing line that’s fixed to the wall and can easily be folded away when not in use.
In most cases the line is folded and un-folded using a simple rotary handle but some versions are simply pushed or pulled open and clipped to retain it in its required position.
They are very compact objects and once folded away can hardly be noticed, however when they are extended out they offer a surprisingly large amount of drying space.

Wall mounted washing line
Rotary Washing Line
Last but not least is the focus of this DIY project – the rotary washing line. This arguably offers the best of all options in that they’re fairly compact, can easily be removed and stored during winter months but when required offer a great deal of drying area.
As with all things there are a great many different rotary lines on offer today that range in quality and price greatly, with cheaper models being available for around £15 and more expensive long lasting versions costing upwards of £250
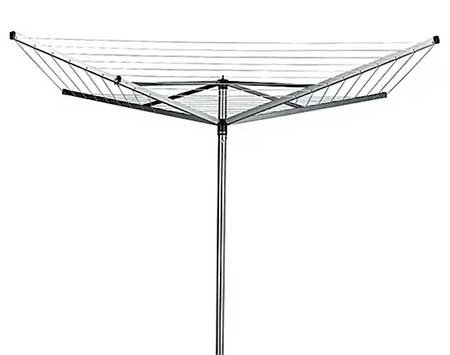
Rotary washing line
What Type of Line is Washing Line Line?
The actual line in your washing line is the core of your drying setup, however over time, regardless of the quality and type of washing line you have the line itself will degrade and break!
In the majority of cases and for the majority of lines you can simply just purchase some new line, remove the old line and re-thread it, however if you have a retractable line this isn’t always possible. If you do have a retractable line it’s worth contacting the manufacturer to ask them if the line can be replaced using standard line or whether they supply replacement line.
If you have just a standard rotary line or fixed line, you can simply purchase some traditional twisted steel rope, plastic coated washing line. This type of line with it’s steel core will ensure it is super strong and lasts while the protective plastic coating protects the steel core and prevents it from rusting.
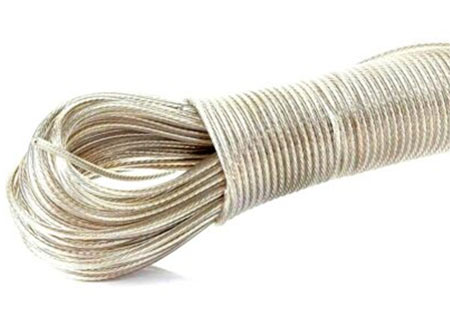
Washing line line
How to Install a Rotary Washing Line
Some of the major issues encountered when installing a rotary washing line is ensuring that it remains permanently in an upright position, keeps its stability and is able to cope with the weight of wet washing and that the base doesn’t rust out eventually causing the whole structure to collapse.
Read on below to find out how to install your rotary washing line and avoid the issues mentioned above.
Position Washing Line
The first job is to locate a suitable position for your rotary washing line. This is totally up to you where you would like it to go but as in eth case of the example we are installing here, the customer wanted it close to a pathway so that she didn’t have to walk on the grass during colder and wetter months.
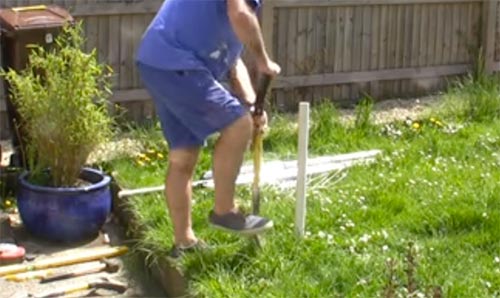
Once positioned use a stake to mark the exact install position. If you don’t have a stake handy you can simply use a rock or similar.
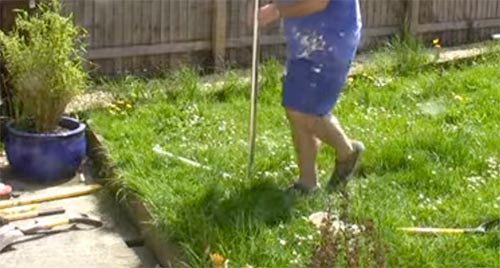
Mark install location of rotary washing line
Source Suitable Tube and Cut to Length
Once your install location is marked it’s now time to start measuring up and sourcing a suitable tube to support your rotary washing line.
In order to ensure the rotary washing line remains in a totally upright position and receives suitable support for the duration of it’s hopefully long life we are going to install a tube in the ground that the exposed base of the rotary washing line will sit in.
So, firstly measure the closed section of the main pole of the rotary washing line. This will then give you an idea of how long you need your ground tube to be. To ensure decent stability you need at least 450mm of tube buried in the ground.
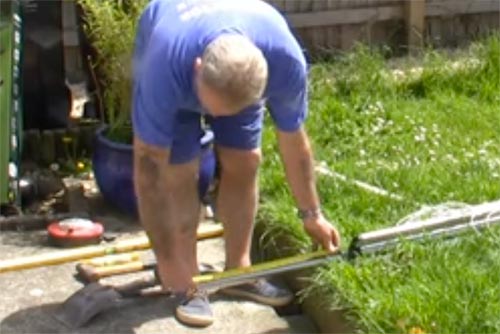
Measure base of rotary washing line tube
In terms of what tube to use, it will need to be tough and hard wearing so as we have used here, the ideal product to use is a section of 40mm waste pipe (commonly used to form bath and basin wastes).
As we have a fairly decent length of tube on our rotary line we are going to sink it as much as possible so we are going to need our tube to be cut to 625mm in length. At this length it will allow 50mm of tube to protrude out of the ground, 125mm of soil for the turf to bed in to, 300mm of concrete and 150mm for the tube to protrude into the ground.
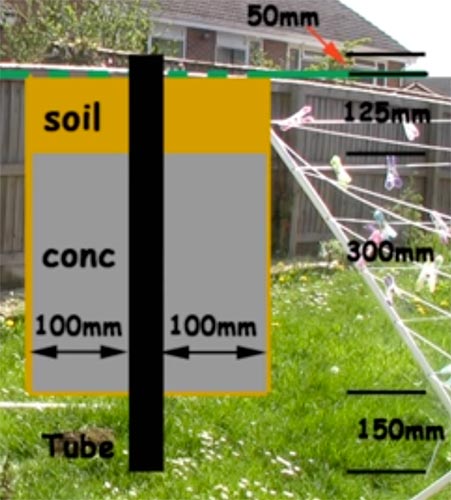
Cross section of tube inserted into ground to support rotary washing line
Position Tube and Excavate Hole
Once your tube is cut to length, remove the marking stake and position the tube in its place and knock it down into the ground roughly 100mm using a lump hammer or similar.
Once in place, use a decent shovel to mark a 100mm square around the pipe (200mm in width and height) and then cut off the top section of turf and put it to one side for use later.
Dig 100mm around the support pipe for your rotary washing line
Once the top section of turf is removed continue to dig out your hole using a decent shovel. If the ground is tough you can use a pole to break it up first.

Hole dug to correct depth for rotary washing line tube
Insert Tube and Concrete
Once your hole is dug to the correct depth position the tube back in the hole and knock it down roughly 150mm into the base of the hole ensuring the tube is central to the hole and as upright and level as possible.
Once the tube is in the hole the next job is to add around roughly 300mm of concrete to the hole. In this case we are going to use Postcrete (see our project here on working with Postcrete).
Before the Postcrete sets hard use a spirit level to ensure that it is totally upright and level in the hole.
Using Postcrete to concrete in tube for rotary washing line
Postcrete normally sets in around 20 minutes or so, depending on the temperature etc. but give it a good hour to cure and once it has cured top the remainder of the hole (should be around 125mm or so) with the soil that you removed earlier. Insert it in layers and compact each layer to pack as much in as you can.
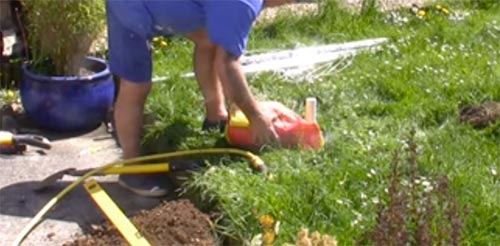
Once the hole is topped up with soil, take the turf that you removed earlier and cut a rough 40mm hole in eth centre of it and then slip it over the top of the tube. Once positioned tamp it down so that it beds in fully and then give it a good watering (continue to do so for a week or so every day if lacking rain).
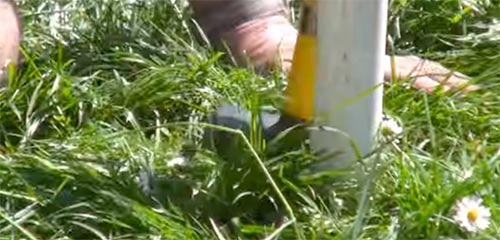
Tamping down turf using the back edge of a lump hammer to bed it in
Insert Rotary Washing Line and Test
With the turf replaced the final job now is to insert the rotary line and open it out to fully test it so position the end into the tube and let it drop down.
If all is well the rotary line should sit nice and level and be at the correct height for you. However if it is not then you can simply drop a little bit of shingle at a time down the tube, testing each time until you have reached the desired height.
Note: Do not raise it to the point that you have less than a foot of the rotary washing line pole down in the hole as it will then become unstable.
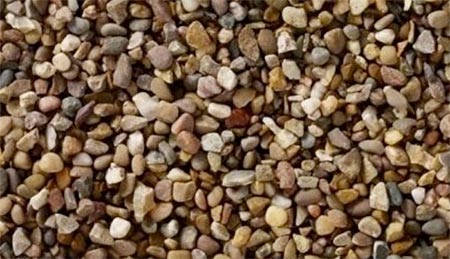
Pea shingle used to raise the height of the rotary washing line
If all is well you should now have completed the installation of your rotary washing line and it should sit firmly upright in its new home.
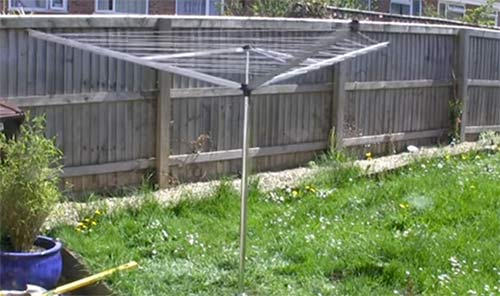
Newly installed rotary washing line