Painting over wood stain or wood dye that’s been applied to a timber surface or other timber item may on face value seem like a pretty easy job. You just paint your chosen top coat colour over the top right?
Unfortunately it’s not quite as simple as this if you actually want the new paint finish to last and look good. To ensure that it does, what you need to do is either remove the existing finish or seal it with a primer sealer so that you can paint over it.
With the above in mind, read on to find out exactly how this is done.
Why Can’t I Just Paint Over the Existing Wood Stain?
The main reason that you can’t simply paint straight over wood stain or dye is that essentially most wood stains tend to be a coloured or tinted varnish and the majority of wood dye’s, once applied to an object, are then coated with varnish or lacquer to protect them.
The main issue comes with this protective varnish coating – varnish by its nature creates a tough, glossy and waterproof layer to protect the surface beneath it from any and all external elements.
For paint and many other top coat finishes to stay stuck to the surface their applied to, they need to be able to fully bond to that surface.
The presence of the varnish prevents this from happening meaning that the paint simply sits on top. Without the necessary bond it will soon flake or chip off, or at best, look uneven and streaky.

Not preparing stained surfaces correctly can lead to a poor, streaky painted finish and eventually peeling
So, armed with this information, you should now hopefully see why just slapping paint over wood stain or dye is not the way to go if you are looking for a good, long lasting finish.
What’s Currently on the Surface?
Using a suitable good quality primer or sealer will almost certainly be able to cope with what ever is currently covering the surface of your timber object, whether it’s wood stain varnish with pigment colouring or wood dye finished with a varnish or lacquer coating.
As we have seen from the information above, the finish that’s currently applied to your timber object is the main factor in determining the quality of finish of any new painted coatings.
To absolutely guarantee a decent new paint job, the best solution is to totally remove the old one. To do this you have a few choices:
- Varnish Stripper: A decent varnish stripper will easily remove any varnished coatings and in some cases any wood dye also. One of the best varnish strippers for this is the Eco Solutions paint and varnish stripper
- Heat Stripping: You can use a heat gun to soften the existing varnish and then use a scraper to scrape it off. This will remove the varnish or wood stain but not necessarily any wood dyes
- Sand it off: A bit more elbow grease that the above solutions, you can sand off the entire surface coating using a variety of grades of sand paper. Again this will remove any varnish coatings but may involve a huge amount of work to sand away any dyes that have soaked down into the timber. You can, of course, use a mechanical sander
- Chemical Stripping: This is a bit of a last resort solution really. Using chemicals on anything isn’t a great idea as they themselves can soak into the timber causing issues down the line and in most cases they are also environmentally damaging but if you have to then a chlorine-based wood bleach or similar may help to remove deep-penetrating wood dyes
Before you can actually remove the existing coating correctly, it’s a good idea to find out exactly what it is.
The best way to do this is use a 220 grit piece of sandpaper to sand over a small area of the object you’re working with in an inconspicuous area.
If after sanding and removing the varnish or lacquer topcoat the colouring is also removed, it’s a good chance you’re dealing with a wood stain or coloured varnish.
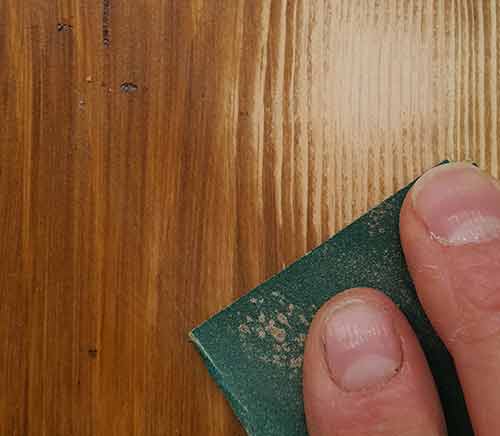
Sanding stained timber surface and colour coming off when sanding
If the colouring is still present after sanding then there’s a good chance that you’re dealing with a wood dye.
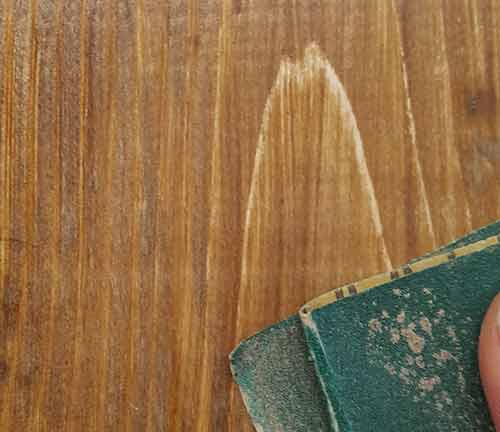
Sanding timber surface and colour still remaining due to it being dyed
Aside from the above, it isn’t always possible to totally remove the existing finish in order to paint on your new topcoat as, for example, you might be working on a door that you can’t remove and simply sanding it down would fill your home with dust.
In this instance using a sealer and primer is the best way to go – you avoid much of the time consuming and messy preparation stage and, on the whole, the finish is pretty much as good.
For the purposes of this DIY project guide, we will be using a sealer and primer to paint over our existing wood stain or wood dye.
Preparing Wood Stain for Painting
Before you can actually get started with the final paint job or even the priming and sealing you will need to prepare the timber surface or object you’re working on.
Most of today’s modern sealers, primers and stain blockers can be applied straight on to a lacquered or varnished surface without the need to sand them, however, we would always suggest a quick sand over to provide the best starting base possible.
Using a 220 fine grit sandpaper, lightly sand your item over fully making sure you get down into any and all tight or detail spaces.
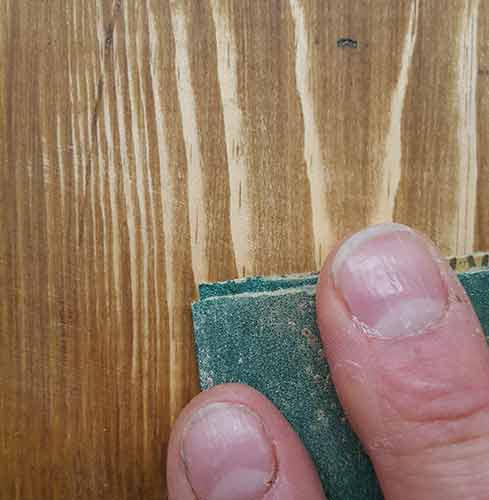
Sanding over stained/varnished surface to provide key for primer/sealer
If dust is a concern then have a vacuum in one hand while you sand with the other. This will remove as much of the dust as you work as possible.
Don’t press to hard or use any mechanical sanders, we’re just looking to run over the surface to provide a decent key.
If there are any damaged areas or impact marks, sand over these thoroughly ensuring you get right down into the area and remove and clean it fully. Feather out all edges so that they are totally smooth and blended with any surrounding areas.
Remove any flaking lacquer or varnish that’s present and again, feather out all rough edges so they are fully blended with their surroundings. Run your finger over each spot to check for “steps”. If you feel any, keep sanding until they are gone.
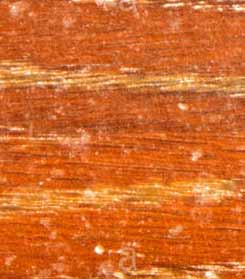
Damaged and flaking varnish to be removed
Once you have sanded the whole surface over, give it a thorough vacuum to remove any remaining dust and then also run over the surface with a tack cloth or clean damp cloth and then leave it to dry.
Repair any Damage
If the timber object you’re working on is quite old then there’s a very good chance it’s suffered some damage over the years that will need to be repaired.
As we are painting our item, ensuring any repairs blend as seamlessly with the nature colour and tone of our object isn’t necessarily a top priority as, after all, it will be covered with paint.
However, styles and tastes change and your timber may not be painted forever. With this in mind, make any repairs using a wood filler or putty that colour-matches your object as close as possible.
The best wood filler or putty to use in this case is a high performance wood filler that’s both flexible and can be stained or painted. Don’t be tempted to use a powder-based filler such as Pollyfilla or similar, as good as they are for filling walls, their not suitable for use with timber!
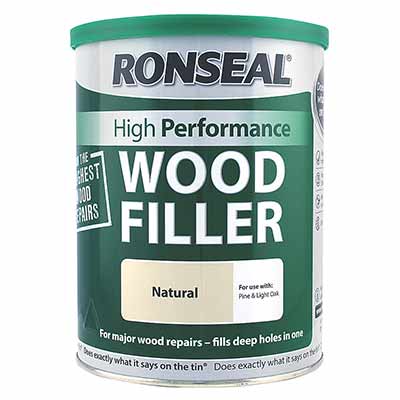
Ronseal High performance wood filler to repair damage
Apply the filler as directed on the packaging by the manufacturer, let it cure fully and then rub it flat ensuring all edges are feathered and blended with surrounding areas.
Apply Sealer and Primer
With your timber item sanded and repaired, the next job is to seal it with a stain blocking primer and sealer. This will prevent the wood stain from affecting the top coat paint.
As we have mentioned, it will also provide the base for our topcoat paint as it’s specifically designed to be applied to glossy surfaces such as lacquer or varnish.
In terms of the best stain blocker or sealer to use, there are many on the market today but one of the best sealers to use to allow you to paint over wood stain tends to be either Zinsser B.I.N or Zinsser Cover Stain.
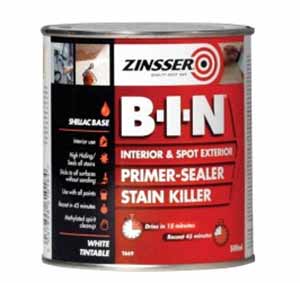
Zinsser BIN primer/sealer and stain blocker
To apply the sealer it needs to be brushed on using a good quality brush. This will not only reduce the amount of brush strokes but will also reduce the chances of bristles coming loose.
Apply the first coat of sealer/primer and allow it to dry fully. Once the first coat is dry, give it a light sand over using a 280 grit paper and then fully clean any remaining dust with a vacuum and damp cloth or tack cloth.
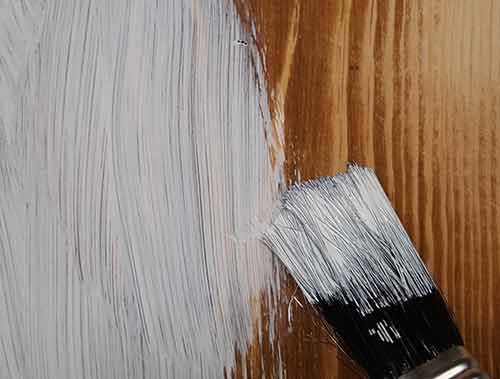
Brushing on primer sealer over existing stained and varnished surface
Once the top side of your item has been primed and sealed and has dried, flip it over and repeat for the other side.
For any detail or tight spaces, use your brush to force the sealer down in ensuing that all areas are fully covered. For any excess, use a dry brush to brush it out.
Once the second coating has dried fully, give it another light sand over and then remove any traces of dust with a vacuum and damp cloth/tack cloth.
Applying Top Coat or Finish Coat
With your stain sealing primer applied and flatted down, the final job is to then apply your top coat paint.
Paint on your top coat in the same manner as the sealer, using fairly long brush strokes. Apply it evenly across both sides and around all edges using a good quality brush.
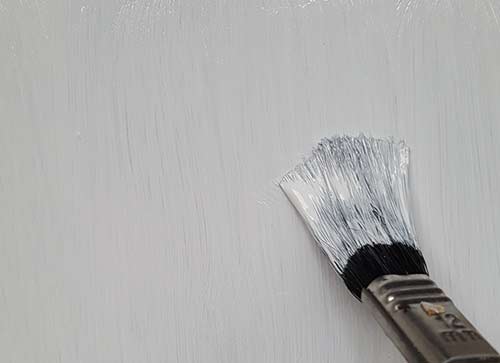
Painting top coat finish over primer, sealer and stain blocker
Let the first coat dry fully and then flat it back using a 280 fine grit sandpaper and then clean fully using a damp rag and again a vacuum to remove any remaining dust.
When all has dried (best to leave for at least 24 hours to dry fully), paint on the second top coating over both sides of your timber object, allowing the first side to fully dry before moving on to the second.
Once you have applied the second top coat layer and this has dried fully you have now successfully painted over a stained timber surface.