Painting a framed, ledge, and brace door is straightforward: start with the outer edges, then the horizontal ledges, followed by the diagonal braces, and finally, the vertical panels on the door’s face.
Experienced DIYers will know the necessary prep work for a smooth finish. However, if you’re new to DIY, you might not be familiar with all the steps involved. Read on for detailed instructions.
What is a Framed, Ledge and Brace Door?
If you’re browsing this DIY guide, you might be wondering, what exactly is a framed, ledge, and brace door?
A framed, ledge, and braced door is commonly found in traditional country cottages, old barns, or period properties. The “frame” is the timber border around the door, the “ledges” are the horizontal cross members, and the “braces” are the diagonal supports.
For proper construction, the braces should angle downwards towards the bottom hinge of the door. This setup ensures the door remains strong, square, and doesn’t sag over time.
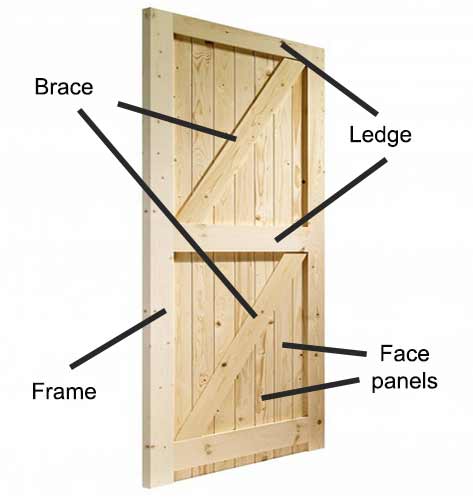
A typical framed, ledge, and brace door made of softwood pine
Doors can also be constructed without the frame, known as ledge and brace doors.

A typical ledge and brace door without a frame
The strongest part of either door type is the hinged side. The bottom of each brace should start on this side and angle up towards the leading edge (where the handle and lock are). This design supports the horizontal ledges, maintaining the door’s integrity.
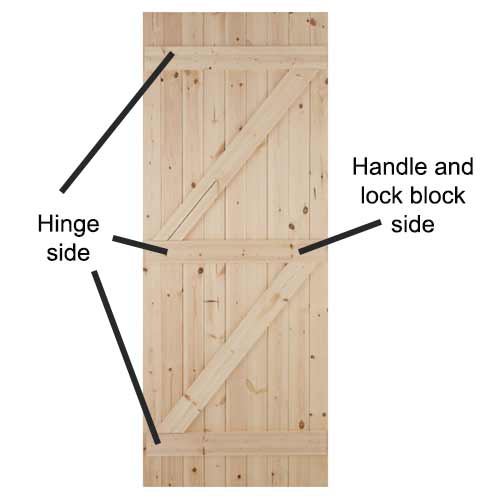
Direction of diagonal braces indicate the correct side of the door for the hinges to be fixed to and also the side that the handle and lock is fixed to
A Note on Lead Paint
Lead was widely used in paints until the 1960s because it made the paint dry faster, more durable, and provided a brilliant gloss finish. This made it ideal for painting doors and skirting boards.
Interestingly, lead-based paints were still allowed in historic buildings until 1992.
If you suspect your door has lead-based paint, you need to take precautions.
Learn how to safely strip and handle lead paint in our guide.
How to Prepare and Paint or Varnish a Framed, Ledge and Brace Door
First, decide how you want to finish your door, as this will determine the preparation needed.
If you plan to refresh the door with the same finish, such as paint or varnish, the process is straightforward.
If you need to re-stain a door, follow our guide on re-staining timber surfaces.
If you want to paint over varnish, see our project on painting over varnish.
For a new finish, like painting over a stained door, the task is more involved. Ideally, strip any existing coatings back to bare wood for the best results. However, this isn’t always possible.
This guide will focus on preparing and recoating a framed, ledge and brace door that has already been varnished or painted, giving it a fresh coat of the existing finish.
Remove Ledge and Brace Door and Any Door Furniture
First, detach the door from its hinges and remove any handles, locks, or other hardware.
To achieve the best finish, lay the door flat on a workbench or saw horses, ensuring enough space to move freely around it. This makes the work much easier.
Start by working on the flat side of the door, then flip it over to address the rear side with the ledges and braces.

Large T-hinges used to fix ledge and brace door to frame. Hinges need to be large enough to cope with the weight of the door
If space is limited, you can work on the door while it is still attached, but this isn’t ideal.
When working with the door still in place, move as much furniture as possible out of the room and cover the remaining items with dust sheets. Close any doors to other rooms and place a dust sheet under the door.
Sanding the door will create a lot of dust, so minimise its spread. Keep a vacuum nearby and clean the door and surrounding area whenever you pause.
With the door flat on a workbench or in situ with surrounding areas covered, you are now ready to start sanding.
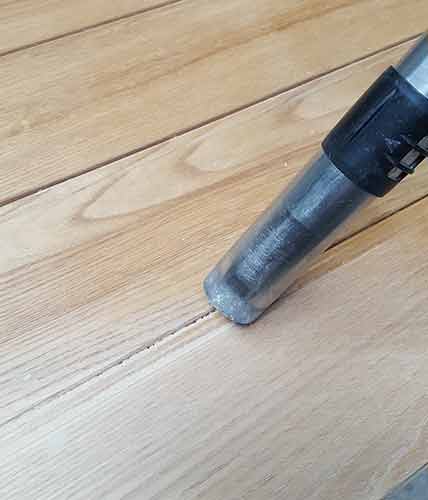
Repair Any Damage
If your ledge and brace door is old, it might have chips, splits, or impact marks. The repair method depends on your final finish.
For painted doors, filler colour doesn’t matter as it will be hidden by the paint. For varnished or stained doors, use a colour-matched filler to blend in repairs.
Use high-performance wood filler to fill any holes or damaged areas.

Ronseal high-performance wood filler used to repair damage to a ledge and brace door
A neutral colour filler is fine for painting, but for varnishing or staining, find a close colour match to your door.
Ensure the filler is compatible with your chosen finish by reading the manufacturer’s guidelines.
Sand the damaged areas, clean away dust, and apply the filler with a putty knife or flexible filling spatula. Follow the manufacturer’s guidelines for curing times.
Once cured, sand the filler to make it flat and level with the surrounding area.
Sand Flat Front Face of Ledge and Brace Door Down
To ensure your new finish adheres properly, you need to create a “key” by roughing up the surface.
Note: If you suspect lead paint, do not sand it. Sanding releases harmful lead dust. Refer to our project on safely dealing with lead paint.
Wear a dust mask, eye protection, and appropriate safety gear before sanding.
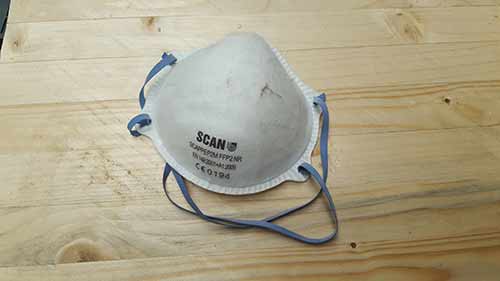
Always wear a dust mask when sanding any surface
Sand in two passes: first with 180-grit sandpaper to remove the existing coat, then with 220-grit sandpaper to create a smooth base.
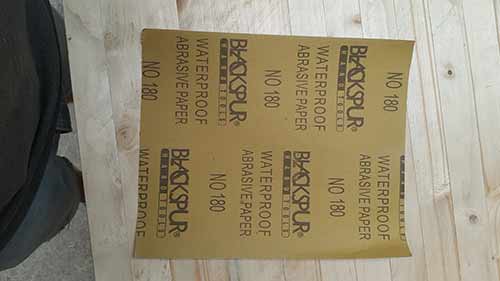
180-grit sandpaper used to sand down the door
Sand by hand or use a random orbit sander. If sanding by hand, use a flat sanding block for an even finish.
Use a flat sanding block for an even finish
If using an orbital sander, keep it moving to avoid damage or taking off too much material in one place.
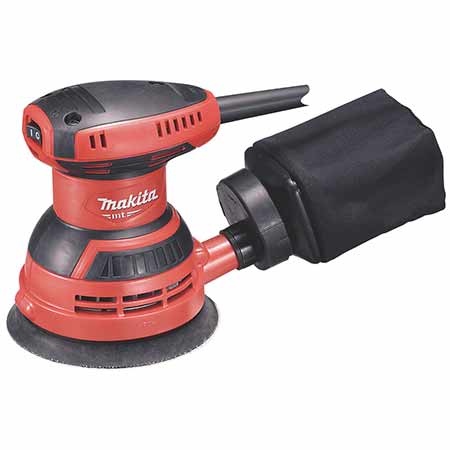
Use a random orbit sander to sand down your door
Work up and down the door, sanding flat areas first, then detail or tight areas. Always sand with the wood grain to avoid scratches.
After the first sanding pass with 180-grit paper, check for any remaining flaking paint or varnish. Ensure all areas are flat and smooth by running your fingertips over the surface to feel for any problem areas.
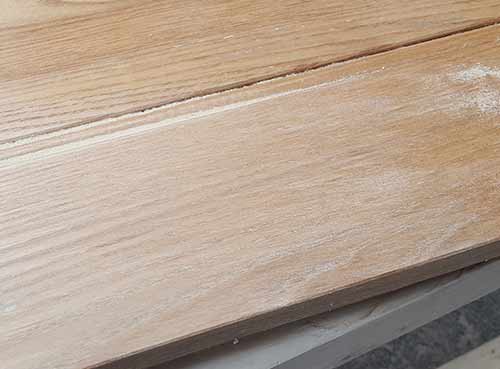
Sanding old varnish off the door. The difference in shades indicates sanded and unsanded areas.
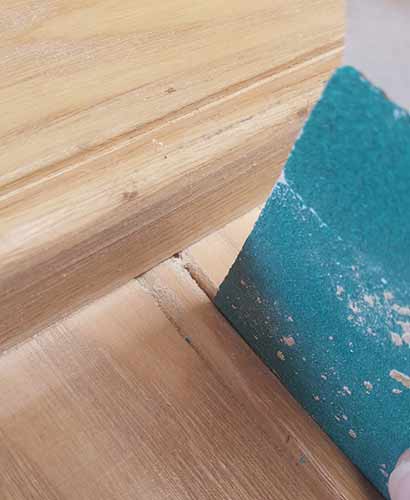
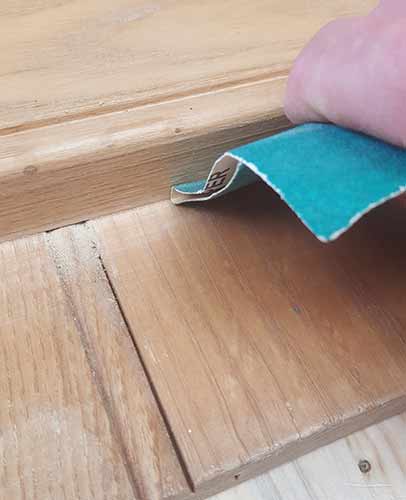
For detailed areas, fold the sandpaper in half to create a spine and run both grit-covered edges along each length and in and around any detail or tight areas.
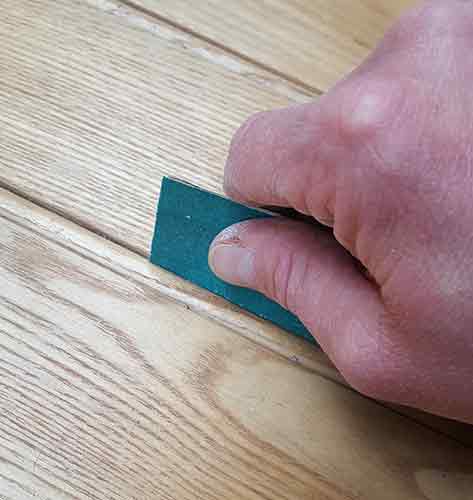
Fold sandpaper to get into tight spaces
Repeat the sanding process with 220-grit sandpaper for a smoother finish. Pay attention to repaired areas to ensure they are flush and smooth.
Once the front is done, flip the door and sand the rear side.
Sand Down Rear of Door and Frame, Ledges, and Braces
After sanding the flat areas, tackle the rear side with the frame, ledges, and braces.
Turn the door over and sand the rear side
Follow the same two-pass method: start with 180-grit sandpaper, then use 220-grit paper.
For tight spaces, fold the sandpaper in half to sand both sides of the edges simultaneously.
Sand the ledges and braces after the flat sections
Ensure all areas are fully sanded and free of loose paint or varnish. This step requires patience but is crucial for a smooth finish.
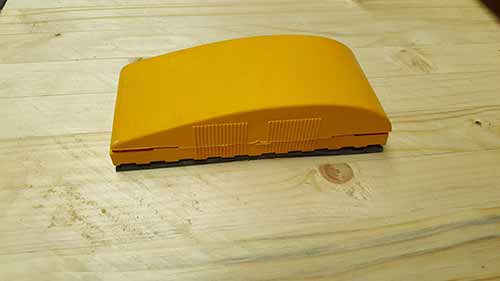
You can also use a sanding block, which comes in various grit grades. Ensure you use the correct grade at each stage.
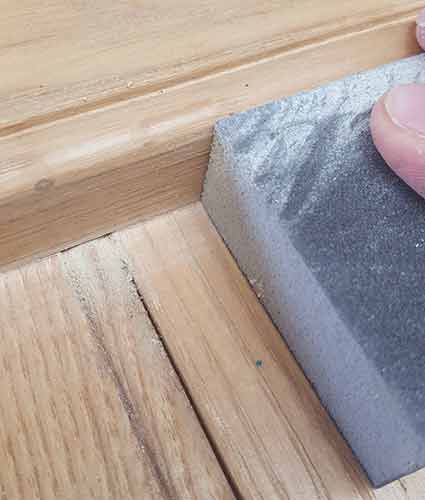
Use a sanding block for ledges and braces
A detail sander can help with the bulk of the work, but you’ll need to finish with sandpaper or a sanding block to reach tight areas.
After the first pass, repeat the process with 220-grit sandpaper or a sanding block for a smooth finish.
Using Paint or Varnish Stripper
If sanding sounds too tedious, consider using a paint or varnish stripper. This method is a little messier but can be very effective, especially for hard-to-reach areas.
For the best results, we recommend Eco Solutions Paint and Varnish Stripper. It’s eco-friendly, fume-free, water-based, safe for kids and pets, and highly effective.
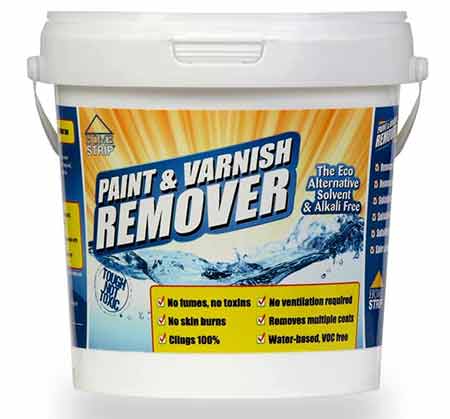
Eco Solutions Paint and Varnish Stripper
Most paint strippers are easy to use. Apply with a brush and let it sit until the paint begins to lift. Then, use a scraper to remove the loosened paint.
Be cautious when using scrapers on wood. Hold the blade flat to avoid digging in and damaging the surface.
After stripping, clean and wash the door according to the product instructions. If any paint remains, repeat the process.
Once the door is completely clean, sand the surface to create a key for the new finish.
Clean Dust and Debris from Your Door
After sanding your ledge and brace door, it’s crucial to clean off all dust and debris before moving on. This step ensures a smooth finish for your new paint or varnish.
The best tool for cleaning is a vacuum. Start by vacuuming the entire door to remove as much dust as possible.
Use a vacuum to remove dust from the door and hard-to-reach areas.
For detailed areas, use a small paintbrush to dislodge dust while vacuuming. Make sure to get into all nooks and crannies for a thorough clean.
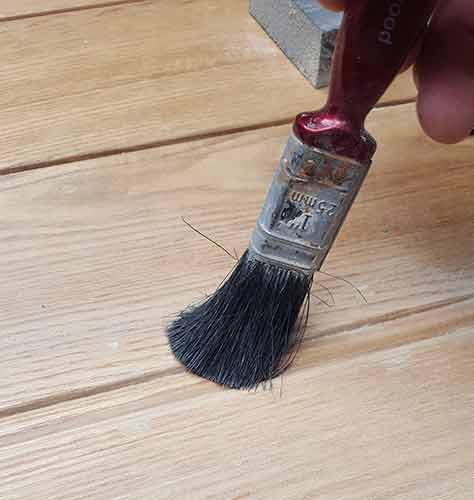
Use a paintbrush to clean dust from detailed areas before vacuuming.
After vacuuming, wipe the door with a damp rag to remove any remaining dust. Rinse the rag frequently in clean water and wring it out as needed.
Let the door dry for at least 30 minutes. Open windows and doors to speed up the drying process.
Applying Primers or Sealers
How to Apply Undercoat for a Smooth Finish
Applying an undercoat is essential for achieving a high-quality top coat finish when painting your ledge and brace door. A good base coat not only provides a stable foundation for your top coat but also improves its adhesion and longevity.
If your door has rough spots, use a “high build” primer to fill in minor cracks and imperfections. A high build primer is thick and effective for smoothing out uneven surfaces.
Choose a primer that offers flexibility and stain-blocking properties. A flexible primer adapts to the natural expansion and contraction of timber, preventing cracks and peeling. For resinous woods like pine, a stain-blocking primer prevents tannins from seeping through and discolouring your top coat.
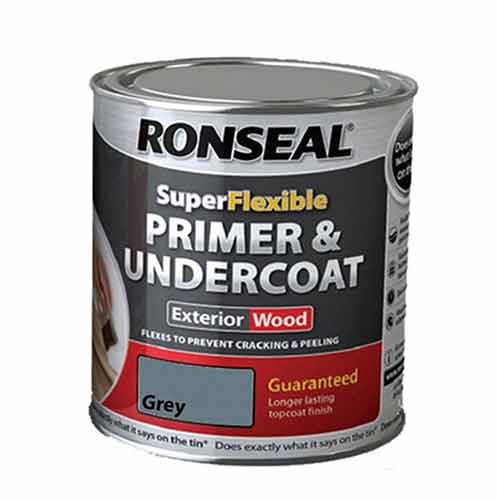
Ronseal Super Flexible Wood Primer for a smooth and durable finish.
Tip: Avoid mixing oil-based and water-based products. Stick to one type to prevent issues like peeling or cracking that occurs when you mix the two. For best results, use a high-quality 2-inch brush to apply the primer, which minimises brush strokes and ensures an even, streak-free finish.
Apply the primer with long, even strokes following the wood grain. Avoid applying the primer too thickly to prevent runs, and smooth out any thick areas as you go.

Steps for painting a ledge and brace door for an even finish.
After priming one side, let it dry as per the manufacturer’s instructions before flipping the door and priming the other side. If the primer instructions require two coats, apply the second coat in teh same manner.
Before adding additional coats, check for dust on the dried primer. Lightly sand with 280-grit sandpaper and wipe clean with a damp cloth if needed.
Do You Need a Varnish Sealer?
When varnishing your door, you might need a sealer before applying the finishing varnish. Whether you need a sealer depends on the varnish type you choose.
Check the Manufacturer’s Instructions: Always read the varnish packaging for any specific requirements about using a sealer. The manufacturer will tell you if a sealer is necessary.
Different varnishes and sealers vary in their requirements, so it’s important to follow the instructions on your product for the best results.
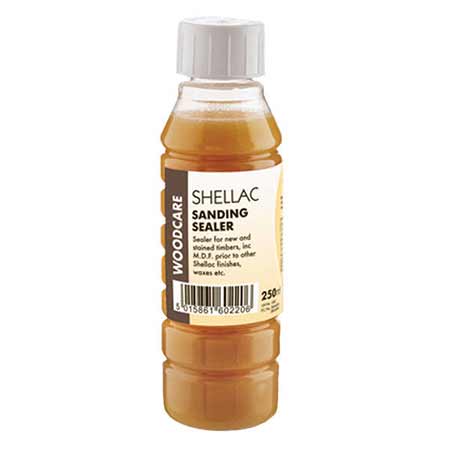
Sadning ssealer can be applied as a base coat before varnishing
How to Apply a Top Coat or Finishing Coat Paint
Applying a top coat is the final step to achieving a professional finish on your door. Follow these simple steps for the best results:
1. Choose a Good Quality Brush
Use a high-quality brush for a smooth, even finish. Paint with long, even strokes in the direction of the wood grain, working from side to side across the door.
2. Check for Missed Areas
Before letting the paint dry, inspect the door carefully. If you see any runs or brush marks, gently smooth them out with a dry brush.
3. Let the Paint Dry
Allow the first coat to dry completely, ideally overnight. Then, flip the door and paint the other side, covering all areas and removing any excess paint with a dry brush.
4. Apply a Second Coat
A second coat of paint improves durability and finish. Lightly sand the first coat with 280-grit sandpaper, then wipe away dust with a damp cloth. Apply the second coat using the same technique as the first coat.
5. Let It Dry
Allow the final coat to dry fully. This ensures a smooth, long-lasting finish for your door.
By following these steps, you’ll achieve a high-quality finish on your ledge and brace door.
How to Apply a Finishing Coat of Varnish
Applying a varnish coat is the final step in your door renovation. Follow these easy steps for a smooth, professional finish:
1. Prepare Your Workspace
Varnish attracts dust like a magnet! Ensure your door and surrounding area are as clean as possible. If your space is dusty, move to a cleaner environment, vacuum and wipe over with a damp rag to mop up any remnants.
2. Apply the Varnish
Use a high-quality brush for best results. Apply varnish with long, even strokes following the wood grain. A good brush helps avoid loose bristles, which can get stuck in the varnish, ruining the finish.
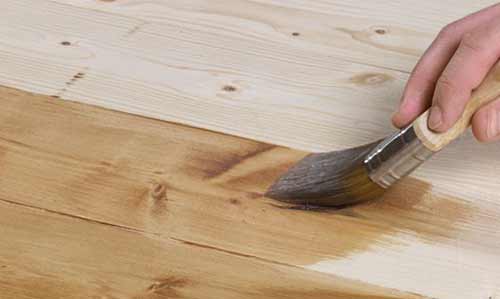
Apply varnish with long strokes for an even finish. Image courtesy of wickes.co.uk
3. Avoid Overlaps and Runs
Varnish is thick and sticky, so avoid overlapping strokes to prevent runs. Check detailed areas and remove any excess varnish with a dry brush. Watch for drips and wipe them away immediately.
4. Let It Dry
Allow the first coat to dry completely as per the manufacturer’s instructions before flipping the door to varnish the other side.
5. Apply Additional Coats
If a second coat is needed, repeat the steps above. More coats will enhance the finish and durability of the varnish.
Congratulations! You’ve now finished varnishing your ledge and brace door. The final step is to reattach the handles, locks, hinges and then finally hang the door back in place in its opening.
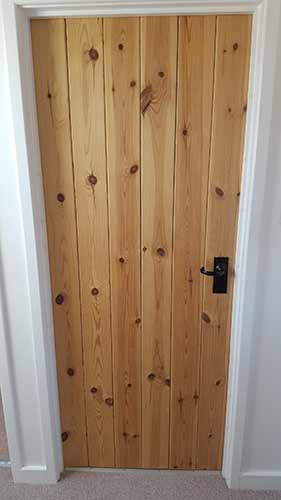
Ledge and brace door finished with varnish
Although you may think that painting a ledge and brace door is quite a straight forward job, in order to get the very best results there is a certain process to follow, but if you do follow it to the letter, you are pretty much guaranteed great results.