
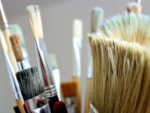

This section focuses on the tools and products that you will use when painting, varnishing or applying stains. In the projects above we introduce you to the various tools for getting the paint applied where you want it (and not where you don’t want it). We cover all the common DIY painting tools, including all the different types of brush, paint pads and rollers; see below for a quick summary of these.
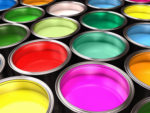
We also explain the different types of paint, varnish and wood stains that you might use, including what are eco-friendly paints and what makes then “Green”. The aim is to ensure that when you choose and use paints you know which one is needed for the job that you are doing.
If you are looking for information about how to actually paint projects both inside and outside your home, we have a complete section on painting. Here we will cover all the techniques, including specific instructions about paint different types of material from MDF to metal, and much more.
For more inspiration and ideas about planning your interior design we have a section that covers the key parts of interior design that you will need to know. If you are still in the planning stage then it is well worth have a browse through our Interior Design section.
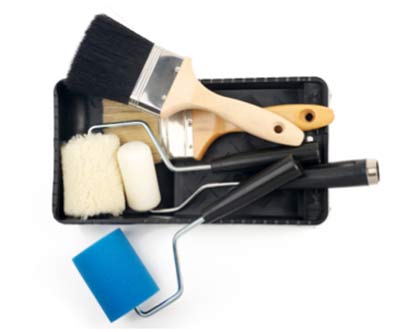
Different Types of Painting Tools
We have divided the different types of painting tools into these three broad categories:
- Tools for getting the paint on to the surface your are painting
- The tools used to create an effect in the paint you have applied
- The supporting cast; the tools that are useful to have to have to help you paint
There are a number of ways to get the paint of the wall, ceiling or whatever you happen to be painting around the house. The choice that you make will depend on the area that you are covering, the intricacy of the paint work you are looking for and your skill or experience.
Pros and Cons of Paint Brushes, Rollers, Pads and Sprayers
There are four tools that are used in a DIY or domestic setting and there are several advantages and disadvantages to using each of them. This is our guide for which you should choose:
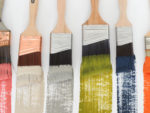
Painting with a Paint Brush
The great thing about paint brushes is that everyone is familiar with them and using them. Obviously there are expert tips and tricks to getting a really great finish that you might not know, but the principle it easy to grasp!
The big advantage of using a paint brush is that it is neat and tidy, particularly for details and intricate areas. There is (next to) no paint splatter and they are efficient as all the paint that you use goes on the walls (or whatever it is you’re painting).
The down side to using a paint brush is that they are not great at painting large areas quickly. The reality is that you will use a paint brush to cut in before painting the bulk of the room with a roller (or pad).
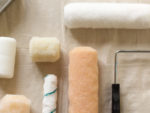
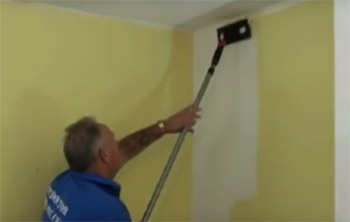
Using A Roller for Painting
Paint rollers are probably the most commonly used applicator for covering large areas. They are ideal for getting large areas painted as they can hold a lot of paint and will transfer it easily and quickly to the wall.
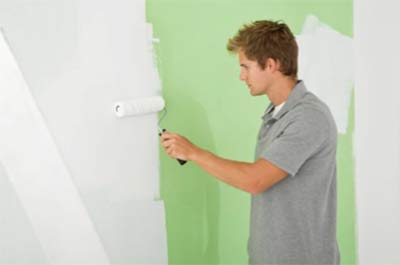
They can be messy as they will flick up paint splashes when the roller is turning, although you can reduce this with a slower and steady movement of the roller across the surface being painted. They also will use more paint and cannot be used for fine intricate painting, where you will need a paint brush anyway.
There will be more preparation needed before using the roller, such as cutting in and covering yourself and surfaces to protect them from the inevitable paint splatter. Cleaning rollers are harder work also, you would only use a roller is the effort warrants on a large enough area.
The Benefits of Using a Paint Pad
A paint pad is similar to painting with a roller, however rather than having a turning drum with the paint on there is a pad. The pad is a rectangular piece of foam which soaks up the paint and then transfers it to the wall.
The big advantage of a pad is that it is much neater and less messy that a roller, while still applying a smooth even coverage. In the project above about how to use a paint pad, there is an excellent video so you can see one being used.
The disadvantage of the paint pad is that they do not hold as much paint as a roller and therefore will need to be“re-charged” more regularly. This means that they take longer to cover the same area, although the cleanup will be less.
Painting with a Paint Sprayer
Using a paint sprayer is not a very common DIY technique, and is definitely more popular in the US than the UK. A machine, the sprayer, sprays a fine mist of paint at the wall; there are a range of sizes, powers and makes which will vary in their ability to cover the walls.
It is very fast and you can paint a large area very quickly, which is the main reason advocates give for using a sprayer. It also will provide a very even coverage (in the right hands) and get into areas which would be hard to reach any other way.
There are a number of issues which make is impractical in many DIY home improvement scenarios. As you can imagine, they are very messy and you and everything in the area will be covered in paint however careful you are. The other big issue is that they will use huge amounts of paint very quickly; in experienced hands this translates into a large area of wall being covered but otherwise it is an expensive way to paint your walls.
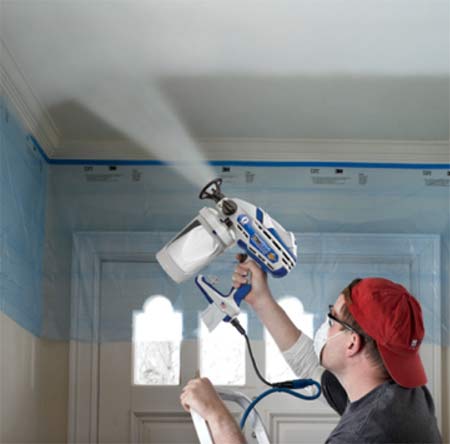
The set up makes getting ready to use a roller look like easy work, and the cleanup will be equally arduous. This is why they are more commonly used in exterior painting jobs where these issues are not quite so important.
There are health and comfort issues with spraying a fine mist of paint about, which is why they are much better used outside.
The important thing to remember is that you might use any of these different paint applicators for the same job, particularly paint brushes alongside a roller or paint pad. This is also the case with the different tools used to create paint effects and the other tools that you will need to assist with the painting job.