When painting and redecorating a paint roller is an invaluable tool to have at your disposal as it can quickly lay on an even and flat coating of paint over pretty much any surface.
Despite how easy they can make life, sometimes there is a lot of confusion over the best roller to use in any given situation, so in this guide we run through the types of roller and their uses..
What is a Paint Roller?
A paint roller is a painting tool used by decorators and painters to enable them to paint large flat areas quickly and efficiently, saving a huge amount on what it would take time-wise to cover the same area with a paint brush.
It features a foam, natural or man made fibre sleeve that slips over a cylindrical metal frame or cage and is held in position by 2 end caps that in turn rotate around a bar fixed to a handle. The operator holds the handle, dips the sleeve in paint covering it and then enables them to roll the paint off of the sleeve on to the wall.
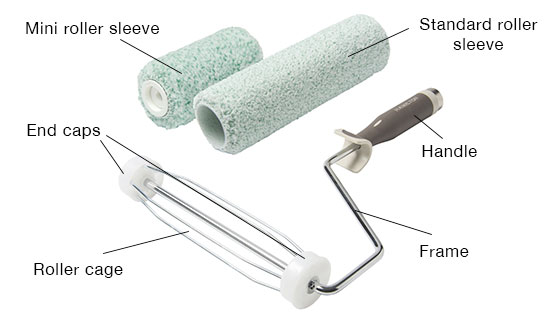
The parts of a paint roller
There are numerous types of paint rollers for different jobs; the largest are 18 inches long but the most popular tend to be around 9 inches in width. These are for covering large, flat areas but there are smaller 2 and 4 inch versions for working on smaller areas and all different sizes in between.
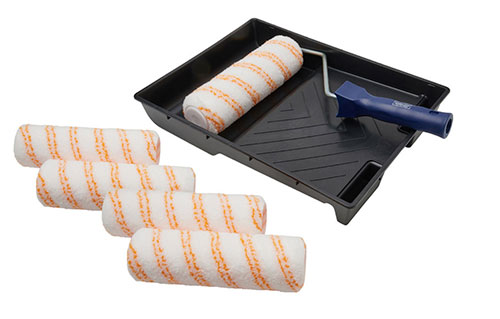
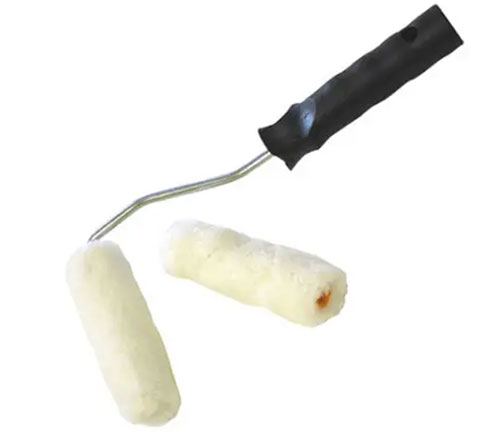
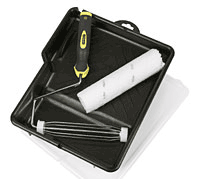
Standard paint roller and tray set
When Should I use a Paint Roller or a Paint Brush?
Paint rollers are ideal for covering large, flat surfaces with paint as they can make a huge difference to the time taken covering a wall with paint. However it is essential that you also use a paint brush, or paint pad to cut in around the edges and corners where the roller cannot get to without making a mess of the surface next to the one you are painting.
Using a paint brush in this way, i.e. for detail, is called cutting in. You can find out all you need to know in our cutting in project here.
Additionally, to make cutting in easier, sometimes it’s better to also cover any exposed edges such as skirting or architrave with masking tape, more can be found here in our project on masking up.
Types of Paint Roller Pile (Nap)
Along with choosing the right size and material type of roller for the job you are doing, it’s also essential that you choose a sleeve with the correct length of pile or nap as it’s also known. By pile or nap we mean the length of the actual material coating the sleeve.
For example, you’ll get a better finish on a smooth flat surface when using a short pile roller sleeve, but you’ll end up with a rough, patchy finish if you use the same type of sleeve on a very rough surface.
Here follows the main lengths of roller sleeve pile and what they should be used for:
- Long Pile: Best used on very uneven or textured surfaces such as pebble dash render and the similar
- Medium Pile: Best suited to flat but slightly rougher surface such as timber and the likes
- Short Pile: Most suited to flat interior surfaces such as plastered walls

Long pile paint roller sleeve
Medium pile roller sleeve
Short pile roller sleeve
Sizes of Paint Rollers
To cope with the vast array of different surfaces you’re likely to want to paint using a paint roller, they do come in varying widths, ranging from about 90mm wide up to 450mm and all have their uses. There is no correct or wrong width for any given job but the obvious thing to remember is the larger the surface, the wider the roller as this will get the most paint on the wall and save you the most time.
Likewise if you have a smaller, more delicate surface to cover, such as a skirting board, a smaller width roller would be much more suited to this.
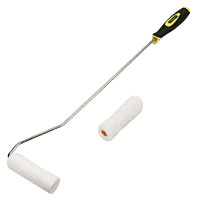
Mini paint roller for use on smaller jobs
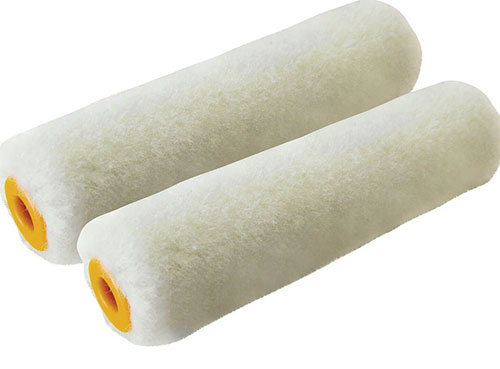
Types of Paint Roller Sleeve
Although when we refer to a paint roller we think of it as a whole item, but in fact the most import part is the interchangeable sleeve as this is the part that gets the paint on the wall and determines how good the finish is. The remainder of the roller, the frame and the handle is just there hold the sleeve.
Rule number one when using paint rollers is that for a good finish, buy a good roller or at least a good roller sleeve. Cheap sleeves can leave roller marks which are almost impossible to paint out.
One of the main problems with roller sleeves is that they often loose fibres when they are brand new. These fibres then end up on your wall ruining the finish.
A good tip to avoid transferring loose fibres from a roller sleeve onto your walls is to dab the sleeve with some masking tape before you dip it into your paint, this will pull off any loose fibres.
Cheap Roller Sleeves
These are available from all DIY stores and as you would expect are the cheapest options available, often 3 for less than a few pounds.
Despite the fact you may be tempted to save a few quid and go with the cheap option, don’t! If you are looking for a good finish for your painted surfaces then in most cases you won’t get it with these sleeves.
Although from a distance the finish may look good, up-close this isn’t the case as you are often left with many roller marks in the paint. Generally available in medium pile.
Cheaper paint roller sleeves have cardboard tubes onto which the skin is stuck. This cardboard can get damp and break down allowing bristles and foam to work loose. Plastic cores, or inserts are preferable.
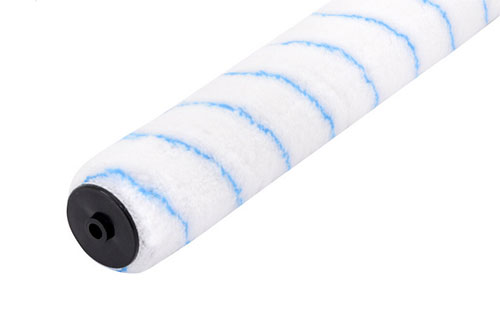
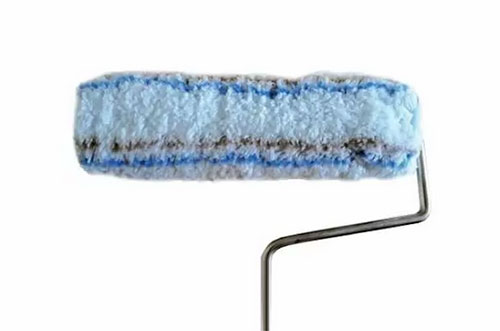
Microfibre Roller Sleeve
Very popular type of paint roller sleeve and a great choice for both DIY’ers and tradesmen alike and are pretty much the go-to solution today.
Suitable for use with water-based emulsion paint, the micorfibre pile picks up and holds a decent amount of paint without sucking up too much which in turn gives you a very even coating.
Suitable for use on all interior walls and ceilings.
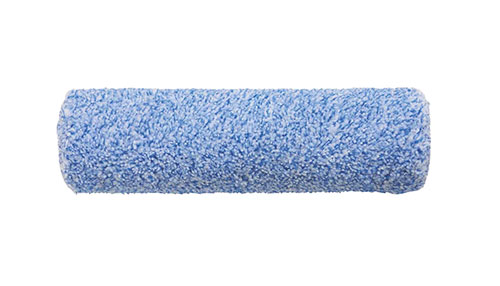
Microfibre paint roller sleeve
Mohair Roller Sleeve
Made from very high quality natural fibres, mohair rollers are often fairly long piled rollers with the pile itself resembling sheep’s wool as it’s quite fluffy.
The longer pile mohair sleeves are excellent for covering textured finishes such as orange peel, sand swirl, bare bricks and blocks and artex ceilings as the longer pile gets down into nooks and crannies in a much more consistent way.
Shorter mohair roller sleeves are also great for applying oil and varnish on to timber and woodwork as they leave a flat and seamless finish.
Mohair roller sleeve
Foam Roller Sleeve
Foam roller sleeves are ideal for use with water-based paints and other similar thinner paints. As the natural pours that appear in the surface of foam are extremely fine they produce a very flat and even finish with minimal roller marks.
With this in mind they are ideally suited for use with matt paints on flat plastered walls and ceilings and also for applying water-based gloss paints.
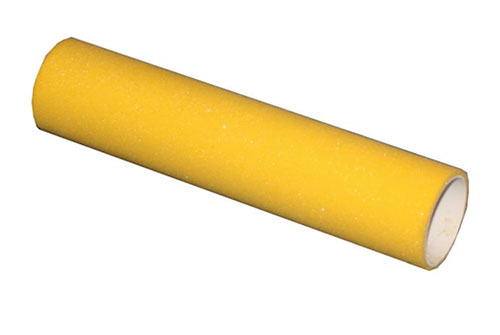
Foam roller sleeve
Synthetic and Natural Fibre Roller Sleeve
Although most different roller sleeves fall under the umbrella of either synthetic or natural as each is either made from a synthetic or natural material, we have mentioned them here so that we can give a general overview of what type of painting each is suited for.
Synthetic fibre rollers are broken in to 2 categories, either knit or woven. Knit fibre rollers are generally best for flat finishes such as matt, where as woven are great for gloss water-based finishes.
However, natural fibre rollers are ideal for oil and latex-based paints.
Wall and Ceiling Corner Roller Sleeve
Although there is such as tool as a corner roller, we generally don’t tend to use them, but for completeness we are doing so.
Corner rollers are essentially very thin roller sleeves, often only an inch or so wide and they are especially designed to fit into the corners and angles where 2 surfaces such as a wall and a ceiling meet where a standard roller is unable to.
Although they do get paint into these corners successfully they often get it all over adjoining surface as they aren’t that accurate. Ultimately they are no substitution for cutting in with a decent paint brush!
Corner roller sleeve
Lambs Wool Roller Sleeve
Lambs wool rollers sleeves are about the highest quality natural fibre sleeves you can buy and produce an excellent finish when used with thicker and solvent-based paints.
As the pile or nap is often fairly long they are also great to use on rougher surfaces such as textured or masonry. Although they give a great finish they do tend to be rather expensive!
Lambs wool paint roller sleeve
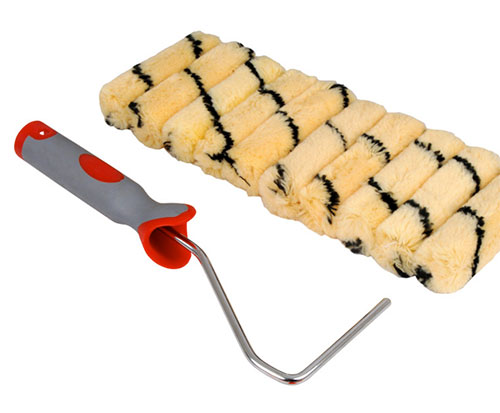
Patterned Paint Roller Sleeves
Patterned roller sleeves are special roller sleeves available for applying thicker paints or mixes, in a textured way to walls and ceilings.
Roller sleeves with patterns cut out of them can give a very nice stippled effect to a wall. Some of these roller sleeves are called stenciled rollers and they are generally made from rubber or cut foam.

Patterned roller sleeve
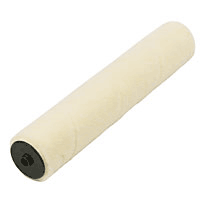
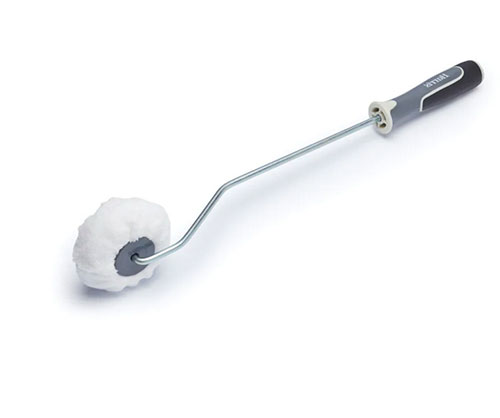
Mini Paint Roller Sleeves
Mini paint roller sleeves are exactly what they sound like, mini versions of standard roler sleeves.
Available in a huge range including microfibre, foam, lambs wool etc. they are generally used for getting into tighter spaces that a traditional sized roller would be unable to.
They are also often used for painting timber and fine furniture in paint, varnish, oil and a whole host of other finishes, depending on the type and material of the sleeve.
Mini roller frame and roller sleeves
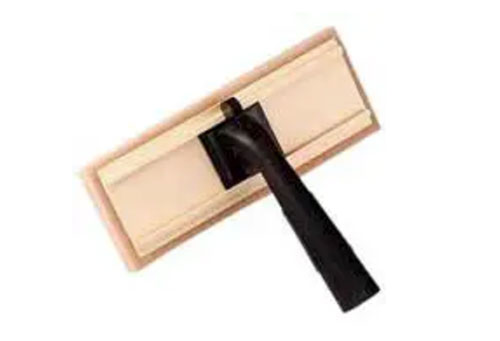
Paint Pads
Although not exactly a paint roller, they do kind of work in a similar way hence the reason we are mentioning them.
As opposed to having bristles or moving parts, a paint pad is essentially a sponge fixed to a base and a handle. Once dipped in paint, the sponge is then run over the surface to be painted, leaving the paint on the wall. As it’s a sponge you get a nice even and consistent finish
As they are quite small, the paint pad it ideal for cutting in and getting into spaces that a standard roller would never reach.
Paint pad ideal for detail painting and flat finishes
Types of Paint Roller Frame
As we have stated above, the sleeve is the most important part of a paint roller as it gets the paint on the wall, however without a frame and handle to operate it, it’s essentially useless.
For this reason it’s important that we also take a look at the different types of roller frame that are available, these are as follows:
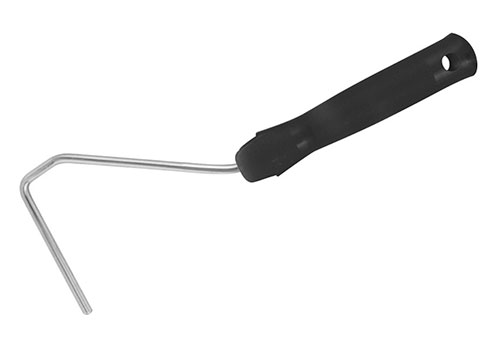
- Standard Roller Frame: The standard roller frame either features a frame and end caps or a straight bar that the roller sleeve slots on to. Available in a range of sizes from 9 to 18 inches
- Mini Roller Frame: The mini roller frame is generally just the straight bar version that sleeves simply slot on to. Available in a range of sizes up to 4 inches, these are designed specifically for smaller more detailed jobs
- Extended Pole: Although not actually a roller, but more of an addition. Most roller frames have hollow, or threaded handles. This allows you to insert or screw on an extension pole into the handle to reach high ceilings or the top of tall walls
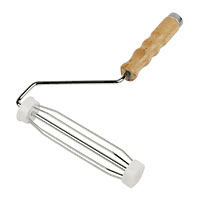
- Radiator Roller: The radiator roller frame, as you can see in the image is essentially and extended mini roller with a much longer handle. This enables it to get in behind objects and, as you may have guessed, down the back of radiators with ease
Standard roller frame
Mini roller frame
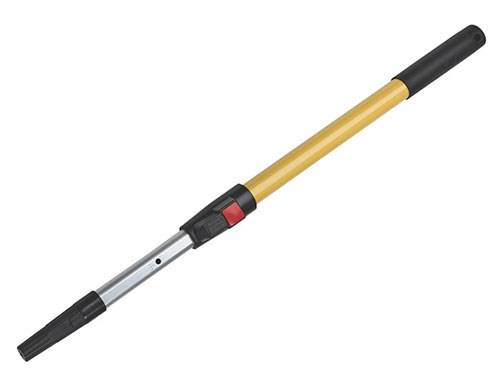
Paint roller extension pole
Radiator paint roller
What Type of Paint Roller to use on What Surface?
As we have stated above, to get the very best finish for a given surface it’s essential that you use the correct type of sleeve with the correct length of pile.
The pile, or nap of a paint roller can be made of materials from 2 different sources that are either wool/natural fibres or man made fibre. As a very rough guide, generally speaking, the rougher the surface of the wall the longer the hair on the sleeve you will need.
A long sleeved mohair roller would be used to cover a textured wall or an artexed ceiling whereas a smooth foam roller would be used to paint emulsion on a nice smooth, plastered wall. The length of the hair on a roller is called the nap or pile of the roller.
Synthetic fibre roller sleeves are ideal for oil based paints such as gloss painting a flush door. The tighter the nap, the smoother the finish but be prepared to throw the smoother roller sleeves away as they are a nightmare to clean.
Lambs wool used on a roller sleeve is perfect for emulsions. They hold more paint than synthetic sleeves and do not splash as much.
Out of all the various types, the best choice is a roller sleeve of Mohair. This is ideal for most surfaces when used with different length naps, and can even be used with varnish. Mohair is most often used with gloss paints and is also ideal for oil based radiator paints.
- Cheap Paint Roller Sleeves: To be avoided!
- Long Haired Mohair Roller Sleeves: Ideal for textured walls and artex ceilings
- Shorter Haired Mohair Roller Sleeves: Ideal for most surfaces and most paint types, but choose the length of your nap carefully to suit the surface you are covering
- Smooth Foam Roller Sleeves: Ideal for painting emulsion onto smooth plastered walls
- Synthetic Fibre Roller Sleeves: Ideal for oil based paints such as gloss and for painting flat surfaces such as a flush door
- Lambs Wool Roller Sleeve: Great for use with emulsion based paints
What are Roller Trays and how are They Used?
To paint or cover a wall another essential task is to get the right amount of paint on to the roller sleeve and one of the best tools to do so is the humble roller tray.
Roller trays are plastic dishes which have paint tipped in to one end. The roller is dipped in the paint and the surplus paint removed by running the roller up and down the trays flat sloped surface.
To avoid cleaning out the tray every time you use it, it can be lined with cling film which can simply be thrown away when that particular colour is finished with.
Roller and tray
Using a paint roller when painting and decorating is an absolute must. Not only will it save you a huge amount of time painting but it will leave you with a much smoother and flatter finish, as long as you also use the correct type of sleeve.