Brick and block paving is a hugely rewarding DIY Job but, like most jobs in the Building Industry, one that requires good preparation to get the best job.
What you see on the surface is only as good as the preparation and its all too easy to end up with dips and hollows that collect water and spoil the outlook you envisaged.
Edging Stones
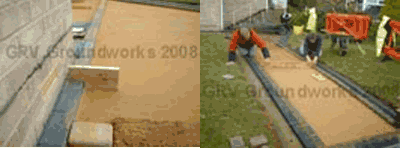
Block paving needs to be surrounded by something to give a firm edge. The edges of any paving are the most vulnerable and we recommend either working with our laying edging stones project or laying an edge of the paving blocks you are using. The image below, left, shows how edging stones are securely set while the right hand image shows bricks themselves being used as an edging. Also see our laying a driveway or path & Mixing concrete projects.
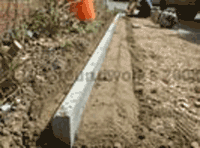
Concrete edgings in place
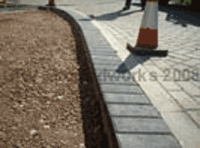
Bricks used as edgings
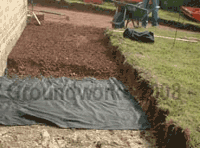
Excavation ready for fill
How to Lay Block Paving
Once you have set out the area to be paved and made sure the levels you are laying to will drain water away from the house (please note any paving near the house should be at least 150mm down from the DPC) You need to remove any surplus soil or concrete which could affect the levels.
1. Removing Concrete
Concrete can be removed using our breaking concrete project and construct a sub base using scalping stone or very well compacted hardcore.
2. Laying the Base – Scalpings and Sand
The scalpings should be placed on a weed fabric as shown above. This will stop weeds growing through your new paving. Much more help with excavation depths, laying edging stones and bases for block paving can be found within the DIY Projects section or via our forum

Kango Hammer
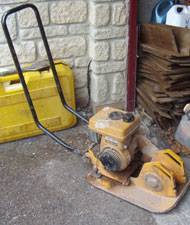
Wacker Plate
Scalpings, as seen above placed on the weed fabric, are very much easier to work with and should be laid to a bed of between 100 and 150mm.
Once the scalpings are in and compacted (the vibrating plate shown above can be hired from any tool hire shop) A layer of sharp sand should be placed on the compacted scalpings.
Sand Screeding
Once the sand is in, its a great idea to vibrate this before laying the paving bricks. Lumps can form in the sand and these can go unnoticed until compacting the pathway when the lumps may burst and a brick or two may immediately drop into the void created. Scrape the sand back to get it level using a screeding timber you can make up easily.
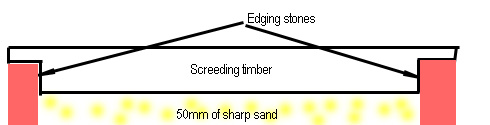
Cross section of screeding

Block Splitter
3. Laying the Bricks for Your Path
Once the sand is laid the bricks can be laid across it. Make sure you press them up together as closely as possible and bed them down gently in the sand.
As with a brick wall, the bricks should be laid so that the joints overlap. This will leave cuts which can be dropped in later.
The best way to do the cuts if there are a small amount as above, is with a disk cutter which you can hire from the local tool hire shop.
Larger areas produce more cuts and its easier to cut them with a proprietary cutter, or splitter as its called. This too can be hired from a tool hire shop.
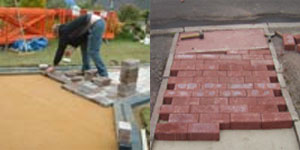
Laying Paving Bricks
Don’t attempt to rush this job, each brick has a small spacing burr or two on each side to give a little joint between them so make sure you lay them square and if any brick feels like it hasn’t gone down properly, on soft sand, it may be there is a lump of gravel or something in the way so take the brick out and check.
You will be vibrating these bricks down soon so its important they all sit on the bed properly.
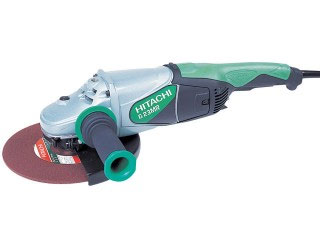
Hitachi 230mm angle grinder
4. Fill the Joints With Silver Sand
When the path is laid and cuts complete you need to cover it with silver (playpit) sand and brush the sand into all the joints. Don’t rush this either it is this sand which binds the whole lot together and will stop bricks moving once traffic starts to use the path or driveway.
The project shown below is a pure DIY Project and was done by block paving virgins. After experimenting with the gap between the driveways, this couple went on to do their entire front garden for parking.
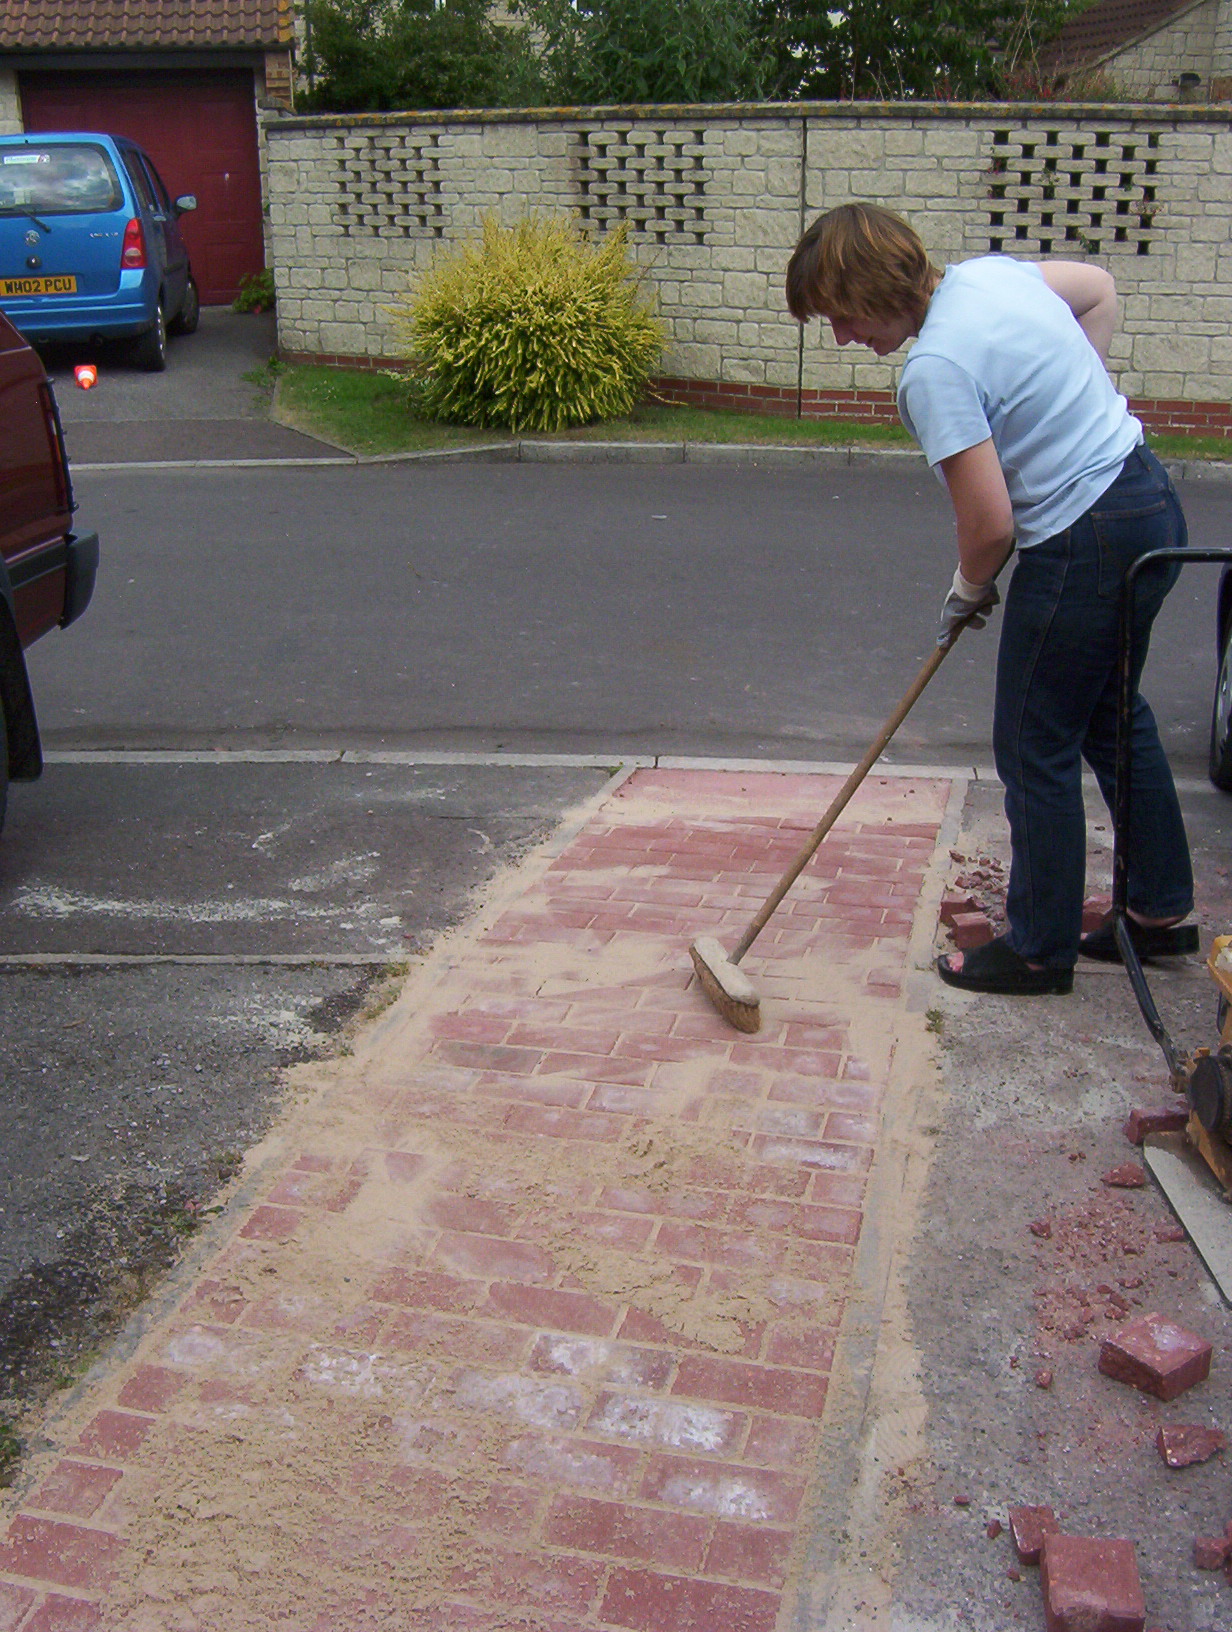
Sweeping over the job
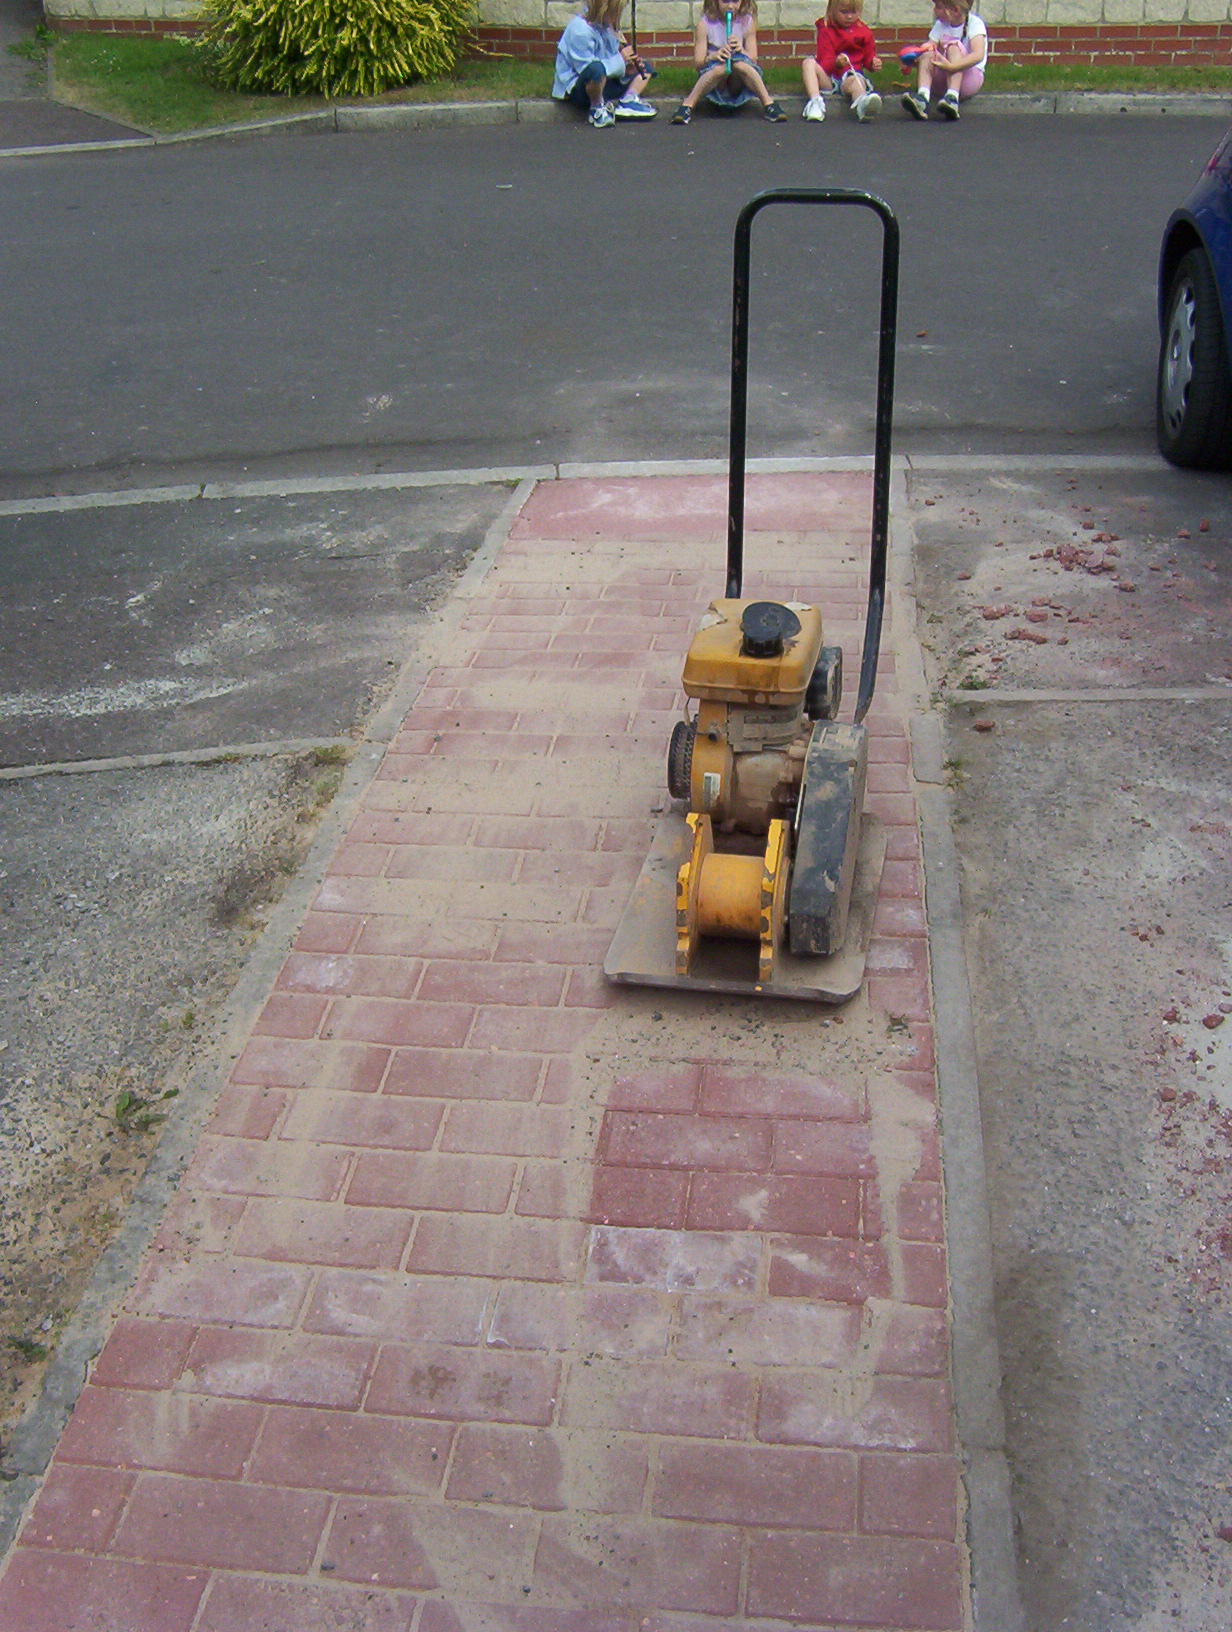
Whacking down the blocks
When you have brushed in as much sand as possible, run the vibrating plate over the path for 10 minutes. Make sure you have covered every square inch and do not dwell in one place for too long. Do not clean all surplus sand off path before vibrating.
After 10 minutes, tip some more silver sand over and start brushing in again, then vibrate again. Continue with this until you are sure every single joint is full.