Successfully fixing to a hollow door has always been a tricky job as there isn’t really much to actually fix to as the actual fixing area is very thin.
Using standard screws are ok to a point but if any weight or pulling force is applied to them, in most cases they rip straight out, especially when fixing handles to hollow doors due to the forces applied to them when opening and closing the door itself.
In the following guide we look at some of the best methods of fixing to hollow doors and ensuring that the object you’re fixing actually stays in place on the door.
Types of Hollow Door Fixings
There is a quite frankly staggering array of fixings available today for pretty much any object and any surface and the same goes for hollow doors, however as with most things, some are better than others.
Adhesive Hooks
There are a variety of sticky back, hook type fixings available for hanging T-towels and light clothing onto the back of doors. These are ok to a point but again they’re only held in place by the strength of the adhesive pad.
For anything up to the weight of a t-shirt they’ll just about hold but for anything heavier a proprietary fixing needs to be used.

Stick on adhesive hooks
Specialist Hollow Door Fixings
When it comes to actual physical fixings, these are the best fixings DIY Doctor have found for this job. The fixings in question are made by Plasplug and can be seen in the image below.

Cross section of door with hollow door fixing inserted
A pack of 20 retails at about £1.49 and can be found in pretty much all DIY sheds. They also come supplied with correct sized drill bit to drill the correct size hole in the door to push the fixing in to so the surface of the plug is level with the surface of the door.
Once the fixing is in place you are then free to fix any items required to your hollow door.
To improve things even further, Plasplug also make a hook with the fixing included to make your life even easier, this particular product can be seen in the image below.
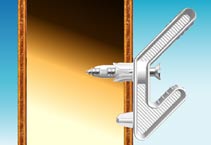
Cross section of hollow door with hook fixing inserted
The hooks above also feature a handy support to prevent it from dropping. In most cases if you are hanging heavy items, unless the fixing is supported from below as in the hook diagram above, the weight of the item will eventually cause the fixing to drop.
Fixing a Batten to the Door
If you are looking for the strongest fixing point possible then the best solution is to attach a batten onto the door and then use this to attach your hooks, hangers or other objects. The batten can be painted to match the decoration of the room.
In terms of fixing the batten to the door you have two choices; use the same hollow door fixings mentioned above or glue the batten in place using one of the many construction adhesives available today.
Either technique will leave you with a nice thick body to fix into.
Batten stuck to hollow door using construction adhesive
How to Fix to a Hollow Door
For the purposes of this guide we are going to run through two of the above techniques for fixing to a hollow door. First we are going to use the purpose made hollow door fixings to fix a coat hanger rail to a hollow door and then we are going to secure a batten to the door using construction adhesive.
Fixing to a Hollow Door Using Hollow Door Fixings
The first job is to measure the width of the door near the top and find its centre and mark it with a pencil at the point on the door you want your hanger to be fixed.
Door marked at centre for coat hanger
Next measure the width of your hanging rail and again mark its centre. Match up the marks on the door and hanging rail and then use a spirit level to level the hanging rail.
Coat hanging rail positioned and leveled on door
Once level, use a screw or other thin pointed object to mark through the fixing holes on the hanging rail to show where you need to drill your fixing holes.
If there aren’t any holes already in the hanging rail you will need to measure and mark centre points and then drill them out.
Marking fixing points on hollow door
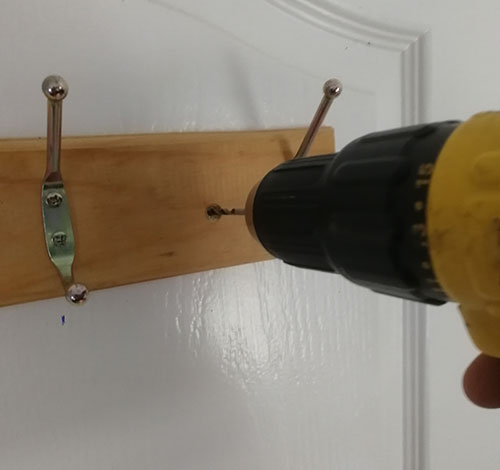
Put the rail to one side and then pop the drill bit that comes with the fixings into a drill and drill out the two holes. If you didn’t get a drill bit then the correct size bit to use is a 6mm bit

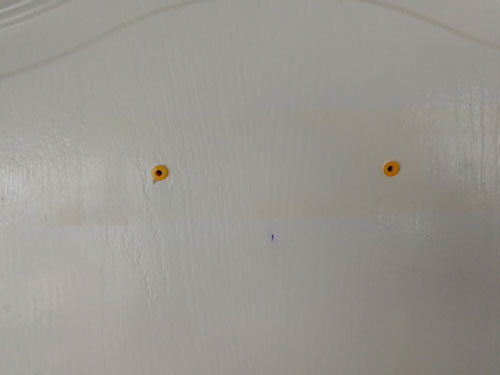
Hollow door fixing holes drilled out
Take two fixings and pop each one into a hole, pushing them in firmly so that the top of the plug sits flush with the door.
Hollow door fixing plugs pushed into holes in door
Finally using two no.6 screws, screw your hanging rail in place on the door.
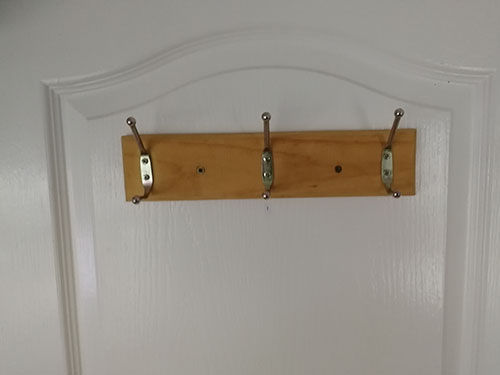
Coat hanging rail fixed to hollow door using hollow door fixings
Although we have used a coat hanging rail in this example, the exact same principles can be applied to any object you need to fix.
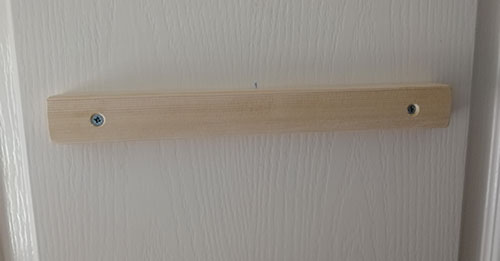
Fixing to a Hollow Door Using Batten and Construction Adhesive
For this tutorial we will be using some 2×1 inch planed batten, but you are free to use the correct size batten for your needs. As it’s planed we don’t need to sand it down, but if you are using just sawn batten, give it a good sand down first and once painted this will produce a good finish.
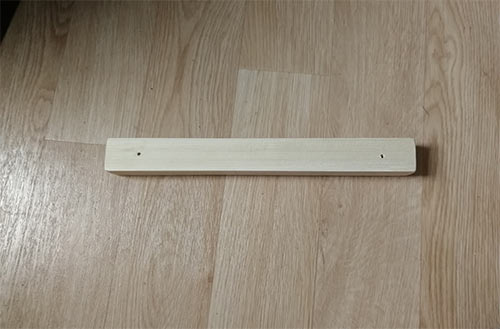
Firstly, cut your batten to the correct length for your needs and then sand off the rough cut edge so it’s nice and smooth.
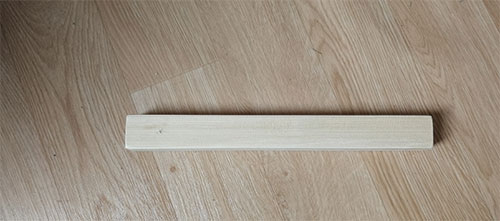
Batten cut to length and rough sawn edge sanded
To allow the construction adhesive to cure and stick the batten to the door you will either need to screw it in place while it dries, take the door off and lay it flat and then put the batten in place or try and clamp it with the door still on.
We would advise against the last one as it’s very tricky to hold it level while clamping. Once dry construction adhesive is rock hard so if it’s crooked then there’s no way you will be able to get it off to level it.
If leaving the door in place and holding with screws, you can either use the hollow door fixings mentioned above or just use some standard screws, we will be using the latter in this case.
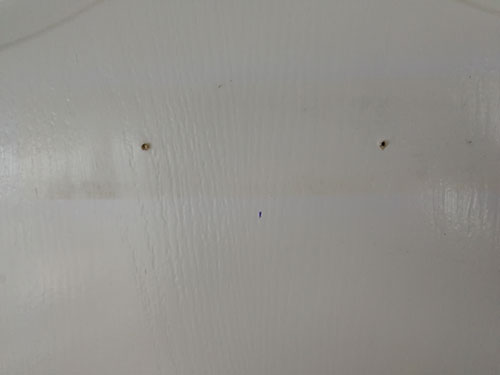
Measure and mark the centre point of your batten around 30mm in from either end, drill out two small pilot holes and then countersink them (see our guide here on pilot holes and countersinking for more information).
Fixing holes drilled in batten to hold in place on door while adhesive cures
Next, measure and mark both the centre of the door where you want your batten fixed and also the batten itself.
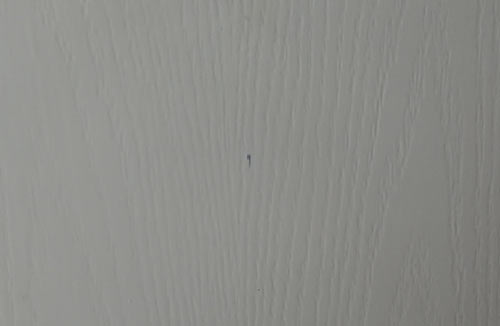
Centre fixing point of door marked
Lay your piece of batten face down and apply several thin beads of construction adhesive across the face of the timber.
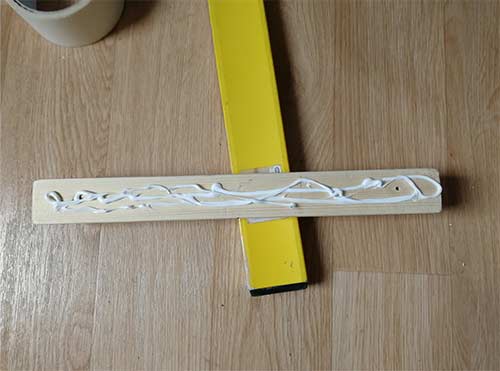
Construction adhesive applied to batten
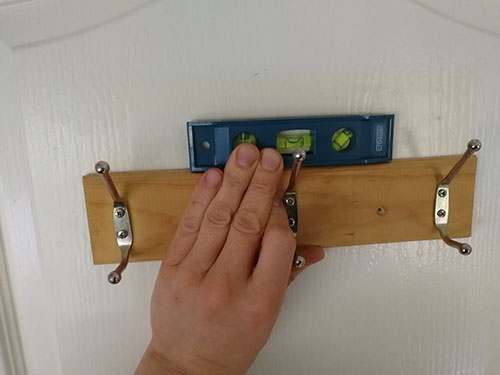
Position the batten in place on the door and level it up using a spirit level.
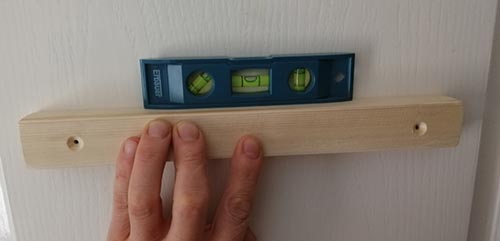
Leveling up batten using spirit level
Once leveled up, insert a screw each end and screw up tight to hold batten which adhesive dries out.
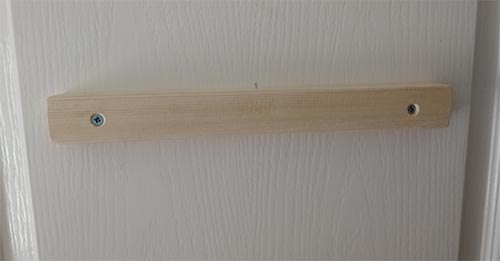
Screws screwed up holding batten firmly in place while adhesive dries
Allow 24 hours for the construction adhesive to fully dry and you can then remove the screws and fill the holes over before painting.
With your batten firmly secured to the door you can then add any hangers, coat pegs or similar that you etc needed.