What is a Sliding Bevel?
A Sliding Bevel, sliding T bevel, flase square or bevel gauge as they are also known is a carpentry and woodworking tool which is used to duplicate and transfer or maintain an angle for cutting timber neatly into surfaces that might not necessarily be at right angles to each other.
They are made up of two parts – the stock and the blade.
The stock of the sliding bevel is essentially the handle and with good quality Sliding Bevels, the pointed end of the blade can be folded back into the stock to save you stabbing your hand when you put it into your tool bag.
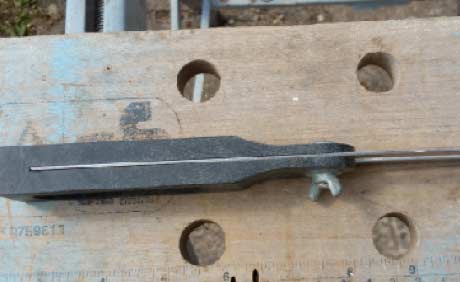
Good sliding bevels should fold easily and securely
Why and where to use a Sliding Bevel
The main point of a sliding bevel, as with other carpentry tools like a carpenters square, is to achieve the best quality joints possible.
Making a piece of furniture, putting up shelves or fixing skirting boards or architraves can be ruined if the joints are too large and buckets of filler have to be used.
If you do a lot of DIY and you would like to get better at your carpentry it is, in our opinion, madness not own a sliding bevel.
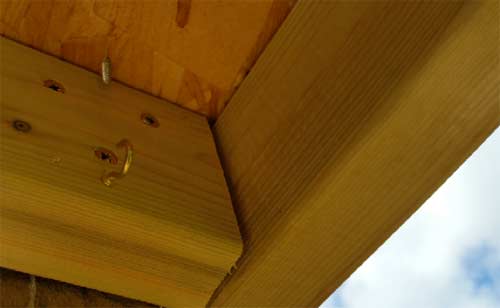
Use a sliding bevel to cut accurate timber joints
Buying a Sliding Bevel
We sell sliding bevels in our toolstore and you can see a good range of them in the tool boxes below.
A tip for buying sliding bevels is the same as our tip for buying any tools for building, home improvement and DIY – Buy the best you can afford.
The parts of a Sliding Bevel
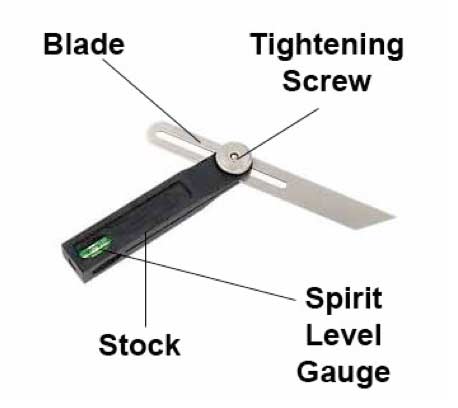
A sliding bevel is used for duplicating angles in carpentry
As we have established, there are two parts of a sliding bevel; the blade and the stock.
Starting with the blade, this is the adjustable part that moves on the stock and can be set at a given angle so that that angle can be marked on a given item to be cut or filed.
The blade itself is normally constructed of tempered hardened steel so that it is hardwearing and will retain its structure.
The last part of this tool is the stock. This holds the blade in place and allows it to be clamped tight so that the user can transfer any set angles.
In terms of construction, again this is normally a tough hardwearing timber such as rosewood or a similar hardwood to ensure longevity.
How to Use a Sliding Bevel
The Bevel or blade is loosened by unscrewing the nut or screw which clamps the sliding part of the Bevel (the blade) to the handle (stock).
This nut is usually a wing-nut so opening and closing can be done easily with no tools.
This wing nut operation is one of the ways to test the quality of a Sliding Bevel. The nut should tighten easily with a simply twist to lock the blade securely in place.
If you have to turn the wing nut with all your might to stop the blade moving then all you are really doing is closing up the jaws of the Bevel and this movement shows a weakness in the jaws.
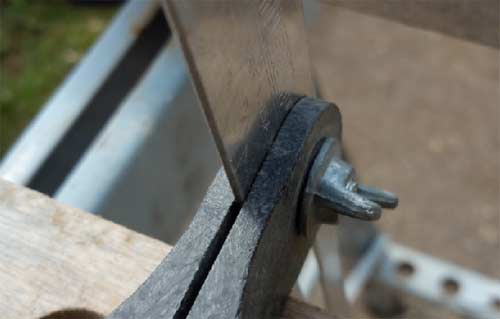
The wing-nut system of tightening for a sliding bevel
How to Duplicate an Angle With the Sliding Bevel
The handle is then pushed against one of the angles and the blade is moved to rest against the other angle. The nut is then tightened and you are left with an accurate representation of the angle which is easily transferred to other fence posts in this instance or it could be skirting, other timbers or a variety of other items.
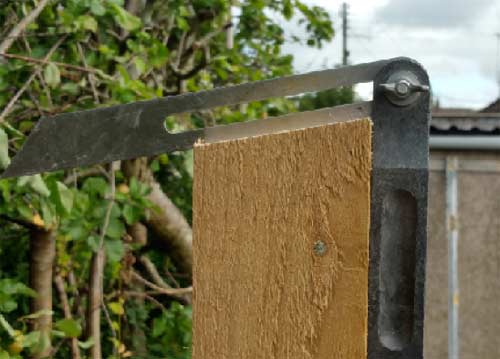
Using a sliding bevel to cut an angled fence post
Using a Sliding Bevel for Shelves and Skirting
In the image below, for example, an internal angle of 70 degrees is shown in the corner of a room.
If a shelf were required in this corner it would obviously need to be cut to 70 degrees.
There is not always a protractor at hand, but when doing any carpentry, it is always useful to carry a sliding bevel.
The shelf could be cut at the same angle as shown on the sliding bevel, but were it skirting going into the corner of the room, the angle would need to be cut in half so both sides of the skirting could be mitred to each other.
This is another project and can be found in our page on cutting a mitred joint in skirting and architrave.
The stock is held against one wall, the blade against the other. The nut tightened and the 70° angle can then be transferred to the timber which, in turn, can be cut to make the shelf.
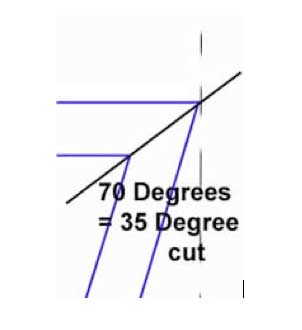
A sliding bevel can be used to cut items so that they butt up to non-square walls such as a shelf
Sliding Bevels With a Spirit Level in the Stock
It is very handy to have a spirit level in the stock of your sliding bevel as it makes it a great deal easier to obtain an accurate reading on a wall.
For example, if you can be 100% sure your sliding bevel is totally vertical or horizontal when you measure your first angle, then you know you are off to a good start.
To transfer this angle onto a bare wall in order to reproduce a shape, is so much easier when the guesswork is taken out of the operation.
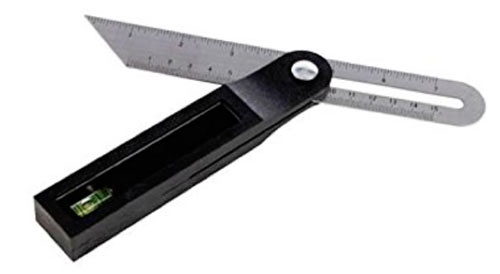
Spirit level in a sliding bevel can make for greater accuracy
Using a Sliding Bevel for Putting up Fencing
The great thing about this tool is that the same angle can be transferred any number of times so it does not have to be measured every time.
This can apply to a number of things as we have seen above but one thing DIY Doctor uses it for a lot is for fencing.
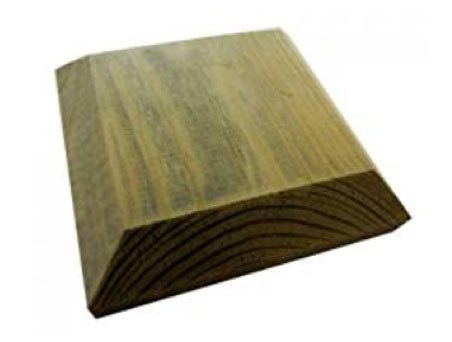
Use a post cap to stop top of fence posts rotting
The top of a fence post should be protected from the rain soaking in and rotting it by either a post cap, or more cheaply, by cutting the top of the post at an angle to make sure the rain runs off.
Setting the Sliding Bevel
First set the bevel to an angle you like. It does not have to be steep, about 20 degrees will do; just enough for water to run off easily.
Now place the sliding bevel on the post and adjust the blade angle accurately to the post as you can see being done in the image at the very top of this project.
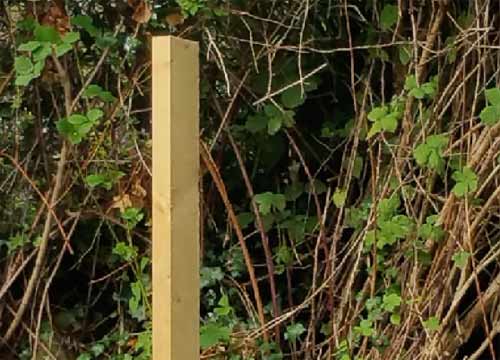
Fence post with 20 degree angled top for water run-off
Setting the Angle on a Sliding Bevel
Push the sliding bevel stock against the work and adjust the blade to the angle you require. In this case the angle of a completed fence post. Lock the blade using the wing-nut as shown.
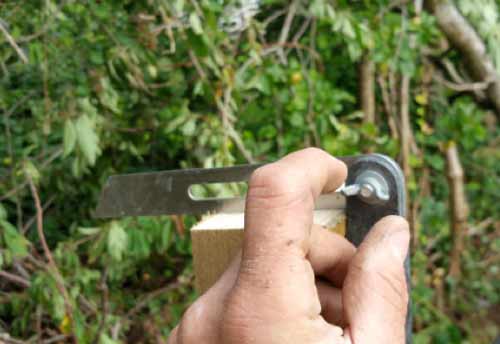
Repeating a sliding bevel angle is easy
Cutting Timber Fence Posts With the Sliding Bevel Method
Take the locked sliding bevel to the next post. Please note, we are cutting our posts before we fix them in the ground.
You may not have that luxury so will need to cut the post when it is concreted in. The principle is exactly the same, it’s just a lot harder to cut a post in a vertical position!).
Push the stock up against the post and transfer the angled cut onto the new post.
This may seem extravagant for a simple fence but the only way to start producing the best quality work you are capable of is to use best building practice at every opportunity.
A line of fence posts, all with different angled tops, looks hideous and is nothing to be proud of!
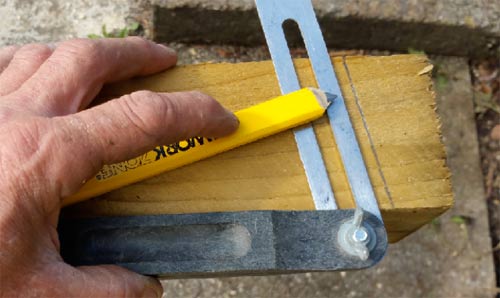
For a neat job use a sliding bevel for all your fence posts
Using a Sliding Bevel With a Carpenters Square
The angled cut is of course just one of the lines you need to follow with your saw cut.
The other line of course, is vertically down the post.
For this, you combine the use of a sliding bevel with a carpenters square to ensure the whole cut is neat and square to the edges of the post.
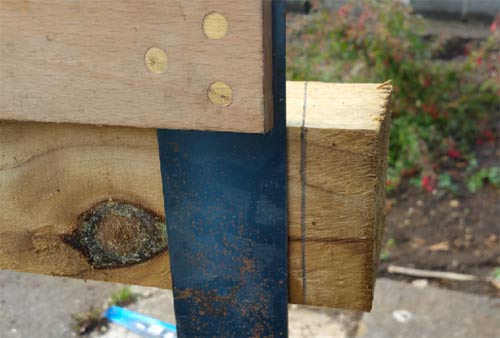
For a neat cut use a carpenters square to complete a bevelled cut
Hold the saw as lightly as you can (see in our project page on cutting and sawing timber properly for more information) and complete your angled cut
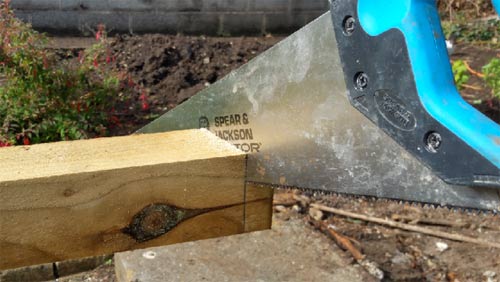
Make cutting fence posts easy by marking out with a sliding bevel
Once you have made your cut or cuts to each fence post you can then sit back and admire your handy work!
Although you have a nice angle to allow any water to run off, if the timber is not treated or sealed then it can still allow water to seep in and eventually cause rot.
To ensure tihs does not happen, either seal the exposed area with a decent stain or you can also fix a fence post cap to teh top.
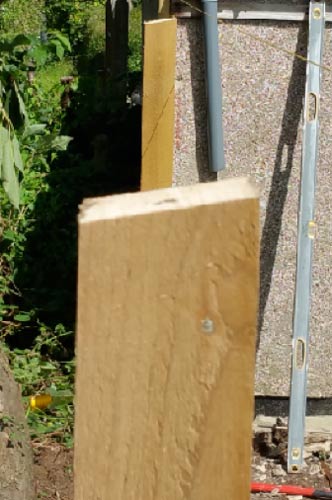
Line of fence posts all with the same angled cut at the top

