When doing any carpentry project, there is always a need to cut something, either to length or commonly, an angle and to ensure the outcome of teh job is good, any cuts must be clean and accurate.
To aid with this, especially angled cuts, the mitre saw is an indispensable essential tool, find out all you need to know about how to use them.
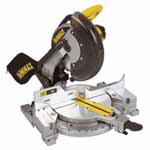
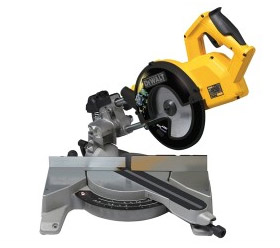
Tabletop mitre saw
What is a Mitre Saw?
A mitre saw is a powerful tool designed for making a range of precise cuts including straight, crosscuts and angled cuts (called mitres) in a range of materials including wood, plastic, and metal.
The primary feature of a mitre saw is its ability to cut at various angles, which is especially useful for tasks like roofing, framing, trim work, or any project where you need clean, accurate, angled cuts.
There are various types of mitre saw, the standard fixed or compound mitre just does straight and angled mitre cuts, however the sliding compound mitre is mounted on a sliding arm, and the blade moves down and across the material, allowing for a wider cuts.
The main advantage of the mitre saw over it main counterparts, the standard handsaw or circular saw is that it allows you to set specific angles that are fixed, making your cuts much more accurate.
On the whole, the mitre saw is an essential tool today for any carpenter or joiner, allowing them to create clean, accurate angled cuts in a much speedier fashion than using traditional methods, allowing for more efficient working practice.
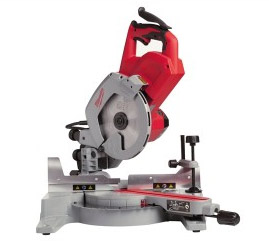
Chop saw for straight cuts through timber
Compound Mitre Saw
A compound mitre saw can perform all the cuts of a standard chop saw, plus it lets you tilt the blade to create angled cuts (mitres). This feature is especially useful for tasks like skirting joins, architrave, boxing, and working with MDF. Learn how to cut a mitre joint here.
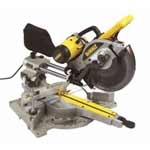
Compound mitre saw
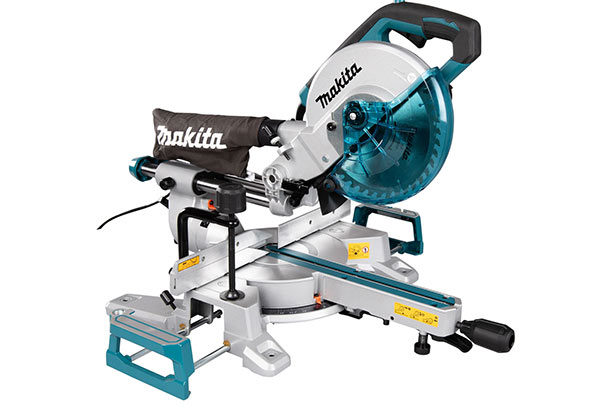
Sliding Compound Mitre Saw
A sliding compound mitre saw offers all the features of a regular compound saw, plus the ability to extend the cutting width by sliding the blade (and motor) along a rail. This makes it ideal for cutting wider timbers laid flat on the saw base.
Sliding compound mitre saw for long mitre cuts
Dual Compound and Cross Cut Mitre Saws
A dual compound mitre saw can make all the cuts of earlier saw types, plus it allows the blade to tilt both ways. This feature is perfect for making precise opposing mitre and bevel cuts.
Cross cut miitre saw
The more operations a saw does, the more expensive it is to buy.
Other Types of Mitre Saw – Manual Cutting Mitre Saw
A manual mitre saw is a simple, pre-electric version of the machine saw. It features a flat base for the wood, four sliding rods to guide the saw, and an adjustable ratchet system to set precise cutting angles.
If you don’t have the budget for a full blown power mitre saw, then this is certainly a great substitute option.
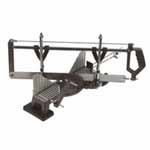
Hand mitre saw for manual cutting
This device would normally be fixed by screwing to a wooden horse or work bench prior to use. The blades are also exchangeable for cutting through different materials.
Cutting Long and Awkward Objects
In some situations it’s necessary to have to cut long, larger or bulky items such as skiting, architrave and the likes.
Most standard mitre saws, although they feature a small cutting bed or table, can’t accomodate such large items and trying to make cuts often leads to using teh saw in a less than safe way.
However there are products you can buy to aid in such situations such as rollers stands, and mitre saw stands.
These allow long and bulky items to be supported while cutting, making cuts much more accurate and also safer
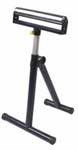
Roller stand for supporting long timbers
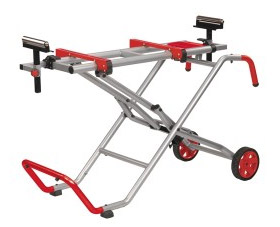
Collapsable mitre saw legstand with wheels
Parts of a Mitre Saw
In order to aid in using a mitre saw correctly, it’s important that you know what all the different parts are called so that you know what each does and when it’s used.
In respect to this, here are the main parts of most standard mitre saws. For the purposes of this guide, we are using a sliding compound mitre saw:
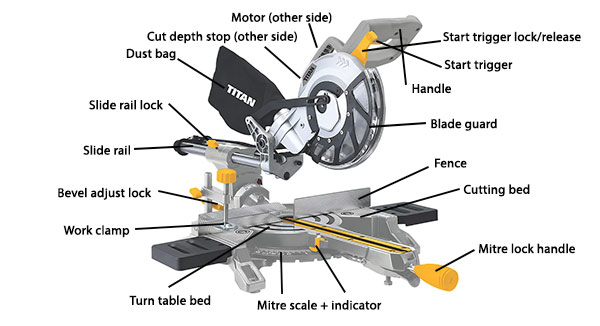
Parts of a mitre saw
Other Safety Points to Consider
As with all power tools, especially those with sharp, fast rotating cutting blades, in the wrong or careless hands, they are extremely dangerous and capable of severe, if not, lethal injury, so it is imperative that they are used safely and correctly.
To this end, here are the top safety considerations to think about when using such a tool:
- Wear Safety Gear: Always wear safety glasses to protect your eyes from flying debris, as well as hearing protection to guard against the loud noise.
- Keep Your Hands Clear: Never place your hands near the saw blade while it’s running. Always keep your fingers at a safe distance from the blade.
- Use a Clamp: Secure the material with a clamp to prevent it from shifting while cutting. This reduces the risk of injury and ensures a more accurate cut.
- Turn Off the Saw When Not in Use: Always turn off the saw and allow the blade to come to a complete stop before making adjustments or changing materials.
- Placing the Saw: Always use the saw on a flat, level and stable surface such as a table saw stand, workbench or floor. Clamp or screw it to the surface if possible.
- Blade Safety: Ensure the blade guard works correctly and covers the blade when the saw is raised.
- Starting the Saw: When using a power mitre saw the blade engages instantly when switched on so be prepared for this.
How to Set Up a Jig Block for Cutting Mitre Joints
Using a chop saw is a fast and accurate way to cut multiple pieces of timber to the same length.
To simplify the process, set up a jig block. Attach a jig block to your workbench at the desired distance from the blade. Then, align each piece of timber against the block before cutting. This ensures precise, consistent results every time.
Jig block for cutting timber to the same length
Tools and Products Needed for a Mitre Saw
In order to correctly use a mitre saw, you will need the following tools and products:
- Chosen type of mitre saw system
- Required material to cut
- Pen/pencil
- Tape measure
- Carpenters square
- Solid work surface – mitre saw stand, work bench etc.
- Sandpaper
Using a Mitre Block – An Alternative to a Mitre Saw
A mitre block (or box) is a simple tool, usually made from plastic or wood, designed to guide a hand saw for precise angle cuts.
Place the timber between the raised sides of the block and use the pre-cut grooves to make accurate 45°, 66°, or 90° cuts. It’s an affordable option perfect for basic mitre cutting tasks.
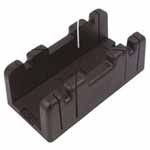
Mitre block for cutting mitre angles
How to Use a Mitre Saw
Now that you know all about the different types of mitre saw, what each part is called and how to use them safely and correctly we will now go through exactly how to use one.
For the purposes of this guide we will be using a sliding compound mitre saw and creating a 45° mitre cut.
Step 1: Set Up Your Mitre Saw
Before you begin cutting, it’s important to properly set up your mitre saw. Work through the following steps:
- Position the Saw: Place the mitre saw on a stable surface like a workbench, sturdy table or even better a specific mitre saw stand. Make sure the tool is firmly secured to prevent movement while cutting. Clamp it or screw it if needs be.
- Check the Blade: Always inspect the blade before use to ensure it’s sharp and free from damage. A dull or damaged blade will make rough cuts and can be dangerous. Also, check th entire saw over for damage or defects.
- Set the Angle: Use the angle adjustment mechanism on the mitre saw bed to set the correct cutting angle. Most mitre saws allow you to adjust angles between 0° and 45°. For straight cuts, set the saw to 0°. For angled cuts, adjust the saw to the desired degree (e.g., 45° for miter joints).
- Measure and Mark: Using a pen/pencil and tape measure, measure and mark the precise cutting point on your piece of material exactly where you want the cut to appear. If needs be, use a square to mark a line for you to follow.
- Secure the Material: Clamp the material you’re cutting (such as a piece of wood or plastic) firmly to the saw’s base using a work clamp or vice or built in clamp if there is one. This will ensure the material doesn’t move during cutting, which can lead to inaccurate cuts.
Material marked, located and secured in mitre saw ready for cutting
Step 2: Make Your Cut
Once the saw is set up and the material secured in place ready, it’s time to make your cut. Here’s how:
- Start the Saw: Turn on the mitre saw by pressing the trigger lock and start button and let the blade reach full speed before making the cut. This ensures a smooth, clean cut.
- Position the Blade: Carefully lower the saw blade gently onto the material while maintaining a firm grip on the saw handle. Always keep your hands away from the blade to avoid accidents.
- Make the Cut: Push the saw blade down through the material slowly and steadily. If you have a sliding compound mitre saw, you can slide the blade forward and backward for larger pieces of material. Allow the saw to do the work — don’t force it.
- Release the Blade: Once the cut is complete, lift the saw back to its starting position and turn off the saw. Let the blade come to a complete stop before handling the material or making another cut.
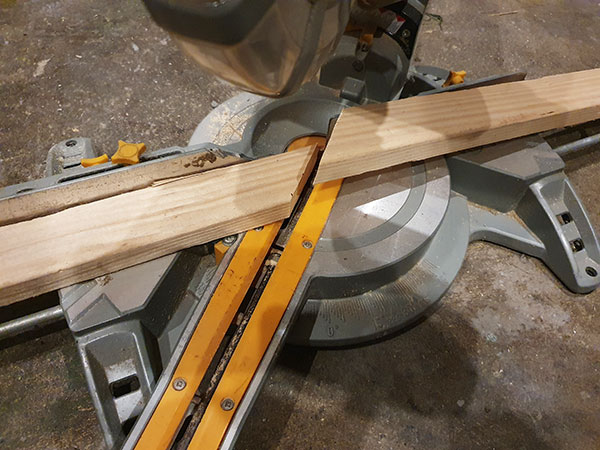
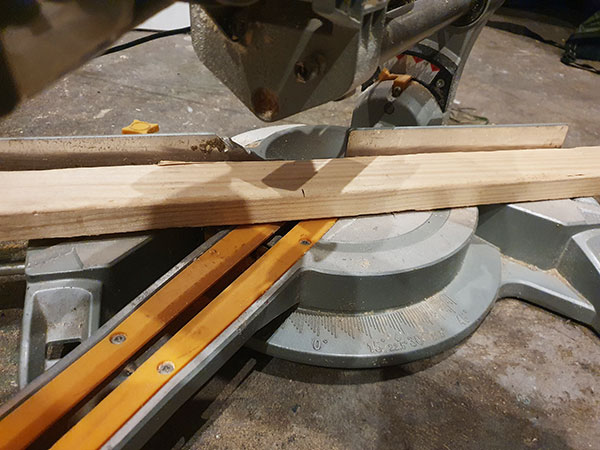
Material successfully cut using mitre saw
Step 3: Double-Check Your Cut
After making your cut, it’s important to verify its accuracy and then give it a tidy if needed:
- Measure the Cut: Use a tape measure or square to double-check that the cut is the right length and angle.
- Check for Clean Edges: Inspect the edges of the cut. They should be smooth and clean, without any splintering. If there’s roughness, you may need to use sandpaper or a file to finish the edges.
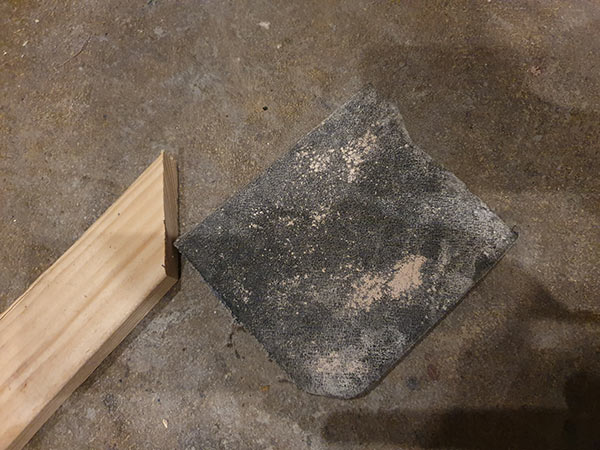
Sandpaper ready to tidy up cut
When you have finished using a Mitre Saw it is always advisable to clean all dust and dirt from your machine, then oil it.
A build up of debris in the moving parts of your mitre saw will give you incorrect cutting angles or sliding parts that will not work correctly when required.
If you want to know a bit more about cutting mitre angles and projects that often involve mitre cuts, check out these projects below:
- Our project on cutting worktop mitres
- Our project on angles used in carpentry
- Our project on cutting a mitred joint
- Our project on putting up coving
- Our project on using a worktop mitre jig
- Our project on fitting architrave to door frames
Whether you’re a complete beginner or have some experience, mastering the mitre saw will open up a world of possibilities for your carpentry projects and give you a finish worthy of the pros.