With most TV’s today being flat screens, this enables them to be mounted on a wall, up out of the way, increasing the usable space within a room. With the many types of TV and bracket available, it’s important to know which bracket to use with which TV.
In this guide we look at many aspects of the TV bracket and how one can be installed in order to mount a TV on the wall.
What is a TV Wall Mounting Bracket?
TV brackets are an essential for most homes today and are designed to mount flat-screen televisions on walls or other surfaces and provide a sleek and space-saving solution for modern home entertainment setups. These brackets, also known as wall mounts, offer numerous benefits, their most common one being their space saving abilities, along with the fact they can be installed in the perfect position for the viewer.
With the huge amount of different TV’s on the market today, there is an equally varied selection of brackets available to ensure that there is a suitable type available to meet every possible need.
Modern flat screen TV’s today are all built with the facility to be mounted to a wall bracket of the correct type.
As a rule of thumb when determining what type of bracket you need to use, essentially, the larger the television, the larger the wall bracket will need to be to support the weight.
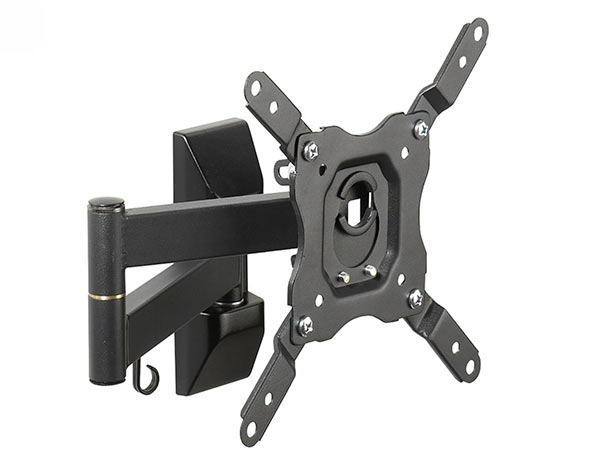
Standard TV wall mounting bracket for small to medium sized TV’s
Types of TV Wall Mounting Bracket
To compliment the huge variety of different types and sizes of TV there is an equally varied array of TV brackets to suit, however they can all be classified under one of the following categories:
- Fixed or Flat TV Bracket: These mounts keep the TV securely in a fixed position against the wall, making them an ideal choice for rooms where the viewing angle is straightforward and doesn’t require adjustment.
- Tilting TV Bracket: Offering vertical angle adjustment, tilting brackets allow users to tilt the TV up or down. This is beneficial to reduce glare and achieve an optimal viewing angle, especially when mounting the TV higher on the wall.
- Full-Motion or Articulating TV Bracket: Providing the most flexibility, these brackets allow users to swivel, tilt, and extend the TV away from the wall. This is ideal for rooms with multiple seating areas or when a versatile viewing experience is desired.
- Free Standing TV Bracket: These come in various types, but the most common is essentially a bracket integrated into a stand. This design allows the TV to be affixed to both the bracket and a stand, making it suitable for placement in many locations as long as they are flat surfaces like sideboards or entertainment stations. While these brackets are user-friendly, it’s important to consider factors like space that they take up and the fact they generally cost more.
- Ceiling TV Bracket: As the name suggests, ceiling TV brackets are fixed to the ceiling, allowing the TV to be suspended and mounted. This design is particularly beneficial in rooms where wall space is limited. While these brackets provide a space-saving solution, it’s important to note that their installation can be challenging, requiring careful consideration of your ceiling’s weight-bearing capacity and the weight of the TV.
- Mantel TV Bracket: A mantel bracket is a bracket which is designed to fit over a mantelpiece, or shelf, without disturbing any item placed on the actual shelf, that can then be pulled down to a more suitable viewing level rather than having to view the TV at a higher viewing level. Few and far between, these brackets are ideal for higher mounting positions, but generally cost a fair amount
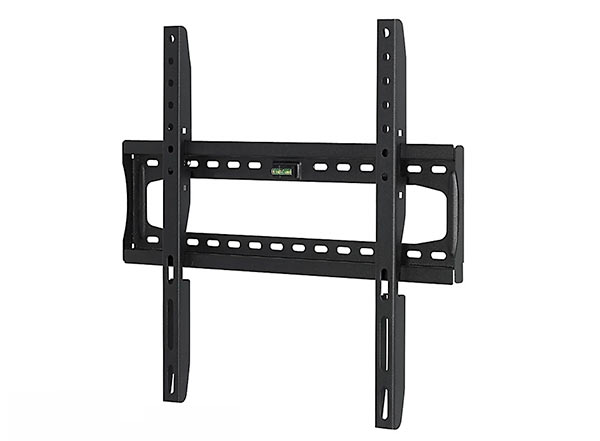
Fixed TV bracket
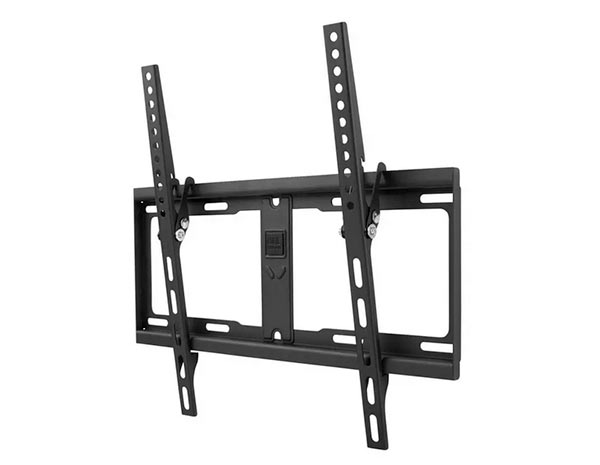
Tilting TV bracket
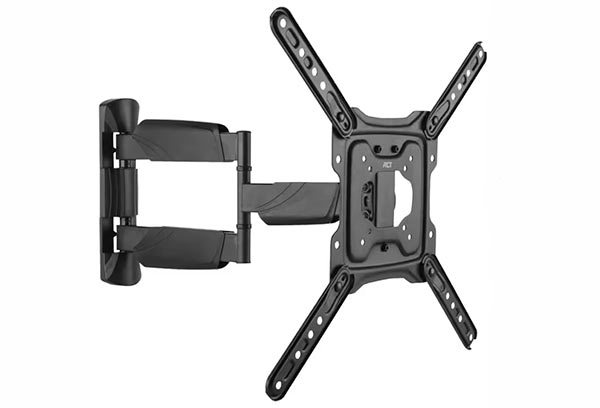
Full-motion TV bracket
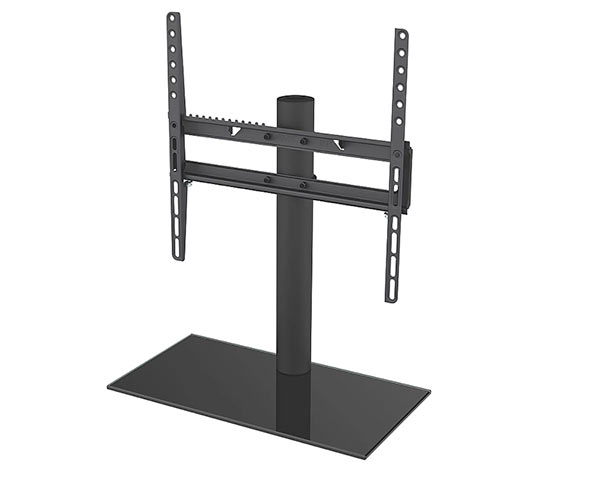
Free-standing TV bracket
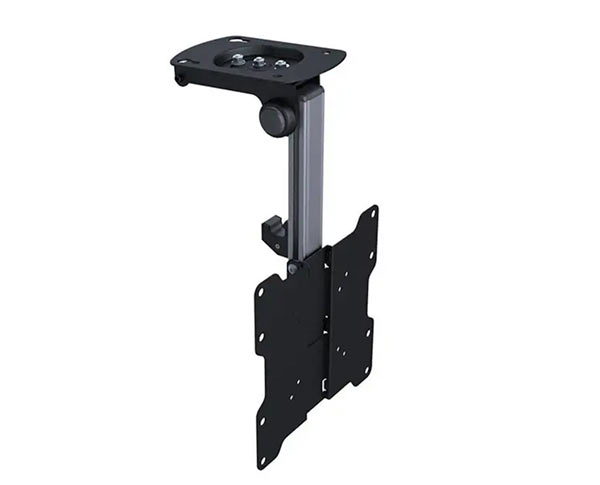
Ceiling-mounted TV bracket
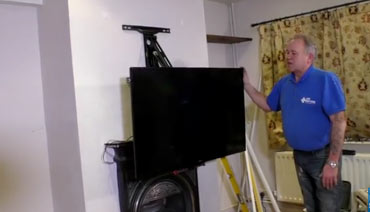
A tilt, twist and turn mantle TV bracket
VESA Compliance for Your TV Mount
VESA, which stands for the Video Electronics Standards Association, is an organisation that establishes industry rules, including the standardised spacing of mounting holes on the back of TVs. These standardised spacings ensure that when you purchase a TV, you can easily find a compatible mount from various types available, whether you’re planning to hang your TV from the ceiling or mount it above the fireplace.
The most common VESA spacings include:
- 800 x 400
- 600 x 400
- 400 x 400
- 400 x 200
- 300 x 300
- 200 x 200
- 100 x 100
- 75 x 75
All measurements are in millimetres, representing the distance both vertically and horizontally between the screw holes in the back of the TV. This standardisation enables TV mount manufacturers to create mounting bars with fixing holes in the correct positions.
Determining Your Ideal VESA Mount Size
To find out what size VESA mount you need, simply access the rear of your TV and measure the distance from the centre of each mounting hole, both horizontally and vertically for all four holes. This straightforward measurement will tell you the exact VESA size required for your TV.
Remember, the first measurement is always the horizontal spacing, and the second is the vertical spacing. For example, 800 x 400 would mean the mount should be 800mm wide and 400mm high.
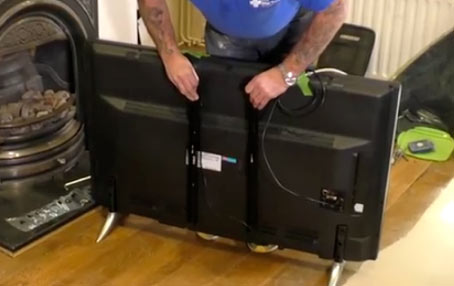
Ensure your TV mounting brackets are VESA compliant
Choosing the Right Fixings for Your TV Bracket and Mounting Surface
Mounting a TV on a bracket, especially a wall or ceiling bracket, requires careful consideration of both the bracket’s strength and the suitability of the mounting surface to bear the combined weight of the TV and the bracket.
When securing a bracket to a solid surface like brick, block, or stone, the primary concern is to use the appropriate fixings. Standard screws work well for smaller brackets and TVs, while stronger concrete screws are more suitable for more substantial installations.
However, challenges arise when fixing to plasterboard surfaces, as improper installation can lead to catastrophic failures.
The most robust method for fixing to plasterboard is to locate and secure the bracket to the studwork frame used in its construction. If this isn’t possible or you can’t find a nearby stud to fix to, various plasterboard fixings are available, capable of supporting significant weights, up to 50KG! See our plasterboard fixings project for detailed information.
When it comes to locating studs in a wall, this is best done using a stud finder. See our project here on how to use a stud finder correctly for more information.
For a secure fix on a dot and dab plasterboard surface, Corefix fixings offer a reliable solution, supporting an impressive 250KG across four fixings. Read our product review on Corefix fixings here.
Determine the type of surface you’re fixing to and then assess the weight of your TV and bracket to select the appropriate fixing. Calculate the total weight to be supported (TV and bracket) and make an informed decision based on the surface you’re mounting to.
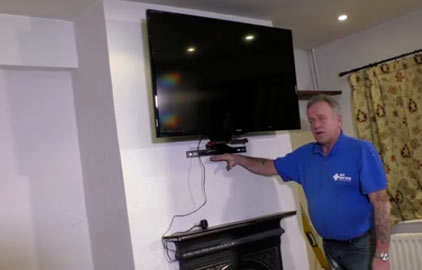
TV brackets: The larger the TV, the larger the bracket
Tools and Products Needed for Fitting a TV Bracket
In order to mount a TV bracket and TV on a wall successfully, you will need the following tools and products:
- Chosen TV
- Chosen TV bracket
- Pipe, stud and cable finder
- Drill/driver
- Selection of drill bits
- Correct type of fixings for TV and bracket weight and type of surface fixing to
- Wall plugs (if needed)
- Flat blade screwdriver
- Philips screwdriver
- Spirit level
- Pen/pencil
How to Mount a TV
As we have now looked at the different types of TV bracket, how to work out what size you need, the likely surfaces you may need to fix to and what fixings to use, it’s now time to get stuck in and get your TV nicely mounted.
Step 1 – Choose the Perfect Spot for Your TV
The initial step is to decide on the ideal height and location to mount your TV. Opt for eye-level positioning to ensure comfortable viewing.
Examine the VESA fixings on the back of the TV and determine their placement when attached to the bracket. While most are typically at the centre, some may be closer to the top or bottom so bear this in mind.
Considering these factors, follow the manufacturer’s instructions to assemble the bracket and then position it on the wall, roughly where it allows the TV to rest at the perfect eye level.
Make a clear mark to indicate the top position of the bracket.
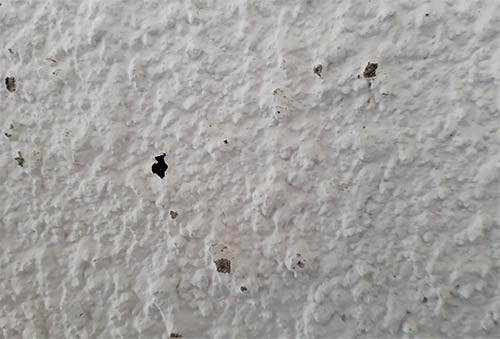
Marking the rough bracket position on the wall
Step 2 – Check the Area for Pipes and Cables
Next to make sure that you don’t accidentally drill or screw through a pipe or cable in the wall, scan the whole area over using a stud, pipe and cable detector to make sure there’s nothing hidden.
If you do find this is the case, you will need to move the bracket so that any drilling or screwing won’t affect anything that’s there, even if it means moving the bracket out of it’s ideal position. If this is so then you may need to have a bit of a rethink in terms of positioning.
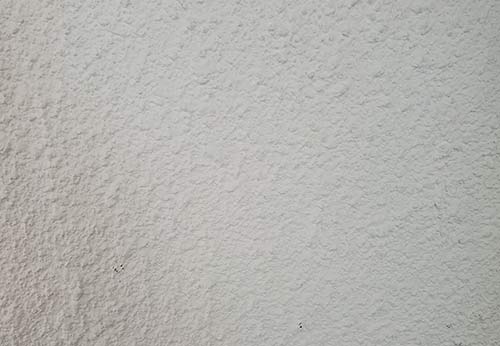
Area of wall to scan for pipes and cables
Step 3 – Choosing the Right Fixings for the Surface
If you’re aiming to mount your TV on a plasterboard surface and have identified a stud after scanning, it’s advisable to adjust the bracket’s position to align with the stud. This ensures a sturdy and secure attachment to the wall.
In such cases, using appropriate wood screws should suffice.
However, if you possess reliable plasterboard fixings suitable for the TV and bracket weight, and you are confident in their application (refer to the linked project above if needed), it’s a recommended choice.
For optimal stability, consider heavy-duty plasterboard fixings like GripIts, Spring Toggles, Redidrives, or others mentioned in the project above, ensuring they can support the combined weight of the TV and bracket.
When fixing to a solid surface, standard screws with wall plugs should suffice. For heavier brackets and TVs, opt for sturdy solutions like concrete screws or wall bolts/coach screws.
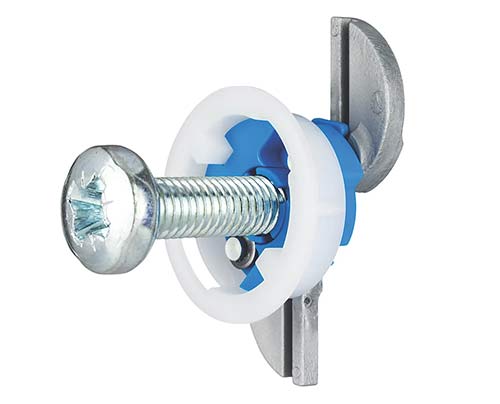
Heavy-duty GripIt fixing
Step 4 – Mark Exact Fixing Point
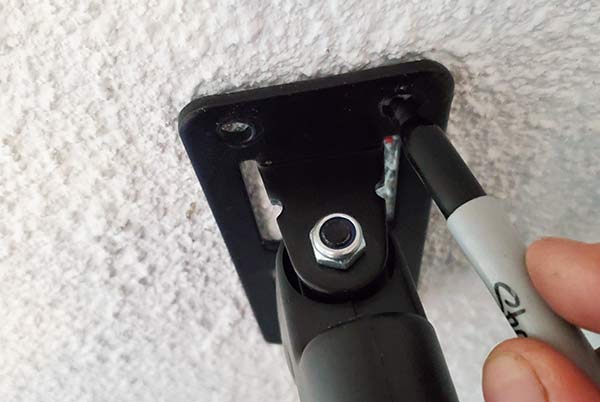
Next, position the bracket back on the wall and use your spirit level to get it dead level. Make sure it is in the exact correct location for optimal viewing and then using a pen or pencil, mark through each fixing hole onto the wall.
Once done, put the bracket to one side so that you can clearly access the marks for drilling.
Bracket holes marked on wall ready for drilling
Step 5 – Drilling Holes and Mounting the TV Bracket
We’ve reached the point where it’s time to make holes and secure things in place. For the specific bracket and TV in this scenario, using wall plugs and 8 x 50mm screws is suitable.
To begin, select a 6mm drill bit and drill into each marked hole on the wall. After drilling, clean up the dust, ensuring the holes are clear, and insert a wall plug into each, preparing for the bracket to be securely screwed in place.
If you opt for larger concrete screws, they typically require a larger hole, usually around 10mm (as specified by the manufacturer). It’s advisable to drill a smaller pilot hole, approximately half the size, before attempting the larger hole.
When working with a plasterboard surface, the hole size depends on the fixings used. Refer to the manufacturer’s guidelines for the correct size, as using an incorrect size may lead to failure.
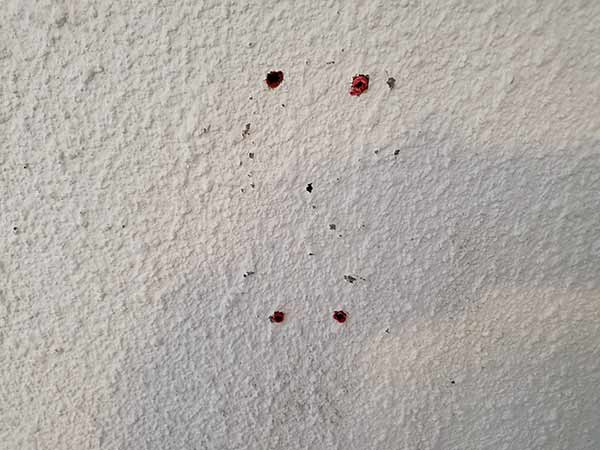
Holes drilled and wall plugs inserted
Finally, with the holes prepared, position the bracket back onto the wall and then screw it in place using the correct type for the fixing you’re using
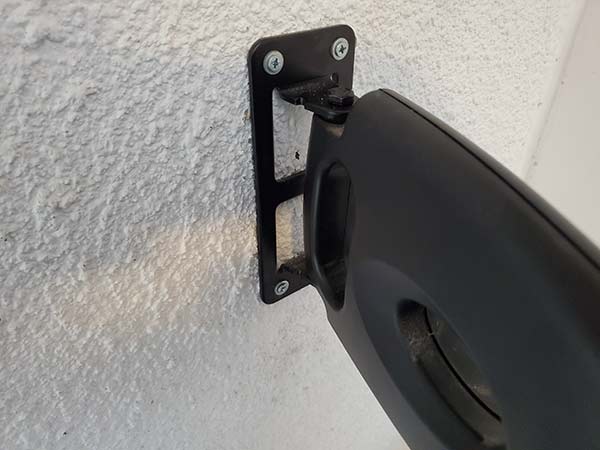
TV bracket securely fixed and screwed into position
Step 6 – Mount the TV in Place
One of the final tasks is to attach the TV to the bracket. Typically, this involves lifting the TV to align with the bracket and using the screws or bolts provided with the bracket to secure it through the screw holes on the back of the TV.
Since you’ll be holding the TV and securing it simultaneously, having an extra pair of hands to assist is advisable.
For larger brackets, you may need to attach separate hanging brackets or hooks to the rear of the TV first. These hooks are then hung onto the bracket and firmly secured. If this applies to your setup, follow the manufacturer’s instructions for fixing the hooks and positioning them onto the bracket and securing them.
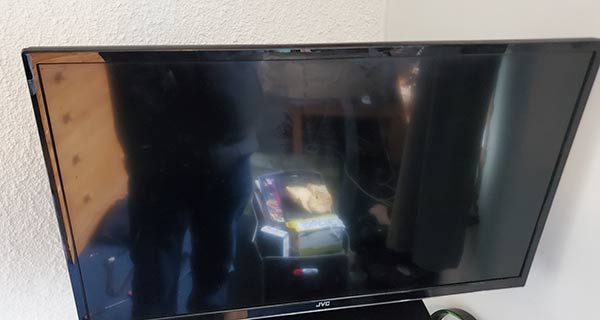
TV mounted to bracket on wall
Step 7 – Connect up and Switch on to Test
The very last job now is to plug the TV in and test it out. If all is well, when you kick back and relax, you will be in viewing heaven and the TV will be in exactly the right position. If not you may need to do a little adjustment.
Also, if there are any bracket covers included with your kit, then pop these in place and then you’re pretty much finished!
Bracket cover fixed in place
If you have a flat screen TV, then one of the best things you can do is fix it to a bracket on a wall or similar surface. This will often enhance your viewing experience and also save you a fair amount of space, especially if this is of a premium.

