A router is a power tool used in woodworking to cut or shape wood. It can be used to decorate edges, create smooth surfaces, or carve out hidden areas (called "chases") to hide cables, pipes, and other items inside the timber.
In this project guide we take a look at this very versatile tool and how it is correctly used.
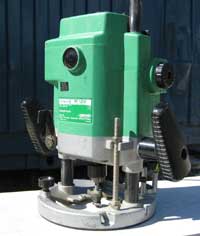
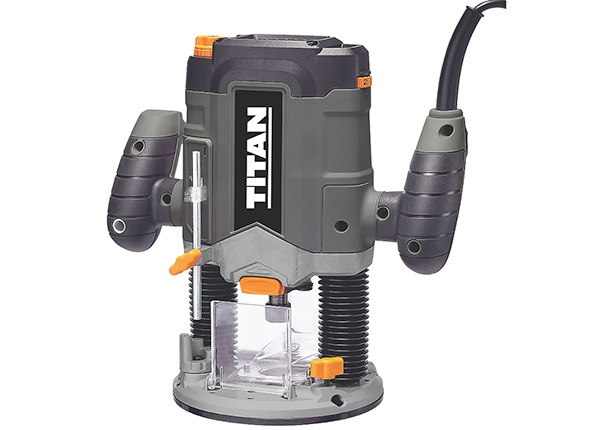
Standard 2-handle router
What is a Router?
A router is a versatile power tool commonly used in woodworking to shape, carve, cut, or hollow out areas in wood.
It’s an essential tool for both DIY enthusiasts and professional woodworkers alike. With its rotating bit, the router can perform a huge range of tasks, from creating smooth, decorative edges on furniture to cutting precise grooves and slots in wood.
A router can also be used for tasks like trimming laminate and even hollowing out materials like MDF and plywood.
Routers are highly adaptable, and with the right router bits, you can perform an array of tasks.
For example, you can use a router to cut straight lines, create intricate designs, or even shape edges for a more polished finish.
Additionally, routers are great for making hidden “chases” in timber, which are often used to hide cables and pipes behind walls or other structures.
With a little practice, they’re easy to control, and many models come with adjustable speed settings, allowing you to work with various materials more efficiently.
Using a router to shape cupboard door edges
Routers operate at speeds ranging from 800 to 30,000 RPM, depending on the model and task. This adjustable speed allows for versatility when working with different materials.
In terms of what router should be used for what job, the following is a rough guide:
- 400-600W light work
- 750-1200W medium work
- 1250w upwards heavy work
For optimal control, a router should have two handles, one on each side, and a smooth base plate. The base plate ensures the router moves smoothly over the wood surface while you work.
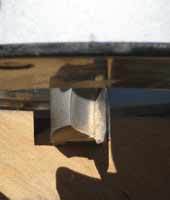
Plunge cut created using router
Overall, a router is a powerful tool that can significantly expand the possibilities of your woodworking projects, helping you achieve professional results with ease.
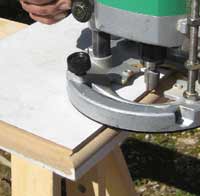
Preparing router for 12mm plunge cut to form chase in timber
What Different Types of Router are There?
When it comes to routers, there are several types, each designed for specific tasks in woodworking and DIY projects. Understanding these different router types will help you choose the right one for your needs.
Fixed-Base Router
This is the most common type of router. It features a fixed base that stays in one position while the motor and cutter move up and down.
Fixed-base routers are ideal for tasks like edge trimming, decorative routing, and light sanding.
They’re typically easier for beginners to control, as they provide stability and precision when routing along straight edges.
Standard fixed-base router
Plunge Router
A plunge router allows you to adjust the cutting depth while the router is in use.
This type is great for creating hollow areas or grooves within the wood, as it lets you start the cut in the middle of the material.
The ability to adjust the depth on the go makes plunge routers a must-have for more intricate or detailed work.
With their more advanced features, they are however slightly trickier to use than fixed-base routers but offer greater versatility.
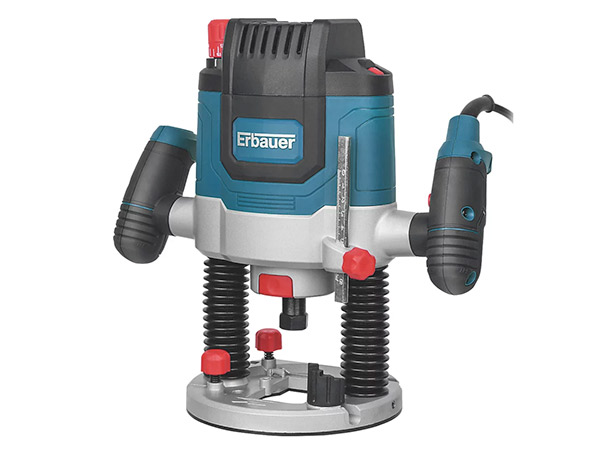
Plunge router
Combination Router
As the name suggests, a combination router combines both the fixed-base and plunge router functionalities into one tool.
This type offers the best of both worlds, providing the precision of a fixed-base router and the flexibility of a plunge router.
Combination routers are a great choice if you’re looking for a versatile tool for both edge work and deeper cuts.
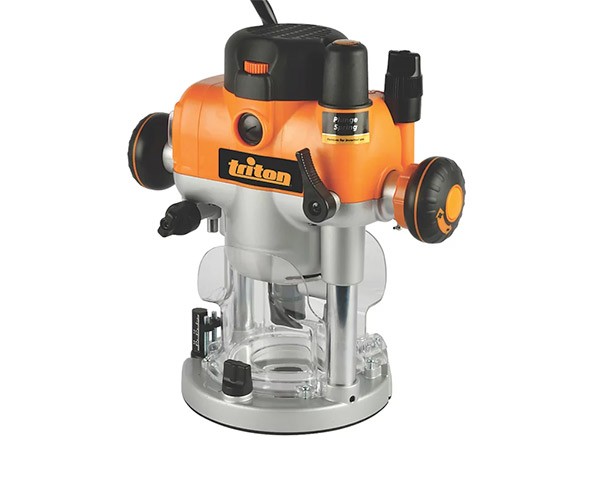
Combination router
Compact or Palm Router
A compact router is smaller and lighter than regular routers, making it perfect for more delicate, detailed work or tight spaces.
While it has less power than its larger counterparts, it is more manageable and can handle tasks like trimming, routing edges, or light shaping.
Compact routers are ideal for DIY enthusiasts and anyone working with smaller materials or projects.
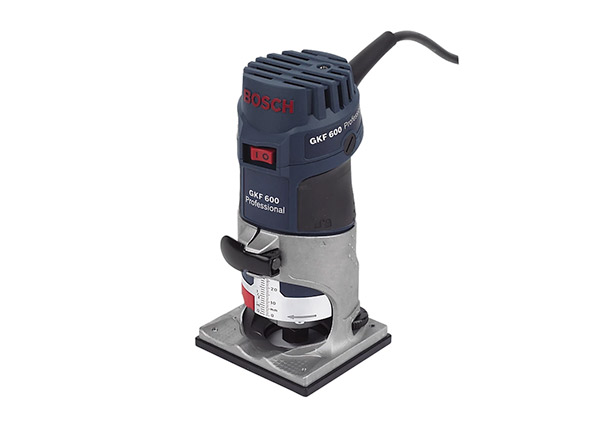
Compact or palm router
Each type of router has its strengths, so selecting the right one depends on the tasks you’re planning to complete. Whether you need precision, versatility, or lightweight control, there’s a router that will suit your project perfectly.
What is a Router Table?
A router table is a specialised woodworking tool that holds a router in a fixed, upside-down position beneath a flat work surface.
This setup allows users to move the material rather than the router, providing greater control and precision when shaping, trimming, or profiling wood.
A router table is especially useful for detailed edge work, making mouldings, cutting grooves, and performing repeatable cuts with ease.
It’s also particularly beneficial when working with small or delicate materials that might be difficult to manage with a freehand router.
A router table also enables precise depth adjustments and guided cuts, reducing the risk of mistakes.
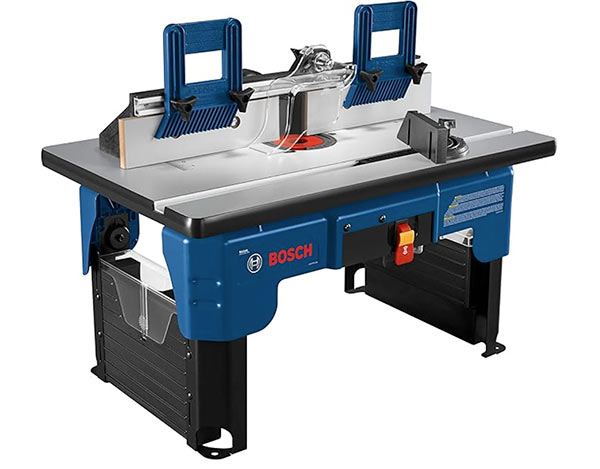
Router table
What Different Router Bits are There?
In order to make the various different shaped cuts and shapes that a router can make, requires it to use a different bit per cut and as you can imagine, there are quite a number of different bits to cover all the different possibilities, here are some of the most commonly used:
- Straight Bits
- Chamfer Bits
- Round-Over Bits
- Flush Trim Bits
- Cove Bits
- Rabbeting Bits
For a more complete run down on all the different possibilities, see our router bits project.
How to use a Router
As with any power tool, safety is of prime importance and this is no exception when it comes to using a router. If used incorrectly, its sharp, fast rotating cutting blade can cause untold damage, so ensure that all necessary safety precautions have been taken and that you are wearing the correct PPE gear.
Always make sure the wood you are working on is securely fixed in place before you start routing. Unsecured items can move damaging your work and potentially being a danger to yourself.
Before starting on your finished object, we would always advise that you practice on some scrap timber first.
Step 1: Choose the Right Router Bit
Select a router bit suited to your task, whether it’s a straight bit for grooves, a chamfer bit for angled edges, or a round-over bit for smooth finishes.
Ensure the bit is sharp and then insert it into your router securely into the collet.
Step 2: Secure Your Workpiece
Before you start, clamp the wood firmly to your workbench. You can use a non-slip mat to prevent movement, but clamping is definitely preferred.
Stability is crucial to achieve clean, precise cuts and, more importantly, to keep your hands safe.
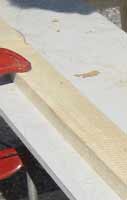
Clamped straight edge to ensure straight router cut
Step 3: Set the Cutting Depth
Next, adjust the plunge depth of the bit based on your cutting requirements.
If removing a large amount of material, make multiple shallow passes rather than one deep cut to avoid damaging the wood, overheating the bit and putting too much strain on the tools motor.
Step 4: Start the Router and Maintain Control
Turn the router on and let it reach full speed before making contact with the wood.
Always move the router against the direction of the bit’s rotation (known as “routing against the grain”) to maintain control and prevent kickback.
Work steadily and methodically, taking your time. Let the tool do the work and don’t force it.
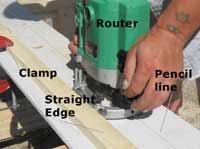
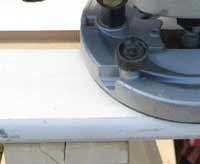
Router setup with clamped straight edge and pencil line to follow
Step 5: Guide the Router Smoothly
Hold the router with both hands and move it steadily along the edge or surface of the wood.
For straight cuts, use a guide fence or a clamped straightedge, such as a spirit level, to keep the router on track.
If using a router table, feed the wood into the spinning bit rather than pushing the router itself.
Step 6: Finishing Touches
Once you’ve completed the cut, switch off the router and wait for the bit to stop spinning before setting it down.
Finish off by sand the edges lightly if needed, and clean away any dust for a smooth, professional finish.
Essential Tips for Using a Router Safely and Effectively
- Feed the Router Correctly: Always move the router from left to right, working against the cutter’s clockwise rotation. This ensures smooth, controlled cutting.
- Let the Router Work: Avoid forcing the tool through the wood. Pushing too hard can burn the timber and damage the blade.
- Release the Plunge Lock: If using a plunge router, always unlock it after use. A locked blade can cause damage and affect future cuts.
- Keep Your Router Clean: Remove dust and debris after every use. Clogged moving parts can affect precision and performance.
- Use Dust Extraction: Most modern routers include dust extraction hoods to keep your workspace cleaner and improve visibility.
For safety, always wear a dust mask, gloves, and eye protection when using a router. Proper handling and maintenance ensure clean, accurate cuts and extend the life of your tool.
A router can be a tricky tool to master, however as long as you take your time and practice a good amount first, you’re sure to be cutting fancy, intricate shapes in no time.