Many DIY jobs and projects in the home involve timber and if you are working to a budget a great source of, in many cases, free timber is the common pallet, but to use the timber you first have to dismantle the pallet.
Many companies throughout the country receive deliveries on pallets and once the stock has been removed, they then need to get rid of any pallets, which in most cases means paying to dispose of them. A simple offer to remove them for free will often be greated with “take as many as you want”!
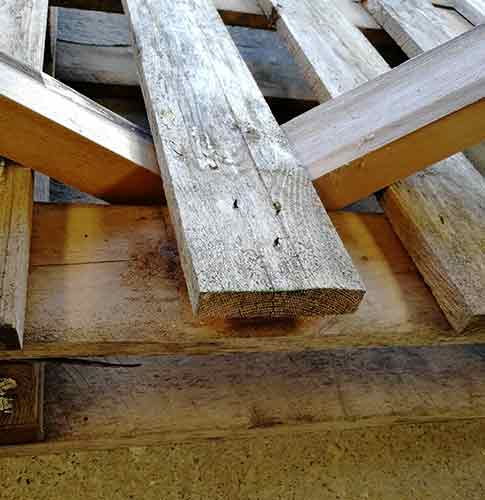
When sourcing pallets to use, try to find higher quality ones as the timber is of a better quality. These generally tend to have a higher loadbearing capacity (up to 1 tonne) with the slats being much thicker than those of lower quality pallets.
For a full run down on the different types and quality grades of pallet see the Pallet Company guide here for more information.
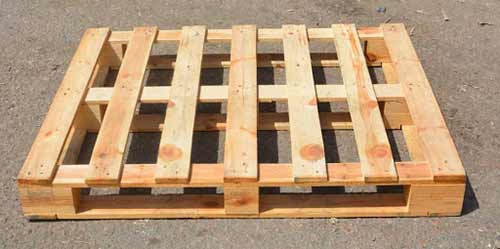
Heavy load bearing pallet with thicker and better quality timber slats
As the timber is of better quality it’s nicer to work with and also makes the job of breaking the pallet down a fair bit easier.
Staying on these lines, in order to utilise the timber you first need to disassemble the pallet and get it down into its individual slats. This needs to be done in such a way that minimises any damage so that you can make the very most of each pallet.
Here follows some techniques that we have found the best for breaking down pallets into their individual slats.
How to break down a pallet without tools
If you are reading this guide on how to break down a pallet, chances are that you have dabbled in the DIY world in the past and if you have then you should have the basic tools needed to break down a pallet, but just for completeness we’re going to run through the process of breaking down a pallet without using standard tools.
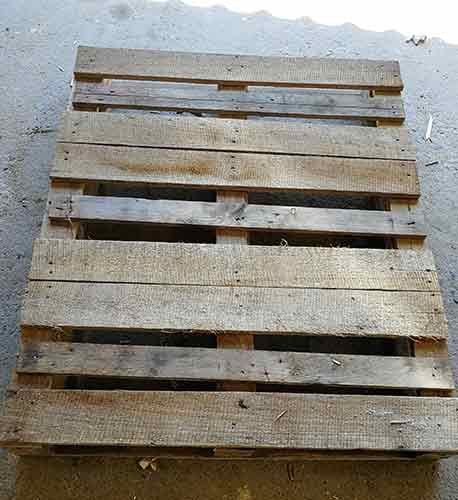
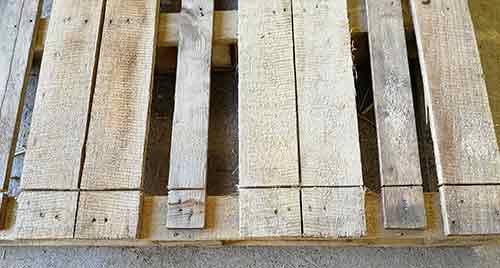
- First, lay the pallet down so that the top load bearing deck board face is facing upwards
- Next, find 2 lengths of either 3×2 or 4×2 inch timbers that are roughly 3 feet long each. These are going to be used as levering bars
- Position the end of each length of timber either side of a pallet slat so that the prying/levering timbers are as close to the block or slat you are prying away from. Don’t start at an end slat, we’re going to start one slat in and come back and deal with the ends later
- Angle both prying/levering timbers outwards away from each other so that the ends underneath the slat you are removing come together at the centre of the slat. The underside of each prying timber will now sit against the top edge of the slat to the side of it. This will allow us to lever upwards, using these slats as a fulcrum
- With the pry bars positioned, gently push them outwards and start levering the slat up taking your time as you go
- Use the above technique to remove all other slats that have a slat either side of them
- To remove the end slats, simply use a length of 3×2 timber and lay it roughly 3 or so inches away from the slat and then use this as a fulcrum to lever against to remove the end slats
- With all possible slats removed it’s now time to remove the slats that we couldn’t previously. To do this, find a further 2 lengths of 3×2 roughly 2 feet in length. Place these either side of a slat roughly 3 inches away.
- Position your levering timbers either side of each slat and move them outwards until they touch your new fulcrum timbers then simply move your levering timbers outwards as you did in the steps above. Repeat for any further slats that need removing
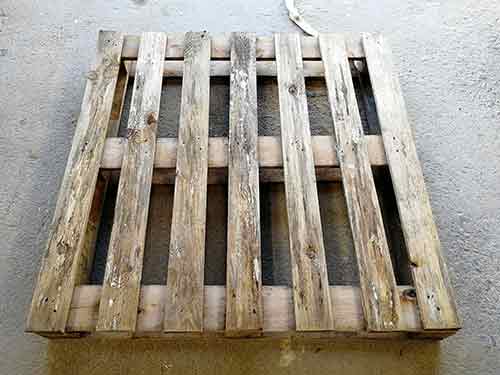
Pallet laying with top deckboard facing upwards ready for dismantling
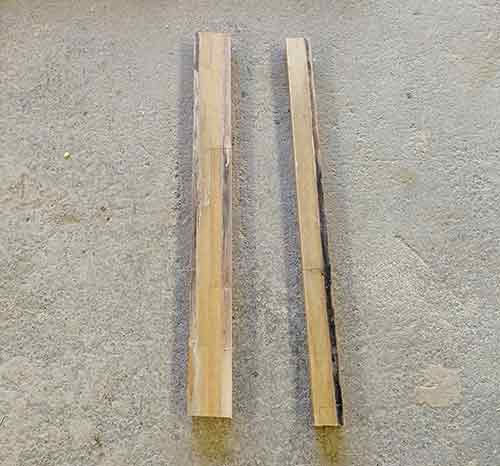
2 lengths of 2×3 timbers to be used as prying/levering bars
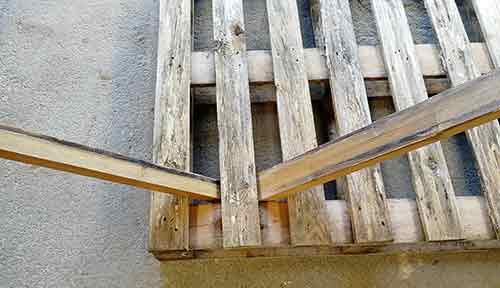
Prying/levering timbers positioned up to slat to be removed
Levering pallet slat off using prying timbers

Removing other slats from pallet
Levering off end pallet slats

3×2 timbers placed either side of slat
Levering up slats using new fulcrum timbers
Although not the quickest technique, if you don’t have any tools available, using timber levering bars can be very effective at levering off pallet slats, just take your time and lever steadily.
Using a circular saw to breakdown a pallet
Using a circular saw is arguably the quickest way to break down a pallet but there are some downsides in that a great deal of usable timber is wasted, but if that is not a concern then this may be the method for you.
For information on how to correctly and safely use a circular saw, see our guide here.
- Lay your pallet down with the top load bearing deck face facing upwards
- If you have one, a cordless circular saw is the tool to use as you don’t have to worry about the power cord but a corded one is also fine if that’s all you have
- Position the saw at the far left edge of the pallet so that the cutting blade is as close to the block as possible
- Start the saw up and then cut along the edge of each slat, making sure you keep as close to the block as possible. When cutting, take your time and don’t rush
- With one side now cut move over to the far right edge and repeat, again taking your time
- With both side of slats cut through the final job now is to simply lever the slats away at the centre. To do this use a breaker bar or large sturdy screwdriver to prise the slats up and off. To get your screwdriver or pry bar under the slat simply wiggle the slat up and down and this will begin to pull it off
Pallet laying down ready for cutting out slats
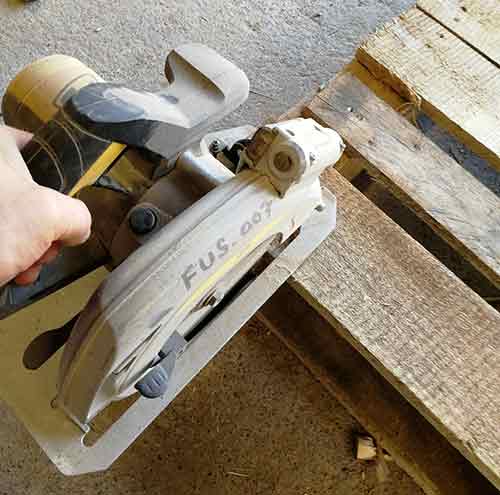
Cutting blade positioned next to block
Left side slats of pallet cut through with saw
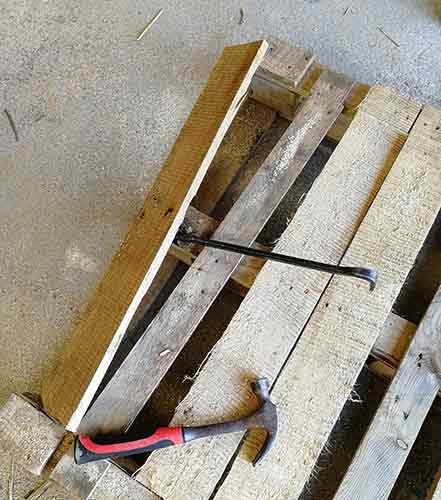
Levering pallet slats off of centre pallet support
Although cutting the slats off using a circular saw is a quick and easy technique and the slats you do get off are complete and free from damage so do waste a lot of the usable timber from the pallet.
Using a reciprocating saw to break down a pallet
Breaking a pallet down using a reciprocating saw is one of the better techniques and if done with care, pretty much guarantees no damage to any slats.
The process basically involves cutting down through the point where the pallet slats meet the blocks that help to form the pallet itself and cutting through the nails that holds everything together.
Once done and with a very slight bit of levering the pallet will basically just fall apart and all you have to do then is remove the cut off bits of nail left in each board, which can itself be a little tricky.
This method is probably the one to go for when dealing with lower quality, cheaper pallets as levering and beating these often splits the slats rendering them useless.
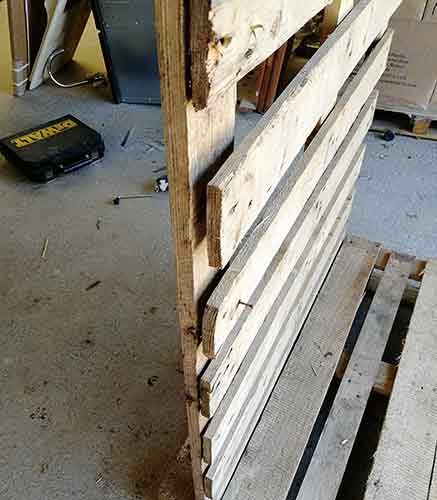
Using a reciprocating saw to dismantle a pallet is best done with the pallet standing up on its edge so you need to ensure it’s stable and solid and doesn’t wobble and flap about.
To do this quickly and easily, take another pallet and lay it on the ground and butt the pallet you’re working on up to it at 90° and then screw the pallets together at either end through the blocks at the base. With your temporary rig prepared you can now get started.
- Stand pallet upright and screw it to another pallet laying on the floor at 90° so that its solid and supported
- Insert a bi-metal cutting blade into your reciprocating saw ensuring that the blade is securely locked in place
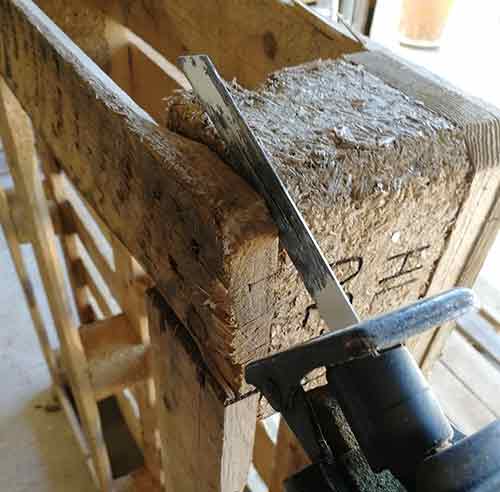
- Position the edge of the blade at the top of the pallet at the point where the slat meets the block
- Start the saw up and gently move the blade down to the slat and block edge and start cutting, keeping the blade as straight as possible and ensuring that you are only cutting down through the point where the slat and block meet and not into the slat itself as this will damage it. Once you’ve cut all the way through stop the saw and put it to one side
- With one edge completely cut through the slat should now be free from the block
- With one edge cut through now simply repeat the above for the remaining slats and joints until all are free and can be removed from the blocks
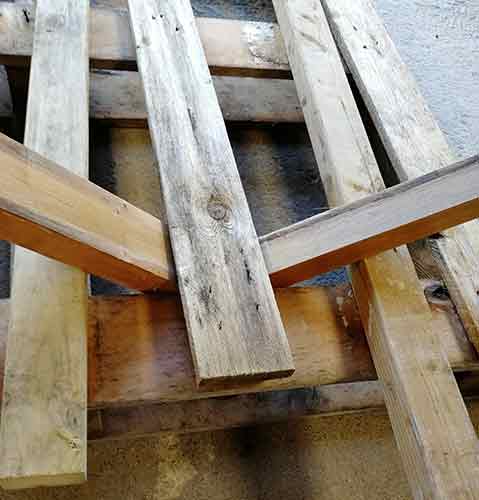
- For any slats that cross each other, these may still be joined together. In this case use a prying bar or sturdy flat edge screwdriver to prise them apart
- One final job is now to remove any slivers of nail left in the pallet boards where required. The best tool to use for this is a punch. Simply flip the board slat over and use the punch to hit the nail back through the board. If you don’t have a punch you can use a Phillips screwdriver.
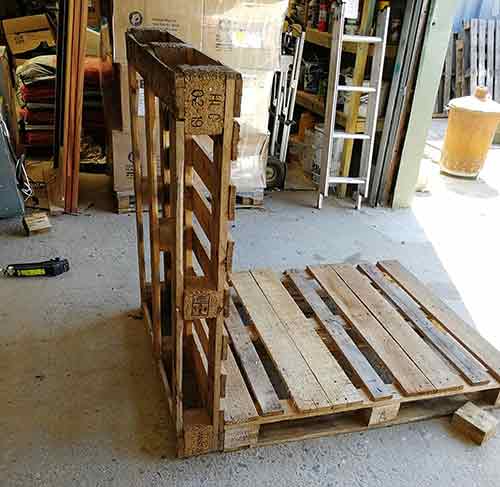
Supporting pallet upright using another pallet laid on th eground at 90°
Saw blade positioned at edge of pallet slat and block

Cutting down gap between pallet slat and block

Pallet slat cut free from block
All remaining slats cut through and free from blocks
Using a car jack and wooden block to break down a pallet
Although the reciprocating saw method above is possibly the quickest and cleanest method, not everyone has one so if you don’t, one of the best ways that we have found for breaking down a pallet is to use a car jack and some wooden blocks.
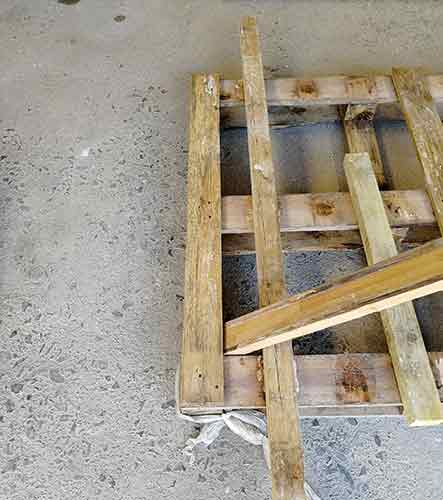
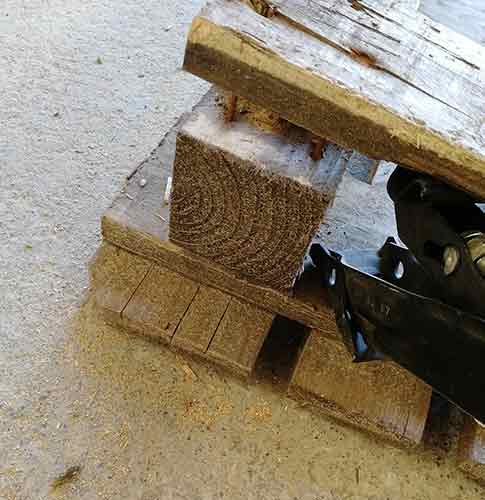
- Lay the pallet down on the ground with the load bearing top deckboard flat on the ground so that the base of the pallet is exposed
- Using a small slim car jack, position the jack right up as close to a corner block as you can. With the jack positioned, gently start winding it up. Keep going, applying gentle pressure to the corner until the slat breaks away from the block. Once free, wind the jack back down and then move on to the remaining block/slat joints
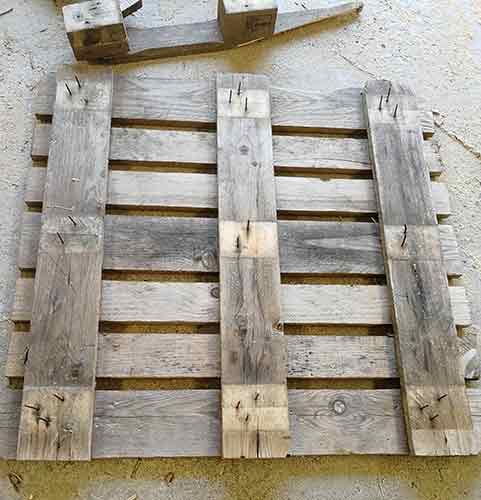
- Once all blocks have been broken off the base should then lift off
- With the base broken off any remaining blocks now need to be removed. To do this, flip the pallet up on its edge and gently hit the top of the block with a hammer forcing it downwards. Once it starts to come away, use a lever/pry bar to lever it off. Repeat for any blocks that still remain attached to any slats
- The next job now is to split any slats that are attached together apart. Flip the pallet over so that the upper, top deckboard face is now facing down towards the ground
- Take 3 of the blocks that you have just broken off and place them under the pallet back from the front slat, propping it off of the floor and leaving the first slat hanging in mid air
- Using another waste block, position it down on the overhanging slat as close to the edge of an adjoining slat. We are going to use this as a drift. Using a hammer, gently hit the top of your drift block until both slats come away from each other
- Repeat the above for any other joints until all slats have been successfully broken away

Pallet laying on ground with bottom deck board facing downwards
Using a car jack to break pallet slats away from pallet blocks

Base broken off of pallet using car jack

Levering off any remaining blocks from any slats
Pallet flipped over with load bearing deck board face facing downwards
Pallet propped off of floor on blocks
Using block as a drift to split apart pallet slats
Knocking off all pallet slats using a pallet block as a drift
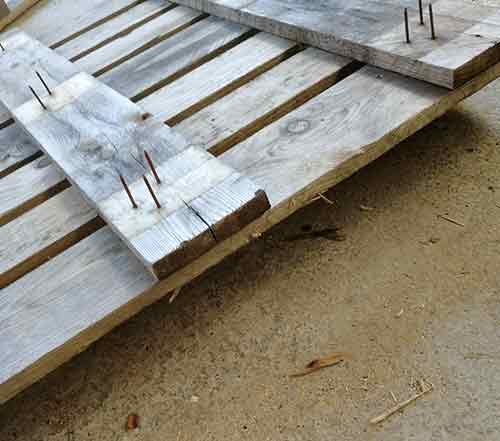
Removing old nails from pallet slats
Whichever method you use from the list above, once you have broken your pallets down into individual slats you will have one last remaining job to do and that’s denail them.
Unfortunately this is not a nice job and if you have loads of slats to denail, one that can take quite a while.
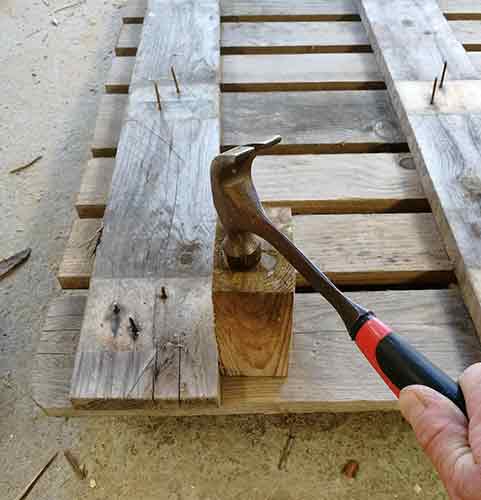
At this point you may be thinking that we are going to offer a magic solution to this hideous job, regrettably we’re not, it’s just a simple job of using a claw hammer to knock them back through the slat one at a time and then using the claw to pull them out.
Knocking nails back through pallets slats to denail them
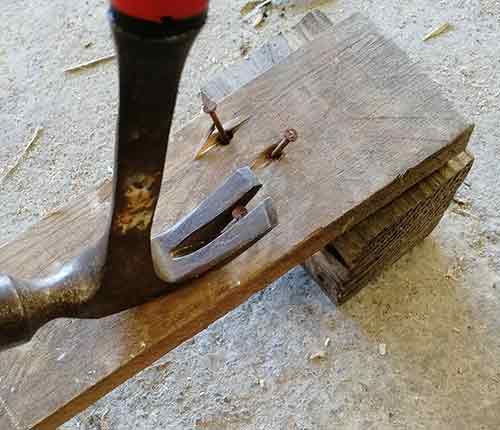
Removing nails using a claw hammer
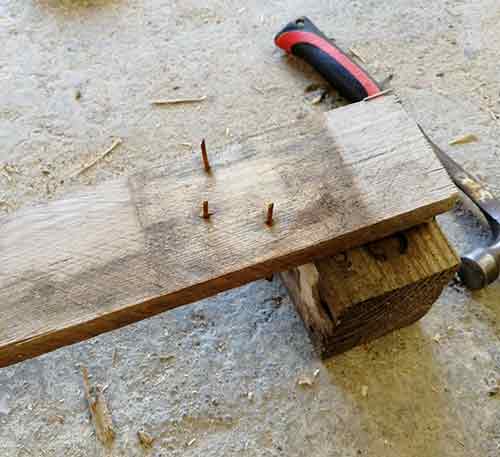
In some cases you may have very long nails that have been bent and twisted, these can be a real paint to get out so the one tip we do have is to use a pair of pliers to cut them down shorter so that they are easier to hit back through.
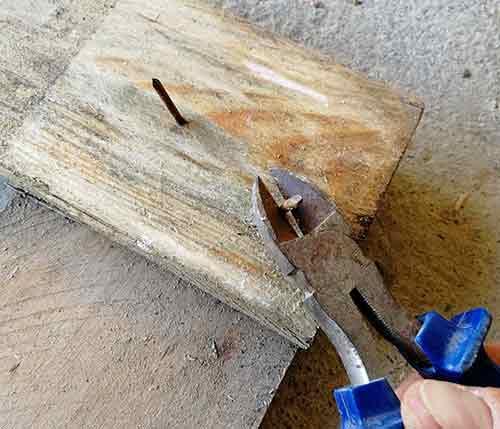
Cutting long nails down so they are easier to hit back through pallet slats
Using hammers, crow/pry bars, chisels and “pallet busters”
When you started to read through this guide you may have expected us to jump straight in with an explanation of how to use hammers, chisels and bolsters, prying or wrecking bars or even pallet busters to break up pallets and at this point you may be wondering why we haven’t explained the use of these.

Pallet busting tool for breaking down pallets
The reason for this is that after a spate of projects revolving around using old pallets to build chicken houses, kids playhouses etc we have tried out all of the different tools and techniques and more often than not, especially with the lower quality pallets, using hammers and bars to split and lever slats off, more often than not just splits them.
If you are wanting to break down a pallet the chances are that you actually want to use the timber that you get from it and if it’s all split and broken it’s only really then fit for burning.
So with this in mind, we have found much more success in breaking down pallets not using brute force techniques that could ultimately waste your time.
Don’t get us wrong, if you have a technique using hammers and bars that works go with that. Ultimately the goal is to break apart a pallet and not damage the slats or boards so as long as you get there, how that happens doesn’t matter a great deal.