Integrating chickens into your family not only adds lively companions but also offers a cost-effective way to manage kitchen waste, including vegetable peelings. These charming pets bring forth an array of benefits, from supplying fresh, nutrient-rich eggs that are much better than those bought in a shop to providing garden-enhancing manure.
Embarking on the journey of keeping chickens in your garden requires thoughtful preparation, starting with the creation of a secure, spacious run for their safety and well-being. This DIY guide will walk you through the step-by-step process of constructing an enclosure that ensures your chickens’ safety and comfort. Read on to find out exactly what’s involved
Optimising Chicken Well-being: A Unique Guide for Health, Safety, and Entertainment
Discover the art of keeping chickens not just as pets but as happy, healthy members of your household. Our comprehensive guide goes beyond the basics, offering unique insights to ensure your chickens thrive in their environment.
Chickens, known for their curiosity, thrive on exploration. To create a happy and healthy space, provide ample room within your chicken run. This involves strategically designing the run in your garden, incorporating features like bushes, trees, and engaging objects for your chickens’ entertainment.
If your garden space is limited, allow supervised free-roaming during the day, but secure them in a cozy coop at night. Striking the right balance between freedom and safety is essential.
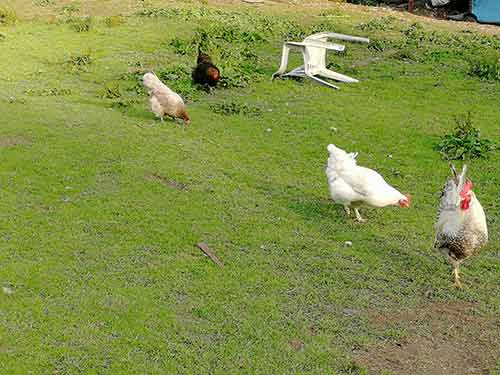
Experience the freedom of free-range chickens
Urban and rural areas alike pose unique challenges, with predators like cats and foxes. In such cases, meticulously plan your chicken run, maximising size and incorporating entertaining elements for a secure yet enjoyable environment.
Enhance your chickens’ quality of life with these unique entertainment ideas:
- Swings and perches provide hours of amusement, allowing chickens to swing and hop.
- Hang vegetables like cabbages from strings for extended pecking sessions and healthy snacks.
- Create piles of straw and hay for scratching and bug exploration.
- Include rocks and stones, attracting insects and providing a natural snack source.
- Boost their self-esteem by adding a mirror for preening sessions.
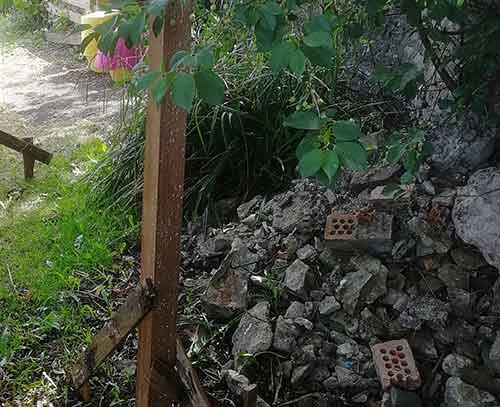
Discover loose stones and bushes for your chickens to explore
A thriving chicken is an active one, engaging in activities like pecking, bug chasing, and playful interactions. Monitor their health by ensuring bright eyes and a vibrant red comb on the top of their heads.
Prioritise your chickens’ well-being with these tips:
- Build a bond with your chickens, understanding their individual behaviours for early detection of health concerns.
- Regularly inspect feet, feathers, and skin for cuts, scratches, and signs of parasites.
- Provide fresh water daily, supplemented with a small amount of apple cider vinegar for digestive health.
- Maintain cleanliness in the coop and run, replacing bedding daily. Apple cider vinegar serves as an effective and natural cleaning agent.
- Ensure a well-balanced diet suitable for their age, following guidelines on chicken nutrition.
- Routinely inspect and maintain the chicken run and coop to address wear and damage promptly.
- Facilitate dust baths to keep feathers in top condition and free from lice.
- Prevent attracting pests like rats by ensuring no leftover food is left around at night.
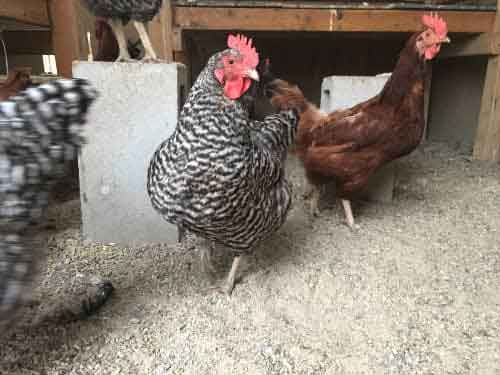
Chickens loving their new, clean coop
By prioritising the well-being of your chickens and their environment, you’ll not only enjoy watching them but also reap the rewards of fresh, high-quality eggs.
Exploring Different Chicken Run Options for Your Garden
When it comes to chicken runs, the options are vast, catering to different garden sizes and varying flock numbers. From compact setups ideal for 2 or 3 chickens to expansive enclosures capable of housing an entire flock, there’s a perfect fit for every poultry enthusiast.
Performing a simple web search for “chicken runs” will immediately reveal a huge range of options, from a simple moveable coop and run in one unit to large flatpack timber solutions and more permanent metal variants.
Choosing the right chicken run hinges on the available space in your garden. In this guide, we’ll focus on constructing a medium-sized run suitable for 4 chickens in an unused garden area. Keep in mind that the design we present can be adjusted in size to meet your specific needs, with construction principles remaining consistent, varying only in the required materials.
For those envisioning a permanent chicken presence in their garden, our chosen design serves as a durable, long-term solution. The construction allows for potential future extensions, providing flexibility for expanding your feathered community.
Prior to delving into our chicken run construction guide, it’s beneficial to explore alternative designs. Take a look at this Pinterest board for a diverse collection showcasing various shapes and sizes of chicken runs.
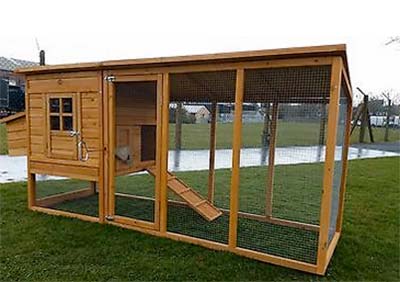
A medium-sized chicken coop and run
Optimal Size for a Happy Flock: Chicken Run Dimensions
When it comes to the size of your chicken run, think beyond the minimum. While the recommended minimum area is about 1 square meter per chicken, we firmly believe this isn’t enough and that more space equals happier chickens and better egg production.
Our advice is simple: build your chicken run as generously as possible, ensuring ample space for your flock. Avoid overcrowding at all costs, as it not only constitutes cruelty but also leads to stressed-out chickens, resulting in decreased egg laying.
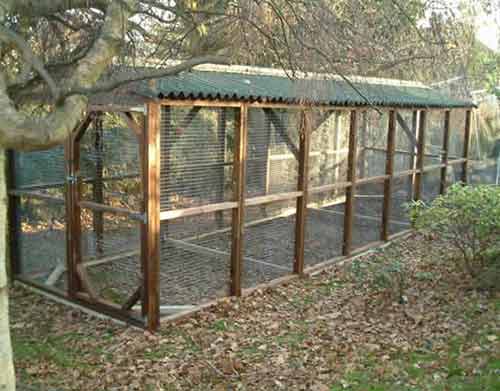
Discover the benefits of a large chicken run – Image courtesy of Pinterest
Picture a spacious chicken run where your feathered friends can roam freely, expressing their natural behaviors without the unnecessary struggle for space. This not only promotes their well-being but also enhances the overall egg-laying experience.
Step-by-Step Guide to Creating a Chicken Run
Embarking on the journey of building a permanent chicken run is a rewarding project, and in this guide, we’ll walk you through the process. Our chosen location, an unused corner of the garden, was selected strategically, featuring a tree, a pile of stones, and small leafy shrubs – perfect for keeping chickens shaded, protected and entertained.
Flexibility is key, so feel free to adjust the size of this design to suit your needs. Whether you need a larger or smaller run, the process remains consistent – just add or remove posts accordingly.
For this lockdown project, we utilized timber fence posts due to material availability. However, you can easily substitute them with concrete posts, pressure-treated 4 x 2 inch timbers, or similar materials based on your preferences and resources.
A notable advantage of our chosen spot was a pre-existing solid stone wall that served as the rear boundary of the run. This not only added structural support but also reduced the number of materials required. When planning your chicken run, consider existing features like walls to optimise resource utilisation.
Step 1 – Marking Fence Post Positions for Your Chicken Run
Using fence posts for our chicken run, our first step was precise planning for post placement. Despite heavy rain during the initial phase, we took accurate measurements and crafted a detailed structure plan on paper, encompassing all measurements and post positions.
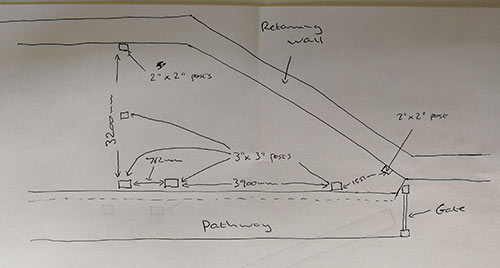
Strategic plan of the chicken run including all measurements and positions for fence posts
Repurposing an old gate, we aligned the doorway posts accordingly. For those without a spare gate, customize your entrance opening to your desired width; in this case, the run entrance measured 726mm (720mm for the gate with 3mm spacing on either side).
Once the rain subsided, we outlined all post positions using stakes firmly hammered into the ground, ensuring they were placed accurately to reflect the plan.
Step 2 – Installing Fence Posts for Your Chicken Run
With post positions marked, it’s time to dig holes and install the posts. To adequately support the wire, sink posts 450mm deep, coated the section that will be underground in bitumen paint for added protection against rot.
What ever sized post you are using, it is recommended that at least 25% of it should be in the ground to provide enough support.
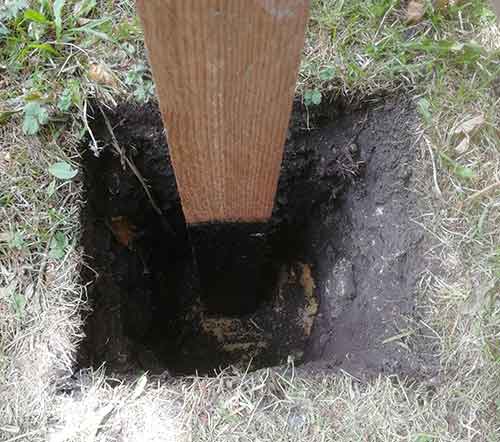
Fence post holes dug to 450mm deep
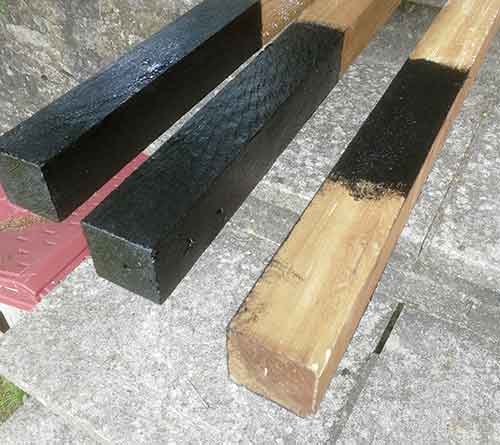
Fence posts treated with bitumen paint for protection
Begin with the entrance posts, aligning and supporting them precisely using a string line and braces made from scrap timber. Ensure the posts are spaced to your desired entrance width, in this case, 726mm.
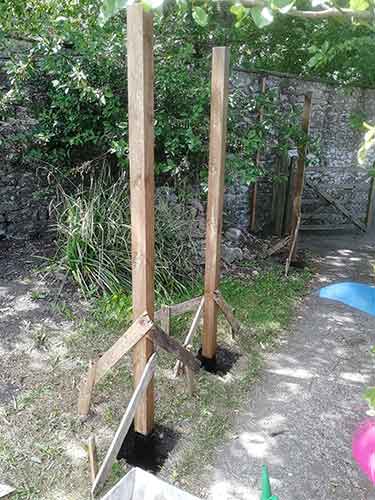
Entrance way posts installed, levelled, and braced
For the rear, aw we used the back wall to form the rear of the run, we fixed a 50mm x 50mm timber post 100mm into the ground using frame fixings. Utilise any existing structures if you can, as this saves time, materials and costs.
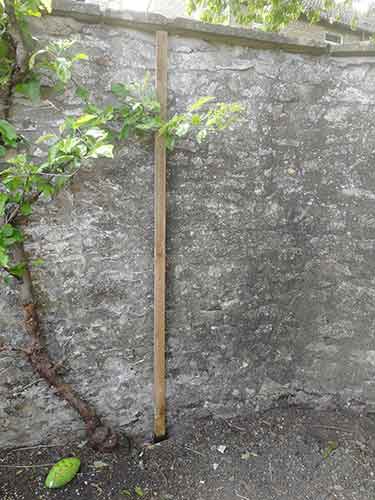
Rear chicken run post fixed to the rear wall
For the opposing end near the side wall, again we used a 50mm x 50mm timber fixed to the wall and sunk 100mm into the ground, again coated with bitumen paint for added protection.
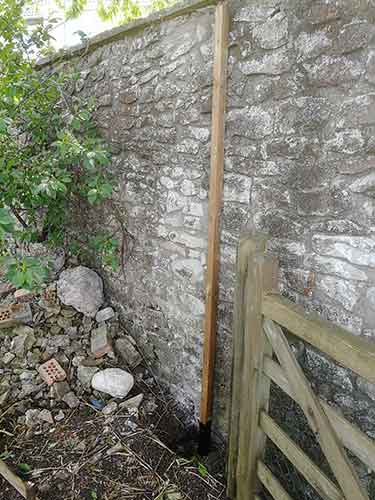
50mm x 50mm timber fixed to the end wall
Place additional posts according to the run’s shape, using string lines for alignment. Ensure you position enough posts to keep everything structurally sound.
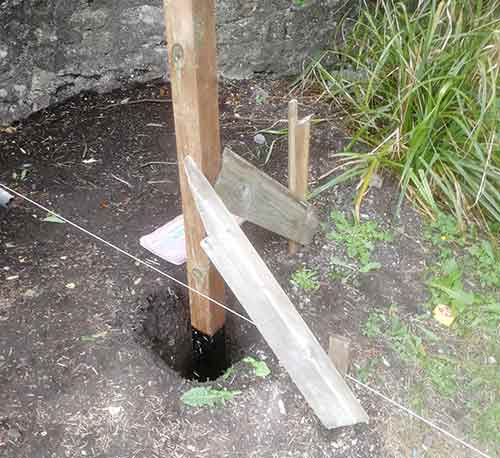
Final post installed, levelled, and secured with bracing
With posts installed, levelled, and braced, proceed to cement them fully in place so that everything is structurally rigid and solid.
Step 3 – Secure and Cement Your Chicken Run Fence Posts
With all posts braced, square, and level, it’s time to cement them securely into place.
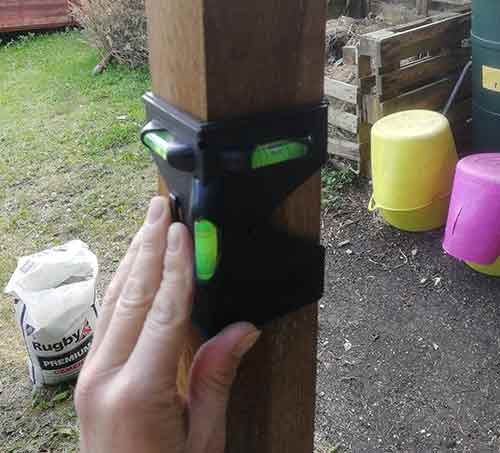
Ensure chicken run fence posts are level before cementing
Before any cement is added, check each post’s level using a post level and make adjustments if needed.
Prepare a C20 cement mix (1 part cement, 2 parts fine aggregate, 4 parts coarse aggregate – details on mixing cement here). Fill each post hole with the mix.

Add C20 cement mix to chicken coop fence post holes
Tamp and compact the cement with a 3 x 2 inch timber off-cut as it’s added to the hole. Leave roughly an inch gap at the top.
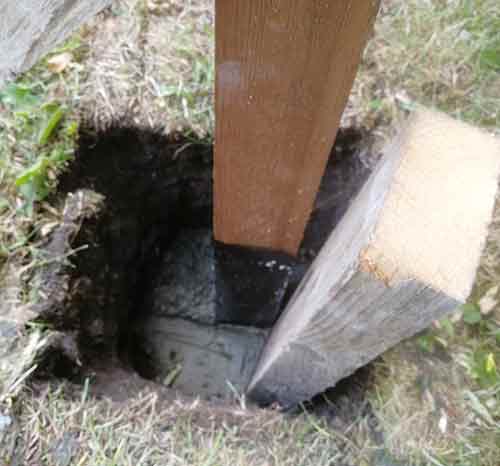
Tamp down cement with timber off-cut
Let the posts sit for 48 hours to allow the cement to cure fully. Finish by compacting an inch or so of soil over the top.
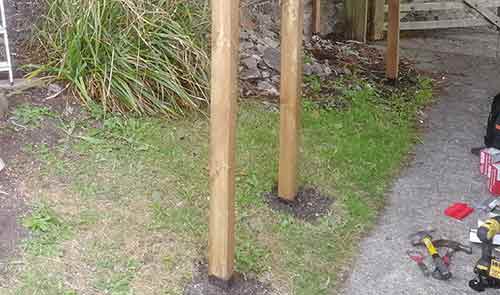
Add soil over cement to finish
Step 4 – Attach Rear Timber Framework
With all the fence posts now securely cemented, it’s time to affix the timber framework to the back wall, forming the rear of your chicken run.
Due to the coping stones overhanging the top of the wall, the timber frame needed to be lowered by 100mm to allow for proper attachment of chicken wire staples.
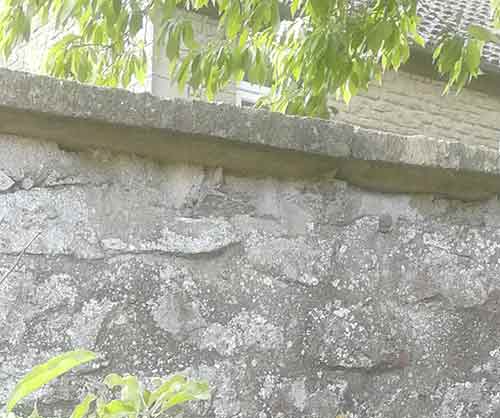
Overhang on top of the wall from coping stones
We began by fixing a short timber section from the left rear upright to the point where the wall begins to run off diagonally. Consider any similar angles that you may have to work with.
The timber was cut to match the diagonal angle of the wall using a sliding bevel to map the angle, ensuring an accurate fit for joining timbers (details on using a sliding bevel here).
Level the timber and drill pilot holes through it to mark the drilling points on the wall. Secure it in place with frame fixings or wall plugs.
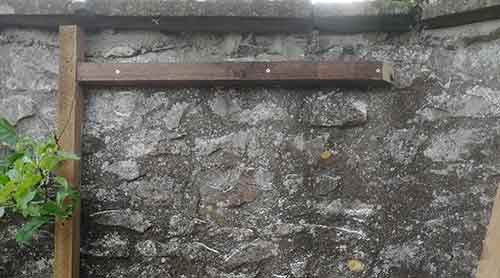
First timber fixed to the rear wall
Repeat this process for the remaining timbers, until you get to the upright timber at the opposite end of the run.
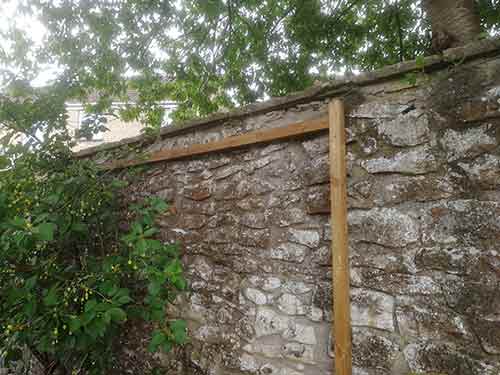
Remaining timber framework fixed to the wall, extending to the end of the chicken run
Step 5 – Install Gravel Boards for a Secure Foundation
Our next task is to secure gravel boards around the base of the chicken run, providing a sturdy foundation for attaching the chicken wire and offering resistance to potential burrowing invaders. To enhance durability, we coated all gravel boards with protective bitumen paint.
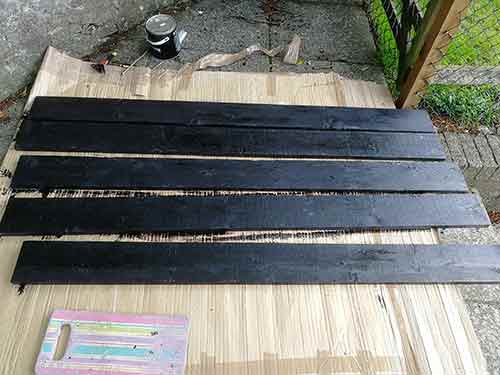
Gravel boards coated with bitumen paint
For the far-right board, to accommodating the fact it would meet the upright at an angle, we made precise mitre cuts at each end.
The board was placed on the outside of both the posts and our sliding bevel was used to transfer the angle onto the top edge of the board. The mitre was then cut using a mitre saw set to the correct angle (find out how to use a mitre saw in our project here).
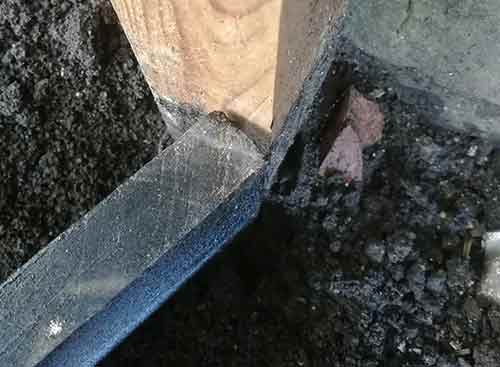
Gravel board marked for mitre cut
Before attaching the boards, we dug a 2-inch trench between all the posts. Once the trench was ready, we securely fixed the first board, screwing it firmly from the inside with rust-resistant decking screws.
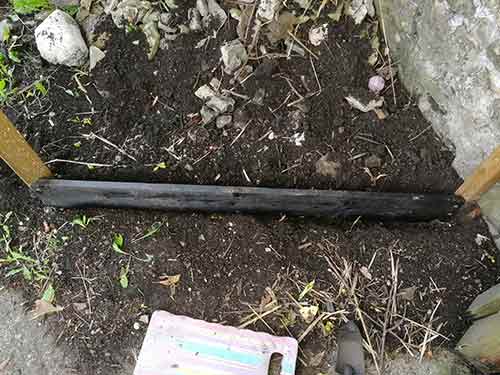
First gravel board securely fixed
The longest board, spanning from the right entrance post to the post we fixed fixed our first board to, required joining two sections using a halving joint (instructions on cutting a halving joint here).
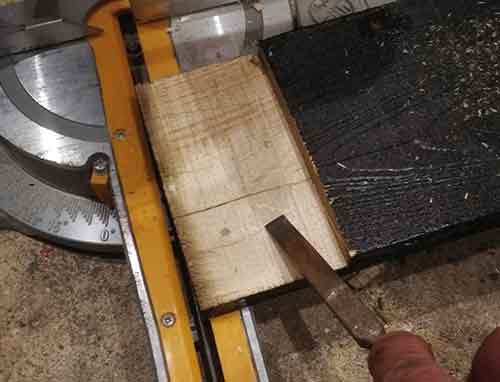
Halving joint cut in gravel boards
After bolting the sections together, the board was cut to length and securely fixed in place using 40mm decking screws.
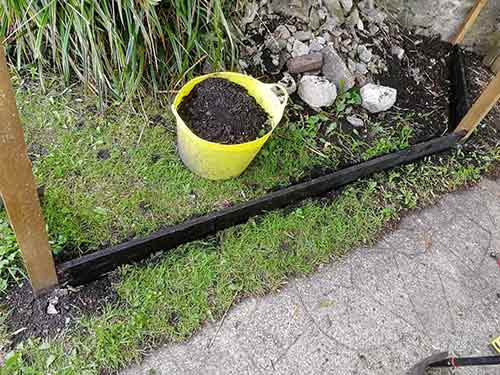
Second gravel board firmly installed
The final two boards, running from the left rear timber upright to the left side entrance post, required mitre cuts due to the sloped terrain. By aligning each board flush with the posts and marking the angle using the inside of the fence post, we achieved accurate mitre cuts.
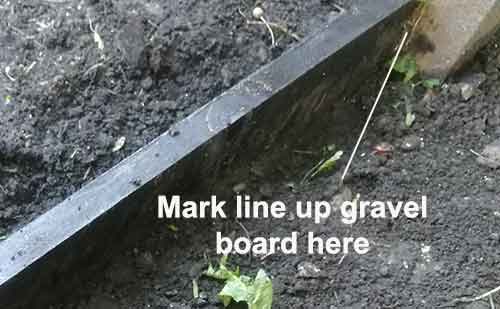
Mitre cut line marked on gravel board
Both boards were secured in place with 40mm decking screws, ensuring a snug fit. Any gaps around the boards in the trench were then filled with soil and tamped down for stability.
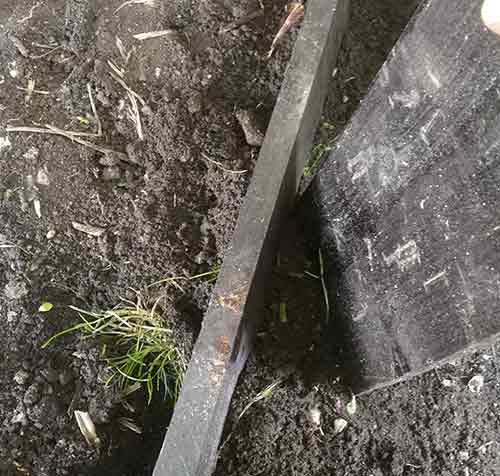
Backfilling and tamping down soil in gravel board trench
Step 6 – Complete Timber Framework Installation
Having finished the gravel boards, the next step was installing the remaining timber framework to complete the chicken run structure. This involved running timbers around the top of the upright posts.
Dealing with various slopes, we employed the same technique as with the gravel boards. With a helper holding each timber on the outside of the posts at each gap, ensuring a flush fit with the top of each post, we marked a line up the inside of the timber. This line provided both the exact size to cut the timber and the cutting angle.
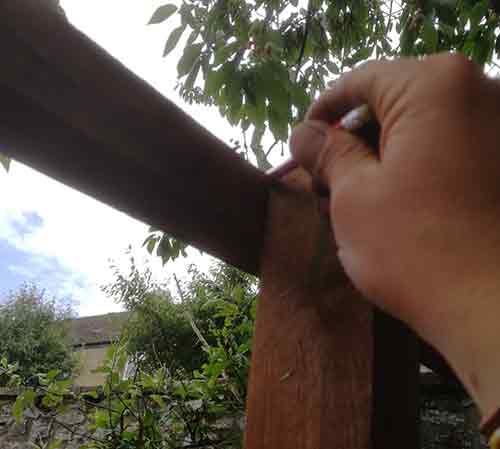
Marking the cutting line on the top timber
This process was repeated for all timbers. Once cut to size, each timber was secured at the top to the posts using 40mm decking screws.
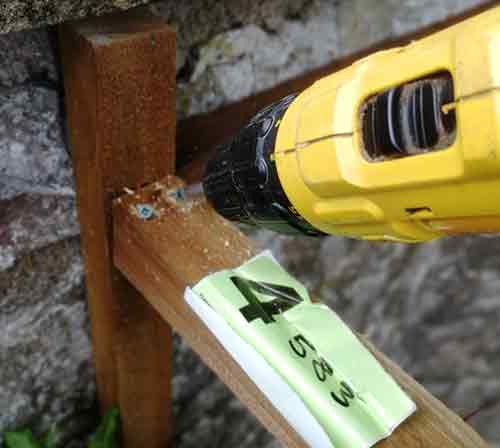
Fixing the top timbers in place
Similar to the gravel boards, the top timber between the front posts was a bit short. We used a halving joint to connect two timbers together. You might notice a brace below the joint – a precautionary measure due to a mishap during installation.
Unfortunately, the hop-up we were using gave way, and in an attempt to regain balance, it was grabbed, causing the joint to snap. Lesson learned!
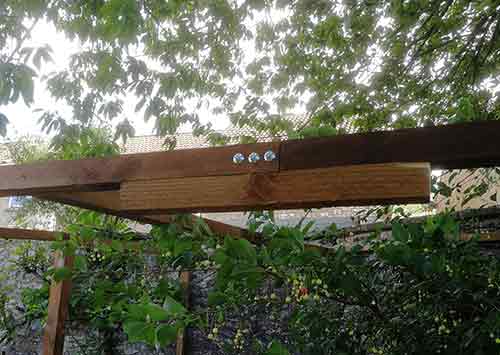
Brace under the halving joint for reinforcement
The right-hand side top timber, which ran diagonally and sloped down, required a tricky cut across two different angles (horizontal and vertical).
To ensure accurate cutting lines, we held the timber on the outside of each post, using a straight edge to transfer the horizontal and vertical cuts onto the timber.
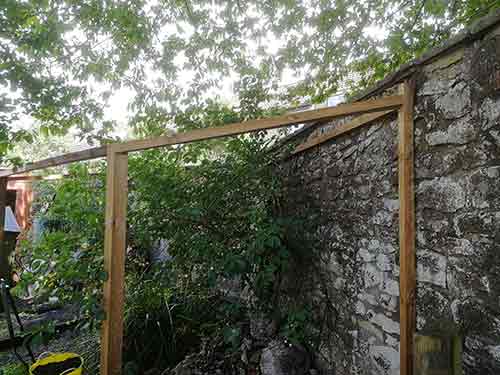
Tricky horizontal and vertical cut timber fixed in place
With all top timbers cut and secured in place, the final task involved running some timbers down from the framework on the back wall to meet the top timbers along the front. This provided additional support and fixing points for when the chicken wire was laid over the top.
Step 7 – Build and Install Chicken Run Door
As previously mentioned, we repurposed an old gate for the door of the chicken run. The gate was securely attached to the right-hand post using heavy-duty T-hinges. When installing any door, it’s crucial to ensure that the gap around the perimeter is equal on both sides for proper functionality.
If you don’t have a spare gate available, you can easily build one using the basic plan outlined below:
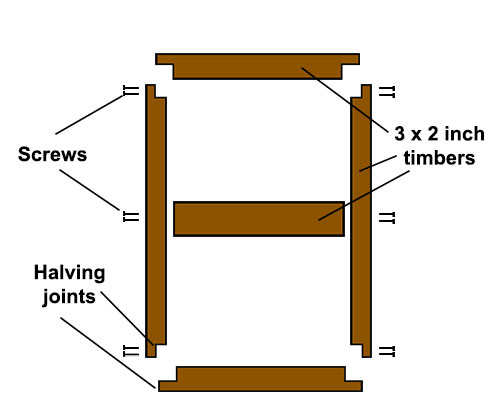
Simple plan of a chicken coop gate
Once you’ve constructed the gate following the provided plan, cover it with chicken wire, pulling it tight as it’s fixed for added security.
Step 8 – Attach Chicken Wire to Timber Framework
With the timber framework securely assembled and the gate in place, it’s time to begin affixing the chicken wire to the structure.
Due to the nature of this “lockdown project”, we used 2-inch chicken wire as that’s all we could get, though it’s recommended to opt for wire with smaller holes (1 inch or smaller) to deter rats and other pests. In case the holes are too large, overlaying a second layer of wire, slightly offset, can be a practical solution.
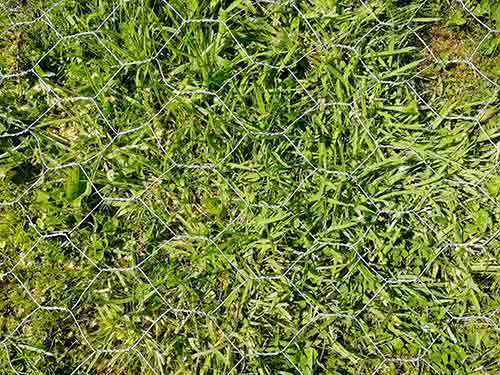
2-inch chicken wire
Handling a large, heavy roll of chicken wire can be challenging. It’s recommended to measure, cut, and install one wire panel at a time for ease of handling.
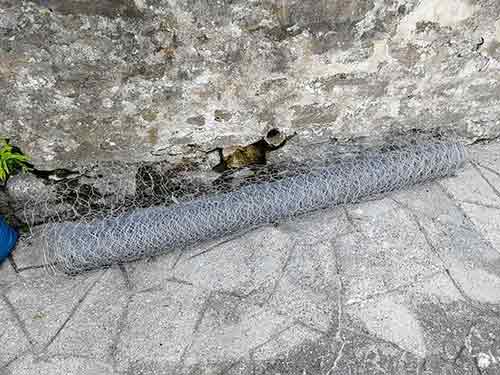
Large, heavy roll of chicken wire
Once marked and measured out, we cut the chicken wire to size using wire snips or the cutting edge of a pair of pliers.
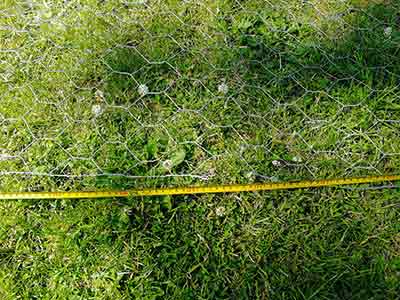
Cutting chicken wire to size
Start by hanging the chicken wire on nails that we hammered in at the top corners. This allows for easy adjustment before fixing it in place, ensuring proper alignment.

Nails hammered in at the top of posts for hanging chicken wire
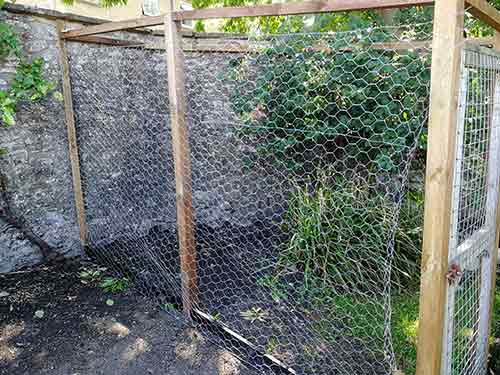
Chicken wire hanging on nails and roughly positioned in place
For precise positioning, fix the wire initially along one vertical edge. Then, move to the opposing edge and roughly fix it. Gradually work your way around the remaining edges, fixing the wire in place with fencing staples. Ensure the wire remains taut to prevent creases and slackness.
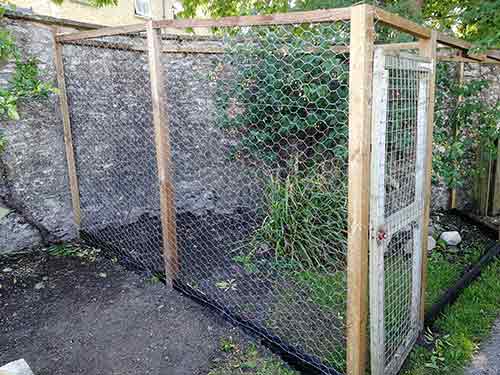
Gradually fixing chicken wire in place, ensuring a tight fit
Trim off any excess wire to prevent jagged edges. Repeat these steps for all sides and the top of the chicken run.
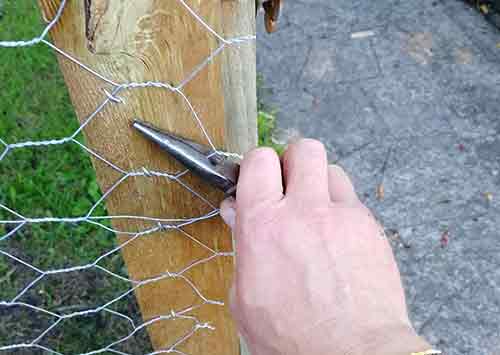
Trimming off excess chicken wire
When fixing wire to the top of the run, consider enlisting help due to the challenging nature of handling and positioning the wire.
For securing chicken wire to centre span timbers where it may be hard to hammer, you can use props to increase support while hammering, or garden wire can be used as an alternative to staples as it can be wrapped over and twisted up underneath, offering a secure and reliable fix.
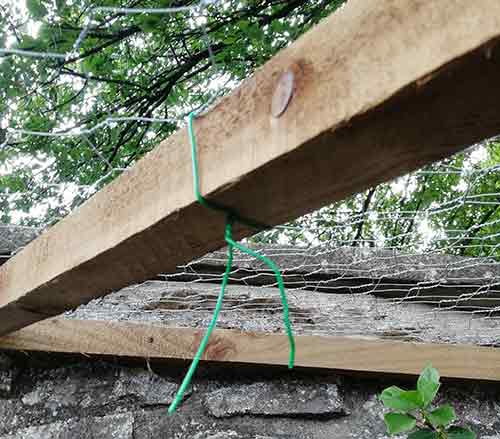
Using coated garden wire to secure chicken wire to centre span timbers
Once all the chicken wire is securely fixed and your chicken run is fully covered it’s now time to add a chicken coop (see our project here on how to build a chicken coop) and then introduce your new feathered family members to their new home!
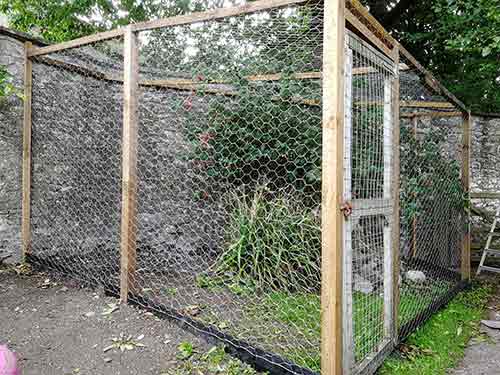
Completed chicken run

