If you need to restain existing stained wood, there is a process to follow in order to get the very best finish results possible.
If you are fairly new to DIY and in particular decorating, then you may not be aware that in most cases you can’t simply just restain over an already stained timber surface or object without doing a certain amount of prep work first.
To this end, in this guide we will show you how to restain wood correctly and get a great finish.
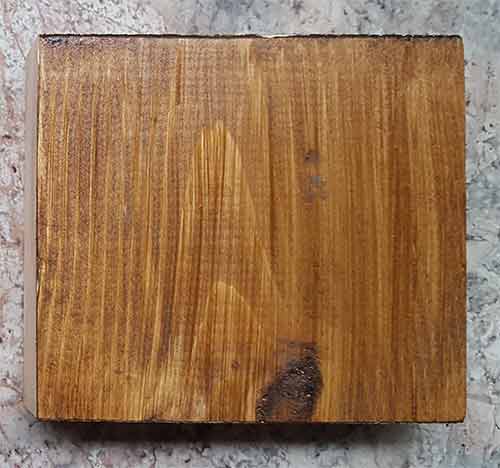
Timber surface that’s been stained using wood stain
Has the Timber Been Stained or has it Been Dyed?
Before you start any work at all, try to establish whether the wood object you are restaining has had wood stain or wood dye applied to it.
You may be thinking; what difference would this make? In answer, quite a bit.
Wood stains generally tend to be essentially a coloured varnish, meaning that they sit on top of the surface their applied to.
This generally means that they can be removed, allowing you to fairly easily get back to the original timber surface below.
It’s much easier to work with an item that’s been stripped right back to it’s original surface.
However, a wood dye is designed to soak into the surface making it a huge amount tougher to remove.
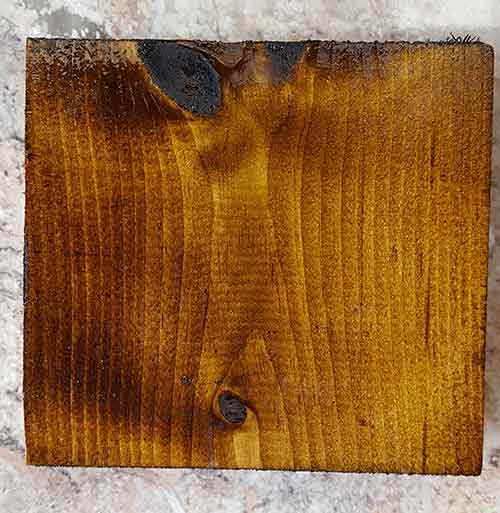
Timber surface that’s been dyed and then coated with a varnish coating
With this in mind, you can now see why it’s a good idea to establish exactly what you’re up against as it may turn out that your current plan is no longer possible.
Using a 220 grit piece of sandpaper, sand over a small inconspicuous area. As you sand, if the colour begins to fade and the natural colour and tone of the timber starts to show through, chances are that the timber you’re working with has been stained.
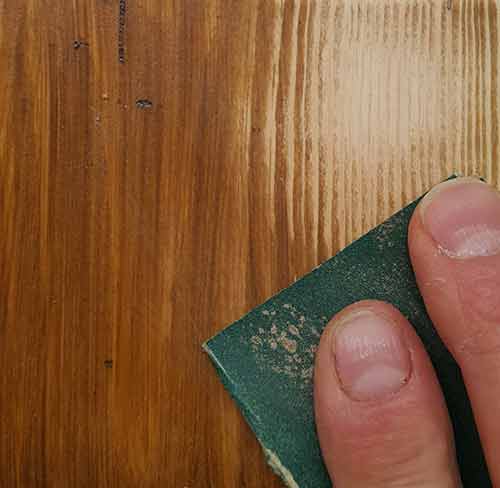
Sanded timber surface that’s been stained showing that colour and tint has been removed with sanding
If the colour remains the same or only changes very slightly the timber has likely had a dye applied to it.
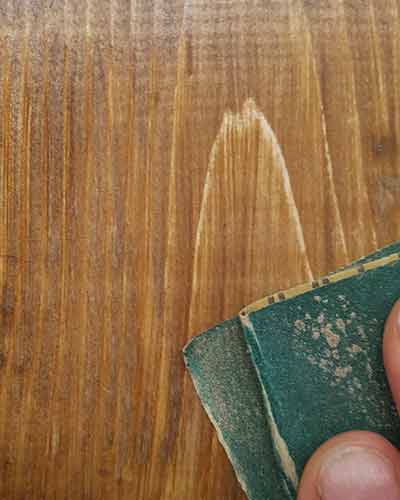
Sanded timber surface that’s been dyed showing that colour remains after sanding
This obviously won’t be too much of an issue if you are planning on painting over the stain as the paint will cover it, but it is highly relevant if you are wanting to apply a new coating of stain – more on this below.
1. Preparing an Existing Timber Surface that’s Been Stained or Dyed
Whether your item is stained or dyed it will need to be prepared correctly in order to apply your new stain.
Use some 180 grit sandpaper to rub the object down, making sure that you remove any and all of the “gloss” effect that the varnish itself produces. This is also known as “deglossing”.
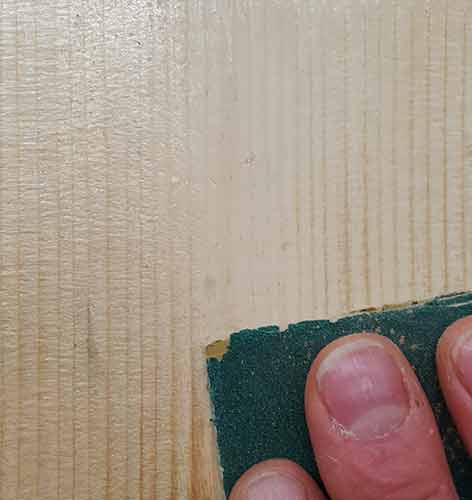
Sanding down varnished surface to remove gloss
Ensure that you get your sandpaper down into any and all awkward or tight spaces. If any of the existing stain/varnish is left this will effect the appearance of your new stain.
You can also use a decent paint and varnish stripper such as the Eco Solutions Paint and Varnish Stripper we ourselves regularly use.
If the existing coating is a dye, you will still need to remove any protective varnish coating by rubbing it down or stripping it. Once this has been removed, sand the surface of your item over with 180 grit sandpaper.
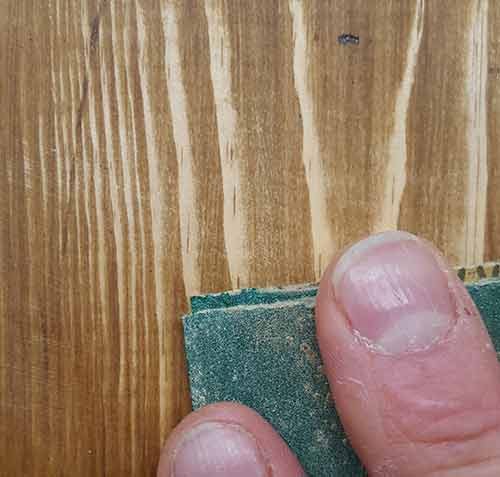
Sanding off protective varnish layer over wood stain
If the existing dye that was used was fairly low quality it may not have soaked into the timber that much so it may be possible to sand most of the colouring out.
However if the existing dye used was a good quality dye then it will probably have soaked a fair way down into the timber.
You can obviously also sand this out to a certain degree, but realistically you may end up removing too much of the object to get rid of it totally.
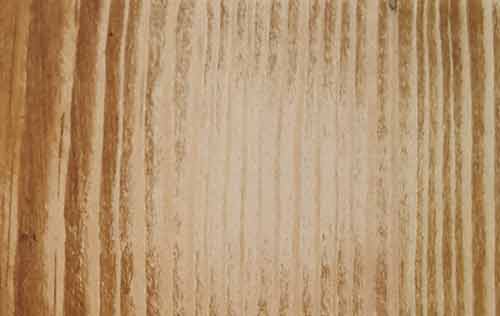
Sanding down wood stain to see if colouring can be sanded out
If this is the case you’re only option is to remove as much as possible and then restain the wood.
When it comes to any damage, you may also want to get this sorted before applying any new finishes.
As the wood grain will be visible, any wood filler or wood repair putty you use will need to be as close a match in colour to the timber itself so that it’s as invisible as possible.
With this in mind, go for a high performance wood filler that’s both flexible and stainable.
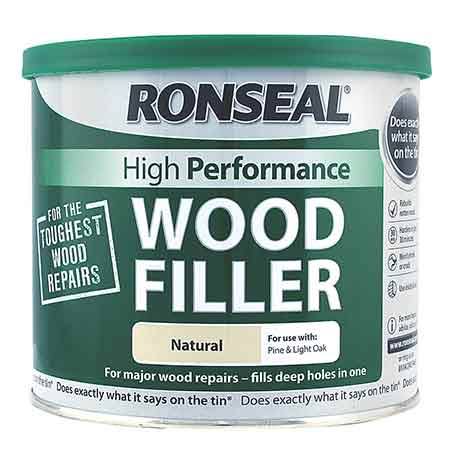
Ronseal High Performance Wood Filler
Apply it using the manufacturers instructions and once it’s fully cured, sand it flat, making sure any and all edges are feathered out nicely.
2. Sealing Timber Prior to Staining
Depending on the type of timber you’re working with it may be necessary to seal it before you apply your wood dye or stain.
Some types of timber stain and dye are better than others. Timbers such as pine, maple or birch are very tricky to get an even finish due to the fact that some areas are softer than others and take the stain better, there are knots present or the actual grain pours of the timber are more open in some areas than in others.
All these issues can lead to a blotchy and uneven finish that can spoil the entire job.
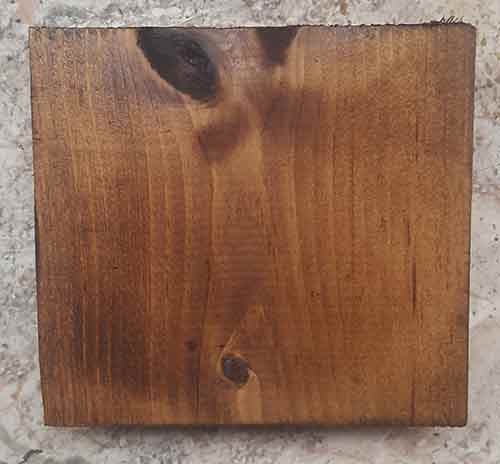
Uneven stained surface due to not sealing before staining
To get around this you can apply what’s known as a pre-stain sealer or sanding sealer. This effectively helps to seal the surface and any open grains to give you a much more even finish.
As with most stains and sealers, the best sealer to use is one that’s manufactured by the same company as your stain or dye. If you are unsure on what to use contact them for more advice.
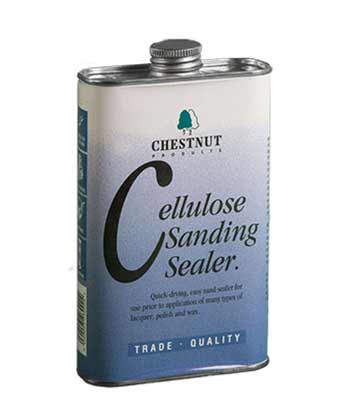
Cellulose-based sanding sealer to seal timber pours before top coating
Brush on the sealer using long brush strokes running in the same direction as the wood grain. Gently brush off any excess sealer using a dry brush to prevent any visible brush strokes from showing up.
Some sealers need to be wiped on so check with the manufacturer exactly how it should be applied.
One point to note is that most sanding sealers dry pretty quickly so don’t hang about!
When the sanding sealer has dried fully, give the entire surface a light sand over using 280 grit sandpaper. Check that you have not missed any spots. These will appear as shiny, glossy areas.
Once all lightly sanded off you should have a great base for your stain.
3 A. Applying a new Coat of Wood Stain the Same Tone or Darker than the Existing Stain
If you are simply restaining wood objects or surfaces with a similar shade of stain or one that’s slightly darker then, firstly, you will need to establish what’s currently covering the item you’re working on – follow the steps above to find this out.
Once you know what the existing finish is, it will then need to be prepared using the steps outlined above. Once correctly prepared you can then apply your new stain.
When applying your stain use a decent quality fine bristle brush and use fairly long strokes when applying the stain.
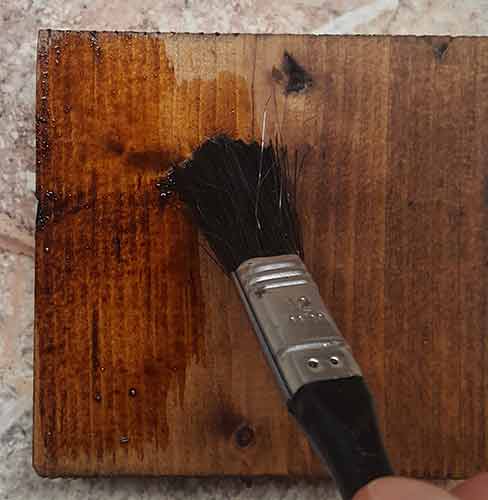
Applying wood stain over the top of existing wood stain
Be careful not to overlap anywhere as this can cause the overlapping areas to appear darker and cause your finish to look stripy.
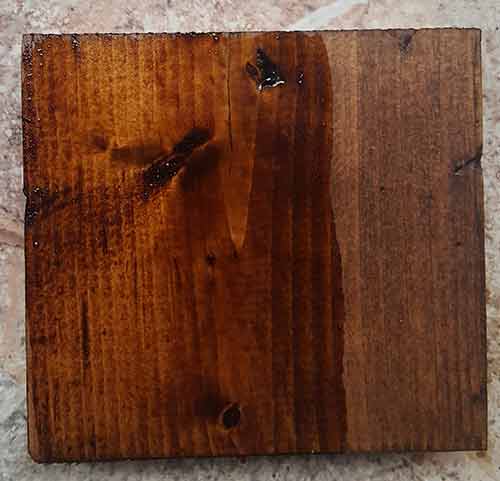
Overlapped wood stain darker than other stained areas
Ensure that you apply a decent amount of stain as you brush it on so that it really penetrates down into the timber.
Once applied, to get the best streak-free finish possible, gently wipe over the applied stain using a clean cotton rag, wiping in the same direction that you applied the stain (with the grain) as this will then remove any streaking.
After wiping, run a dry brush over any fine detail areas to remove any excess stain buildup. Wipe the brush off using a clean rag.
Repeat this process until you have covered one full side of your item and then leave to dry. Once dried, repeat for the other side.
3 B. Applying a Lighter Shade of Wood Stain Over Existing Darker Stain
If you are wanting to stain your item a lighter shade of stain than the one that exists at present then unfortunately you can’t simply brush a lighter stain over a dark stain, you will need to fully strip back or sand off the existing stain finish and apply the lighter stain.
If you try to apply a shade of stain or dye that’s lighter than the finish that’s already on there, the existing finish will over power it.
If the existing wood stain has soaked too far into the timber your working with, you may have to have a rethink about the route you want to take.
If you are able to remove it using the information above, apply your new stain using a good quality brush, brushing the stain or dye on using long, sweeping strokes.
Once you have covered a smallish area, wipe it over using a clean, lint free cloth to remove any excess. This will give you a nice even stroke free finish.
once applied, carefully look over the surface for any blemishes or brush marks and gently wipe these off using your clean cotton rag.
If you inadvertently wipe off too much stain or dye, simply brush on some more and then gently wipe off the excess until you match the surrounding colour tone.
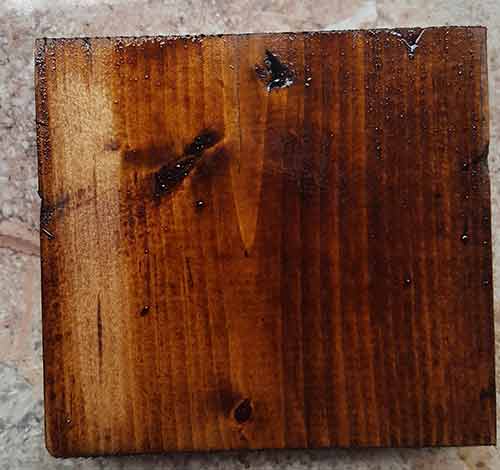
Too much stain wiped off when wiping down with a cloth
Once fully dried both sides and you are happy with the overall finish and colour, depending on the type of stain or dye you have used, you may then need to seal it and then varnish over it to protect it.
4. Applying Varnish Over Wood Dye or Stain
Once you have completed staining or applying wood dye to your item and you are happy with the finish it’s a great idea to then varnish over the top.
Applying a coat of varnish will protect the surface beneath it and prevent water and moisture damage as well as light impact damage.
If you have applied a wood stain, chances are that it already includes a built-in protective layer that effectively does the job of a top coat of varnish, so you probably won’t need to apply it, but check on the tin for the manufacturers recommendations.
In terms of what varnish to use, one point to be aware of is that not all types of varnish are compatible with all types of stain, dye or sealer.
For example a shellac-based sealer should not be used with a polyurethane-based varnish. Make sure you check that the varnish you go with is compatible with the sealer and stain that you have used.
Apply the varnish using long brush strokes, taking care not to overlap any edges. Varnishes tend to be quite thick and by overlapping, this can cause a thick buildup that can easily cause runs.
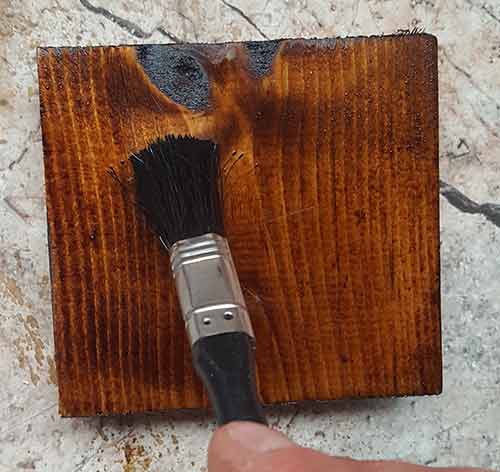
Brushing on varnish over the top of newly applied wood dye
Brush out any thicker coatings of varnish using a dry brush and then leave to fully dry.
If you want to apply a second coat of varnish, give the first a very light rub over then remove any dust and debris and then apply your second coat.
Restaining wood that’s already had wood stain or dye applied to it may seem like a fairly straightforward job but it can turn into a bit fo a nightmare if you are not aware of the pitfalls involved, but as long as you prepare correctly and apply the appropriate wood stain or dye it’s certainly possible to get a great finish.

