Damp issues come in a whole host of guises – some with simple damp and moisture, some with salts, some with mould issues, some come up from the ground, some come through the chimney breast and some through the roof.
As well as all the potential causes there are a whole host of different cures. Some work well on a range of damp issues, some only work on specific damp problems so getting to the root of the actual cause is the key to a successful resolution.
In this guide we are going to focus on damp issues that occur lower down e.g. at the base of walls and usually result in rising damp. We are also going to look at how electric damp proofing otherwise known as “electro osmosis” can be used to resolve such issues.
What is Electro Osmosis Damp Proofing and how Does it Work?
Electro osmosis damp proofing is one of the oldest forms of damp proofing and was developed way back in the early 1800’s by a physicist called Ferdinand Reuss.
The basis of this and subsequent experiments and discoveries are the essence of how electro osmosis damp proofing operates in that the capillary action caused by the natural electrical potential between the earth and the wall that causes moisture to rise from the ground (rising damp) is interrupted and reversed when a small current is passed through it.
When this interruption occurs the moisture that would have eventually found its way into and up the wall simply seeps back into the ground resulting in no damp issue.
One of the best things about this system is that it doesn’t require any chemicals and only needs a very small and constant electrical charge. In fact the charge is so small that it only equates to around 2 or 3 watts so it’s very cost effective and more importantly safe.
Due to this it is considered a rather environmentally friendly method of resolving rising damp issues.
Some other advantages of electro osmosis systems are that they can be installed quickly and easily, can be concealed behind skirting boards etc. making them ideal for use in period properties, can be used on a range of different masonry types and are ideal for use and are very effective in thick, solid walls.
The one disadvantage with the system is that it needs the continuous supply of electrical power to work and without it the system fails and the damp will simply return.
Are There Different Types of Electro Osmosis System?
In essence there are two different types of electro osmosis damp proofing system; active and passive:
Active: Active osmosis damp systems are more modern. Small 10 – 15mm holes are drilled at regular intervals around the internal walls of a property and platinum or titanium wire, or sometimes titanium rods (anodes as they are known) connected by wire are inserted into each hole and sealed in place. A small electrical charge is then passed through the wire that repels the natural moisture back into the ground
Passive: Passive osmosis systems are fairly old technology now and are largely defunct, being replaced by more modern active systems. In terms of operation, a copper strip is inserted into the problem wall internally and sometimes externally and is then earthed to the ground in one or more places. The earthing effectively shorts the natural electrical potential in the wall thus causing the moisture to retreat back into the ground
As mentioned, the older passive systems have now been replaced by the newer active systems (although many are still in use in properties all over the country) as they were deemed much less effective.
How to Install an Electro Osmosis Damp Proofing System
Installing an electro osmosis damp proof system is a pretty straight forward job and one that can be done on a DIY basis with a few simple tools.
In this example we are going to install an active osmosis system in a brick an block built property. The system will be installed internally behind the skirting boards so that it can be hidden.
Remove Skirting Boards
The first job is to remove the skirting boards. If you are careful when doing so damage can be kept to a minimum and they can be used again.
In most cases they will either be nailed, screwed or stuck in place with construction adhesive. If screwed, try and locate the points where screws have been added. If you look very closely you should just be able to see filler marks.
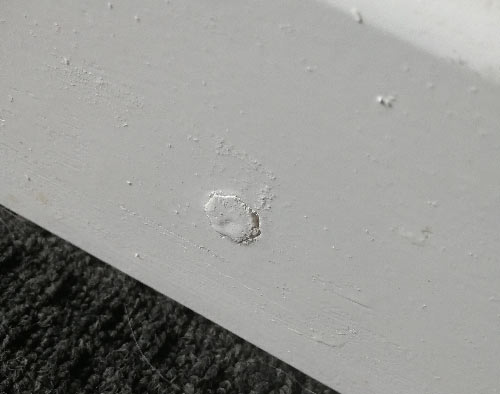
Filler hole in skirting
Dig out the filler to expose the screw and remove it. Locate as many as you can and remove them as this will minimise damage. You can then use a large screwdriver or lever to pry the skirting free.
Using lever to pry skirting board away from wall
If the skirting is nailed or stuck on, again use a large screwdriver or pry bar to lever the boards away from the wall, being careful not to damage the skirting or the walls surface behind.
Remove any Coverings Back to Bricks/Blocks
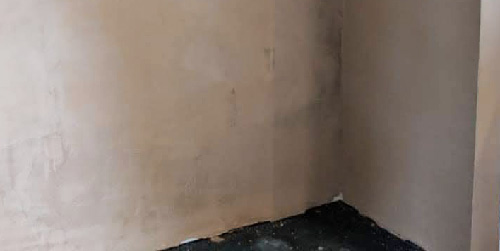
With the skirting removed inspect the wall behind. In some cases the wall will have been plastered right down to the floor (which isn’t ideal) but if done correctly then there should be a 3 or 4 inch gap between the floor and where the plaster stops.
If the plaster feels wet to the touch and it’s starting to turn to mush then it will need to be hacked off and replaced. Typically rising damp reaches its peak around 1 – 1.2m from ground level as this is the point that gravity counter acts the capillary actions that causes moisture to rise.
If the plaster is damp up to this level, for a full fix solution you will need to remove all the plaster up to this point and then replaster after the wall has been allowed to dry out. See our project here on replastering after damp issues for more information.
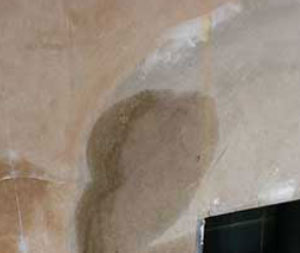
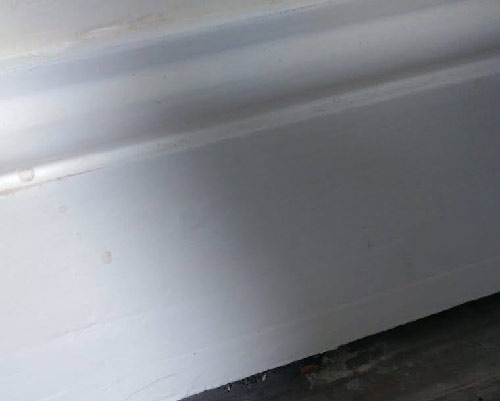
Damp plaster caused by rising damp
If the plaster is ok and in no way damp to the touch or doesn’t register any moisture content when tested with a damp meter then it should be ok.
Damp proof courses, which is effectively what we are installing, should be installed at least 150mm above ground level to prevent any bridging issues resulting in moisture working its way around the damp proof course. This is certainly the case for the exterior of the property and for belt and braces should also be the case internally.
With the above in mind if you haven’t got a clear 150mm from floor level, remove any plaster up to a horizontal mortar joint that’s 150mm or more from floor level.
Mortar joint at just over 150mm from floor level
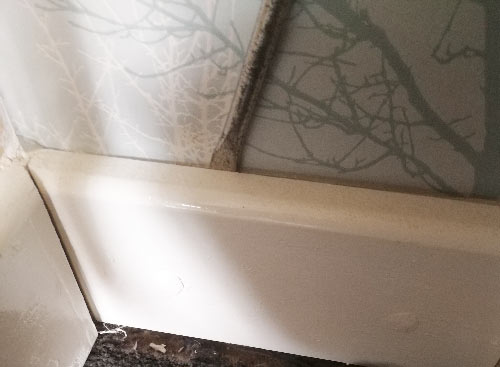
If Your Skirting is Over 150mm High
Alternatively if your skirting boards are over 150mm in height or you are replacing your existing skirting with taller boards you can hide the anodes and wire behind them. This can save quite a lot of work and expense in terms of installation.
200mm skirting board
In this instance you would simply make good any plaster that has to be repaired and let it fully cure and then drill and fix your anodes and wire at 150mm from ground level.
Once installed you would then fix your existing or new skirting in place hiding everything away.
If this is the case for you, skip the next step.
Chase out Mortar Joint
Once you have identified a suitable mortar joint it now needs to be chased out so that the wire and anodes can be installed and then it can be filled over hiding them away.
Using a plugging chisel or small cold chisel, remove mortar from the joint to depth of around 1 inch or 25mm. Ensure you are wearing suitable PPE gear including gloves, a mask, old clothes and goggles.
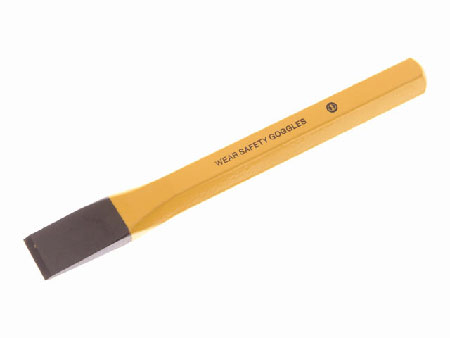
Cold chisel used for chasing out mortar joints
It is possible to also use an angle grinder and stone cutting disc to chase out the joints but this does create a huge amount of dust and also the grinder is hard to control and keep is a straight line which can result in some damage if it jumps off course and catches any nearby surfaces.
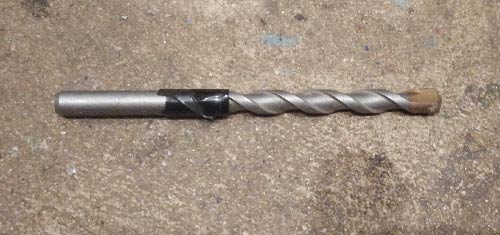
Alternatively you can also use a hammer drill and 10mm mortar drill bit to drill out the mortar and then remove the waste using a bolster or cold chisel.
Drill Anode (wire or titanium rod) Holes
Depending on which route you are taking, either covering with skirting board or chasing into the wall the next job is to drill holes for the anodes so they can be inserted into the wall.
In most cases the instructions that came with your kit should state the size of drill bit that needs to be used, the depth that each hole needs to be drilled to and how the holes should be spaced, but if not then measure the diameter of one of the anodes and add a few millimeters either side for ease of fitting and this will be the size of drill bit needed.
Measure the length of one anode and again add a few millimeters and this is how deep your hole will need to be and in terms of spacing, generally each anode should be spaced at around 1 – 1.2 meters apart.
With this in mind, select the correct sized drill bit and then measure and mark your drilling depth on the drill bit using a piece of insulation tape and pop it in your drill.
Drilling depth marked on drill bit
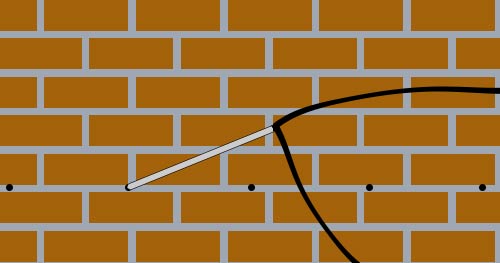
Measure and mark each equally spaced hole around the perimeter of the wall you are working on and then use your drill to drill out each hole to the correct depth.
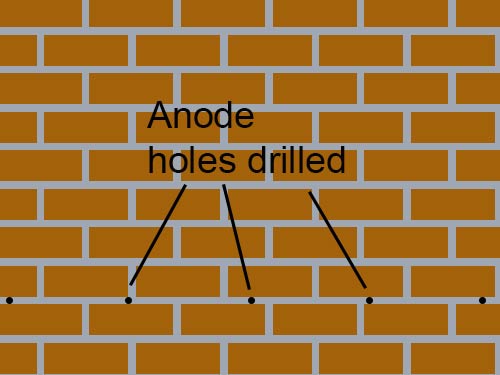
Holes marked out along wall ready for drilling out
Insert Wire and Anodes and Fill Holes
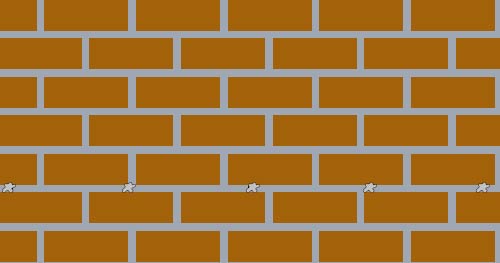
Once all the holes have been drilled, insert each anode into each hole ensuring the wire trails nicely between each hole (in the mortar chase if you have created one).
Once all the anodes have been inserted into each hole they now need to be filled.
Anodes inserted into holes in wall
Again, the manufacturers instructions should fully detail exactly what should be used to fill the holes and in some cases they may even supply a specific product in with your kit, but if not then a general use mortar with some water proofing additive should be used (see our mortar mixing project here for details).
Fill each hole fully with mortar and if you have also chased out the horizontal mortar joints to hide the wire, push the wire in to place and add mortar here also.
Anode holes filled over
Replace Plaster and Skirting Boards
Once all of the mortar has fully cured one of the final jobs left now is to make good any finishing e.g. replace any plaster that has been removed.
For full information on all aspects of this and how to plaster see all of out how-to plastering projects here.
Plastering can be a little tricky if you have never done it before and does require a bit of practice to master, however given some time it’s certainly something that can be done on a DIY basis, but if you do not have the time then it’s best to get the professionals in. See our find a tradesman service here.
Freshly plastered repair to wall
Once any plaster has fully cured you can then reinstate any skirting boards. If you are reusing your old skirting then tis can be simply fixed back in place. Repair any damage to the outward faces that may have been caused during removal using filler once they are fixed back in place and then sand down and paint to finish.
If you are fitting new skirting then simply cut your boards to fit and fix them in place using a suitable fixing method for the wall you are fixing to.
Connect up Earth and Power Supply
The final job to do to get our electro osmosis damp proofing system up and running is to connect it up.
Firstly at one end of the wire there should be a connector for the power supply unit and at the other a connection for the earth strap.
First insert the earth spike that came with your kit down into the ground. Ensure that it is fully immersed down into soil to that a good earthing point is created.
If you have a solid concrete slab you will need to drill out a hole and insert your earth and then fill around with mortar.
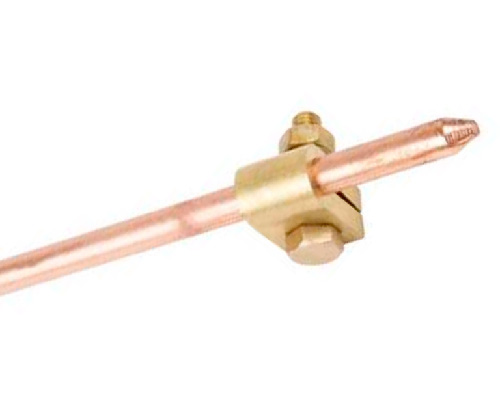
Earth spike for electro osmosis system fixed in place
With the earth in place connect it to the end of the anode wire.
Finally plug the other end of the wire into the power supply that came with your kit and then into a suitable electrical socket and turn the power on.
At this point you are done, good work. The electro osmosis system will now start counteracting the natural electrical potential between the wall and ground and any dampness or moisture should now start retreating back where it came form leaving you with dry, damp free walls.