A very popular question at DIY Doctor is how do I fit shelves into the recesses either side of my chimney breast? The simple answer is that you can build some alcove shelving. In this DIY guide we show you the basic principles on how to build alcove shelves. The particular design can be adjusted to suit your tastes and needs.
What Materials to use for Alcove Shelving?
In most cases you will want to use timber to constuct your alcove shelves and it’s a good idea to use a timber that matches any existing timber items in the room.
In this case, our client wanted big chunky looking shelves with no visible brackets. We had already replaced their timber floor 2 years ago and all the doors last year. See our replacing a timber floor and also our hanging a door projects.
We therefore decided to use Redwood for the alcove shelving so they could be stained later to match the floor and doors. The skirting we used when we did the floor was 6 x 1 inch Redwood so we used the same for the top of the shelves and to hide the support battens we clad the underside with tongue and grooved matchboard.
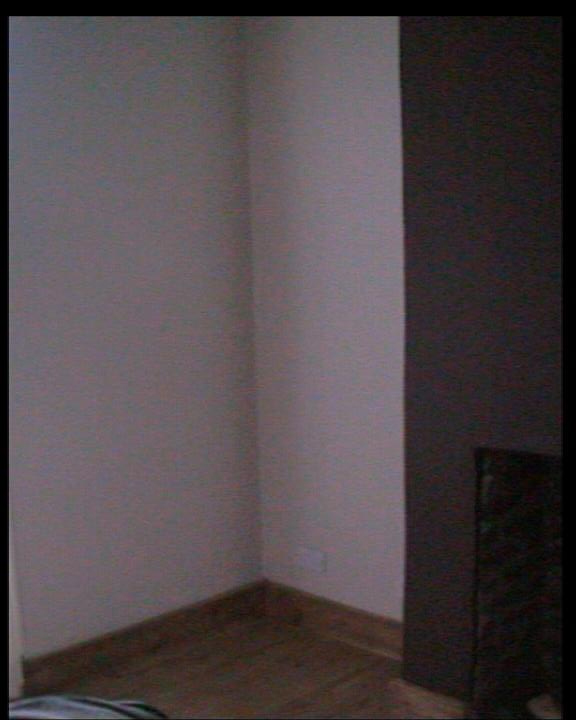
Chimney recess suitable for alcove shelving
Drawing the job out and making a plan are always good ideas. Although work can be undone, it’s much easier to get it right the first time.
How High Should I Make my Shelves?
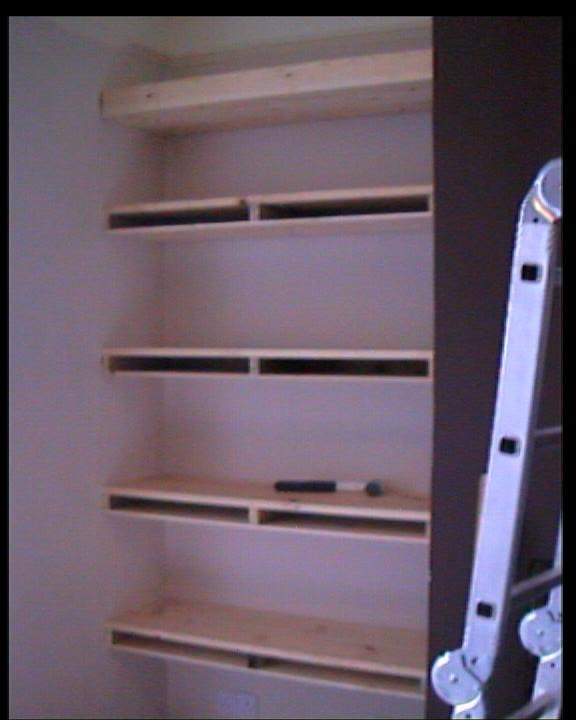
In the first image above you can see the alcove we started with. The 2 x 1 battens are fixed to the wall at heights dictated by the clients books, stereo etc. Make sure you think about this before starting your project.
To ensure any items you plan on storing on your shelves actually fit, measure the height of any taller items and add 30mm to allow for a little head room. When marking out your shelf positions on the wall, make sure that you mark this measurement between each shelf, taking into account the finished height.
As you will be boarding the top and bottom of each shelf over the fixing battens you will need to accomodate the depth of each covering board into your height markings.
Fixing Timber Battens for Alcove Shelving
The support battens were 2 x 1 inch treated softwood and were fixed using red wall plugs and 3 inch number 8 screws. See our fixing to masonry project for details on how to do this. A battery screwdriver is a must when undertaking a project like this.
Not only does it make life easier but you can be sure every screw is driven in properly. When buying a cordless drill/screwdriver do not buy one under 12 volts and if possible pay a little extra for one with 2 batteries. Its a real nuisance if your battery runs out half way through a job and you have to wait 3 hours for the battery to recharge.
To fix a timber batten hold the batten in position on the wall making sure it is level. Mark the wall with a pencil. Take the batten down and drill a 5mm hole in the centre of the batten to push a screw threw. Put the batten back on the wall to the line you have drawn. Push a screw through the pre drilled hole and wiggle it on the wall to mark it.
Using a 6mm masonry bit, drill a hole to the correct depth. Push in the wall plug and screw the timber up tight to the line. You can now use the masonry bit to drill right through the timber and the wall (don’t forget to alter your depth marker as shown in the aforementioned project). Push the wall plug into the timber, turn the screw in a couple of turns and tap it through with a hammer.
You will feel the plug slip through the timber into the wall and when you do it is time to screw the screw in. This method saves you marking each hole individually which can lead to mistakes.
To be fair it does eventually blunt the masonry bit slightly but it takes about 650 holes through timber to do this and the time saved, together with the accuracy involved, makes it worth it.

Alcove shelf battens fixed in position
These particular alcove shelves have a face on them as you can see in the below image so make sure you leave the side support battens back far enough to accommodate their depth so they finish flush with the front of the shelf, if you have the same plan.
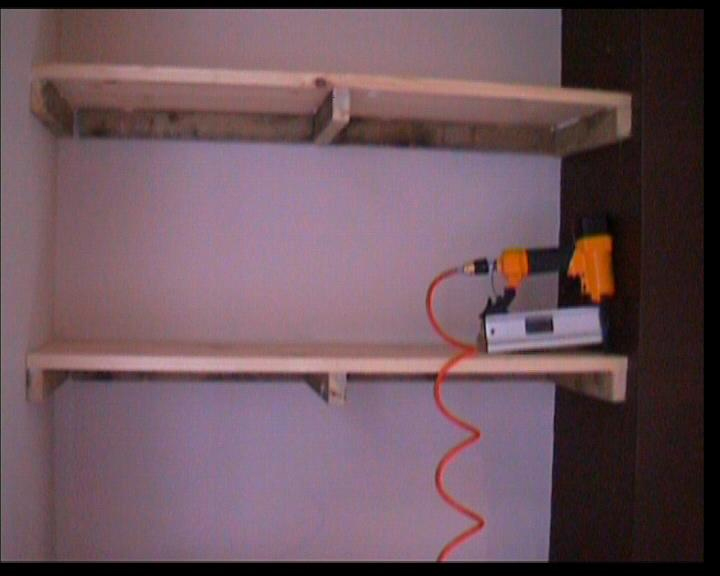
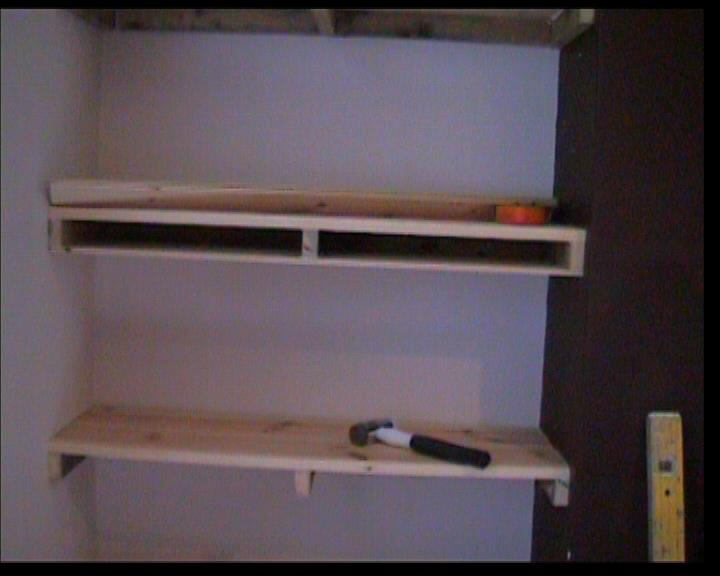
Shelving boards fixed in places on top of battens fixed to wall
Add Centre Strengthening Struts and Shelving Boards
The 6 x 1 timber we used is easily strong enough to support the weight of books etc over the span we were working with, but the slats we used underneath would have sagged if we had not fixed them up to a centre strut.
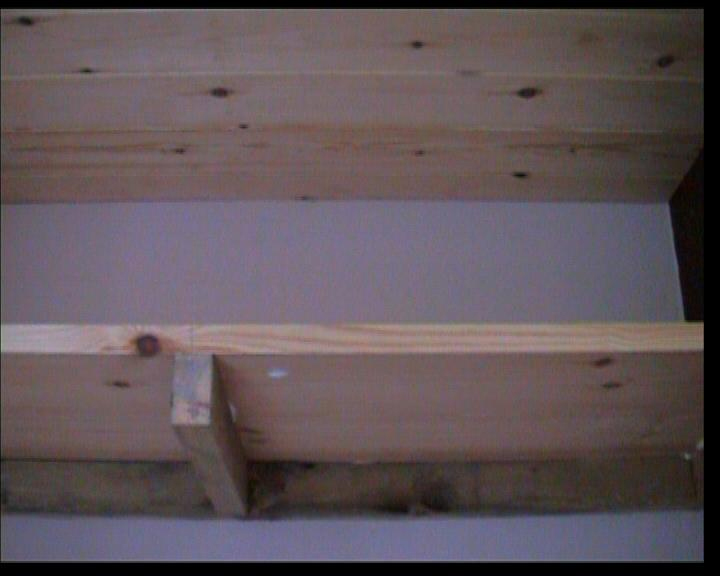
Close up of alcove shelving showing supporting strut added to centre
This strut was simply cut to length and then glued (as all of the connections and joints were) and nailed (we use a nail gun but you may prefer to screw or use 1½ inch oval or lost head nails. See our nails information DIY project) The strut just supports the small weight of the tongue & groove matchboard.
In terms of the shelving boards and matchboard covering, starting at the front, measure the width of the alcove and then cut your first board to this width and fix it in place using the nail gun and a little glue between the batten and touching edge of the board. Work from the front backwards towards the rear wall.
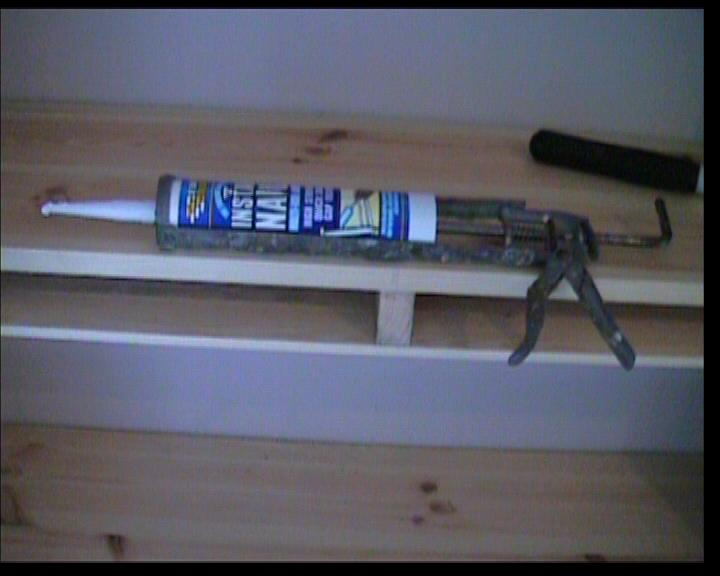
Wood glue and applicator gun
The wall at the back of the shelves was bowed as this is a very old house. Rather than have big gaps we cut the back shelf slat to the shape of the wall. This is called scribing the timber
As each shelf board was fixed in place we also checked that it was level.
Checking the Levels of the Shelves once positioned on top of bearers
Fix Shelving Face to Hide Gaps
With the shelving top slats and bottom matchboard covering in place is now time to fix the front (below). This is simply another length of 6 x 1 inch cut down to the correct width. It is then fixed to the end of the batten bearers at each end and in the centre using our nail gun and some glue.
Fixing the face to the shelving to hide any gaps
The nails used also had the added benefit of having very small heads so they were also fairly invisible, especially when knocked in using the nail gun.
With all the shelving faces cut and fixed in place, our alcove shelving unit was now complete and ready to be stained by the client.
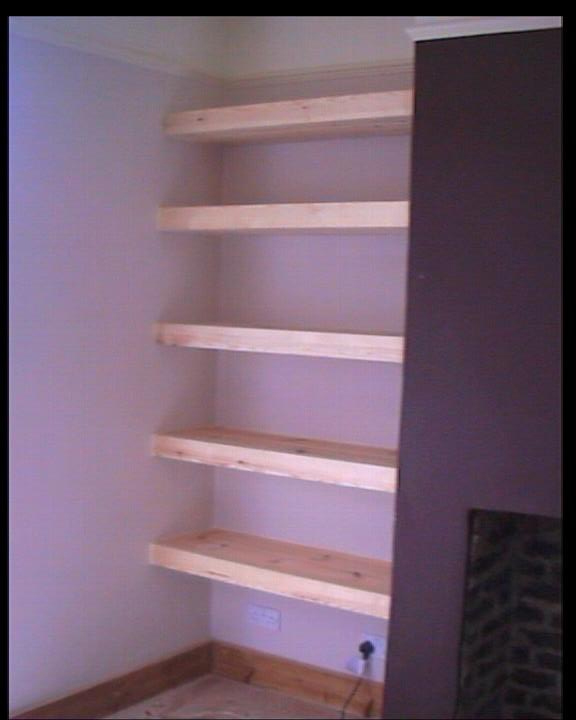
Finished shelving job with shelves added to alcove area to the side of a chimney breast
Note: Before fixing any of the “finished faces” in place e.g. the shelves and front faces etc we gave everything a sand over with some 120 grit sandpaper to remove any damage or rough edges.
What Tools and Equipment do I Need?
If you are keen DIY’er then you should have most of the carpentry tools required for building alcove shelving and be fairy femiliar with their use.
If not then you will need the following:
- Wall plugs
- 8 x 3 inch screws (screw battens to wall)
- Hammer
- 6mm masonry drill bit
- Drill/driver
- Nail gun (optional)
- Table saw (cutting boards)
- Mitre saw (cutting battens square)
- Wood glue (and applicator gun if needed)
- 1½ inch oval nails, lost head nails or 8 x 1½ screws (fixing battens and boards)
- 2 x 1 inch batten (lengths and required)
- 6 x 1 inch skirting (lengths and required)
- Matchboard (lengths and required)
- Tape measure
- Scribe
To make the alcove shelves seen in this guide, all the timber was cut to length using a small table saw and a chop saw to ensure any cuts that needed to be square were indeed dead square. If you don’t have one you can use a hand saw, but just make sure your cuts are as accurate as possible.
To keep any dust to a minimum we kept all the power tools outside. The weather was a bit dodgy so we used a cheap gazebo tent on the patio to protect them.
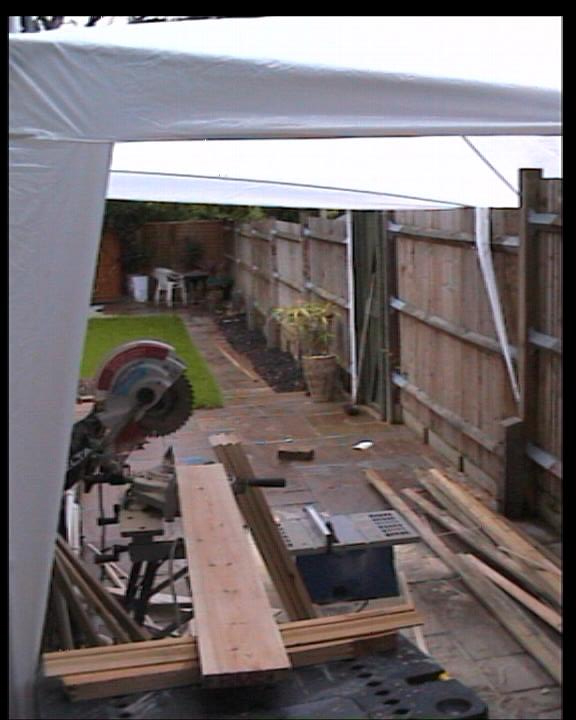
Chop Saw and Table Saw situated outside with awning covering it