Keeping your garage or workshop tidy is hugely important. If you’re trying to do a particular DIY job and you are constantly having to move stuff out the way to create a space to work in then this can certainly have a negative affect on the overall finish of the job in question.
Also, if you are having to waste time looking for the tools to do the job and in some cases use the incorrect tool as you can’t locate the right tool then this is also extremely counter productive.
If however all of your tools and typical garage items are stored away nice and tidily on some sturdy racking then you should have a nice clear area to work in and also be able to put your hand on any required hand tools or power tools as and when they are needed without having to rummage through tool boxes or cupboards.
With this in mind, in this DIY guide we show you how to build your very own sturdy long-lasting garage storage racking to ensure your garage or workshop stays in tip top condition.
Garage Storage Solutions
When it comes to storage solutions for garages and workshops there is plenty of choice if you just want to buy an “off the shelf” solution.
Many DIY stores and suppliers stock a range of shelving solutions that can be quickly and easily assembled and provide storage for a range of items a a reasonably price, normally around £30 – £50 per unit.
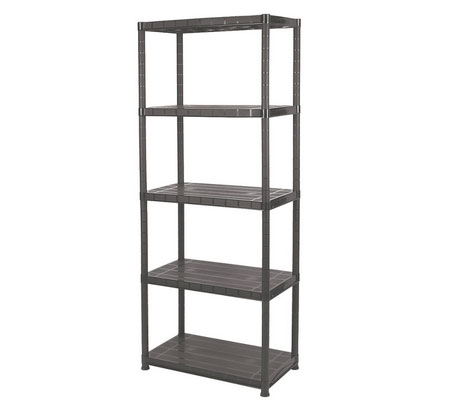
Flat pack plastic shelving for garages and workshops
The above shelving units are fairly good to a point and can cope with storing fairly light weight items easily, but if you are looking to store heavier items such as large power tools, generators or similar you will need some thing a little more substantial.
Again there is no shortage of solutions here with many companies selling semi and full industrial shelving units that can easily cope with storing very heavy objects, but these shelving units do come at a cost, usually starting at £100 for smaller units all the way up to and over £300!
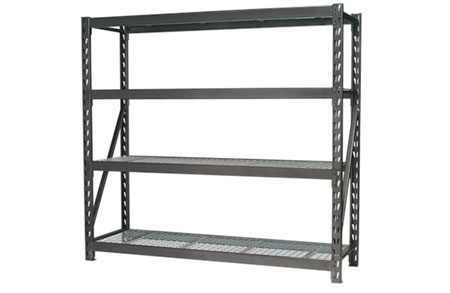
Heavy duty shelving unit
The two standard solutions listed above are no doubt great solutions but they both suffer with the same issue – they’re pre-built to a set shape and set size!
This is fine for standard sizes and shapes of garage and the like and for storing standard size items e.g. power tool cases, plastic storage boxes etc, but what if your garage or workshop isn’t like this, or you want to store particularly large bulky items?
This is where our final solution comes in – the DIY solution! Using 3×2 or 4×2 timbers and 18mm plyboard, loft boards or MDF it is possible to build your very own storage racking and shelves to any size or shape required!
cost-wise timber is expensive, but on a comparative level for what you would spend on one single heavy duty shelving unit you could build your own storage unit four times the size for roughly the same price!
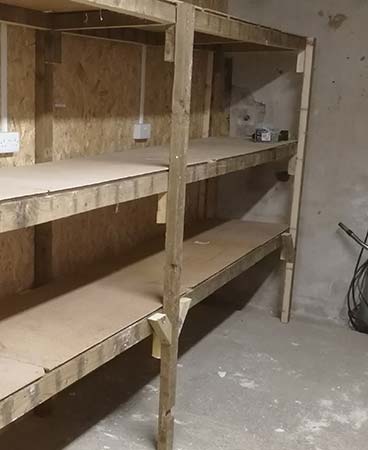
DIY timber workshop storage unit
Tools and Materials Needed for Building Garage Storage Racking
To build your own DIY garage or workshop storage racking you will need the following tools and materials. The total length of 3 or 4×2 timber and sheet timber will vary depending on how big your racking is going to be so you will need to work this out accordingly:
- 3×2 or 4×2 (for more heavy duty storage) timber
- Sheet timber for shelving (can be loft boards, plywood, MDF etc and at least 18mm thick)
- 2x boxes 5x70mm wood screws
- 1x box 4x40mm wood screws
- Sliding mitre saw (not essential but recommended, can use hand saw instead)
- Table saw (again, can use a hand saw if you don’t have one)
- Hammer
- 18V drill/driver
Recycling Materials to Build Garage Racking
One simple way of reducing the cost of building your own garage or workshop storage is to use reclaimed or recycled timber.
For example, if you are re-boarding your loft or tearing up the old decking in your garden, don’t just throw it all down the local tip, keep it and repurpose it, in this case turning it into storage shelving or even something else, it’s a waste just to throw it away.
If the waste timber in question is larger then needed, for example 6×2, 9×3 etc then using a table saw, you can easily cut it into smaller sizes such as 3×2 or 3×3. This has the added benefit of doubling or even tripling your materials.
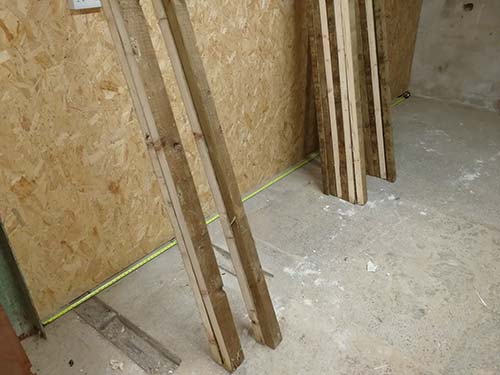
6×2 inch timber cut down to 3×2 inch timbers
How to Build Garage Racking
Staying with the above theme of recycling, in this guide we are going to be using some old floor joists that were removed during a property renovation that we cut down to 3×2 in size (from they’re original size of 6×2) to build the rack framework and also some old 18mm loft boards to form the shelves.
There are many different ways to build storage racking and shelving but for the purposes of this guide we are going to build them using a modular method. This makes the construction process more straightforward and more importantly easy to do on your own.
The measurements used below are specific to the space that we had for our racking but yours will probably be different. There are no set rules, build yours as big or small as you want to.
It’s also a very good idea to work with the lengths and widths of timber and sheet material you have. Pretty much all sizes of timber are available in 1200, 2400 or 4800mm lengths and sheet material in 300, 600 and 1200mm widths. Working to these sizes will avoid any unnecessary cutting.
Decide on Size of Racking and Measure up
Before we start cutting or screwing anything together, the first job is to measure up and work out what size we want our storage racking to be.
The space you have available will probably be different, but in this case we have an area between an end wall and RSJ that is 4400mm in length so we will build our rack to fit this space.
Fortunately, as the racking is be installed in our workshop that has a particularly high ceiling (3500mm), height isn’t an issues but as you will be building your racking in a garage, workshop or similar you will probably have around 2500mm.
To avoid any unnecessary stretching, ladders or steps, access to the top shelf needs to be easy so with this in mind a height of somewhere around 2000mm should be ample as this will allow for three decent sized shelves with plenty of height to each, including the floor that will also effectively create a fourth shelf.
To cater for as many items that may need storing as possible e.g. mitre saws, small band saws, pillar drills, welders etc we are going to make each shelf 600mm high.
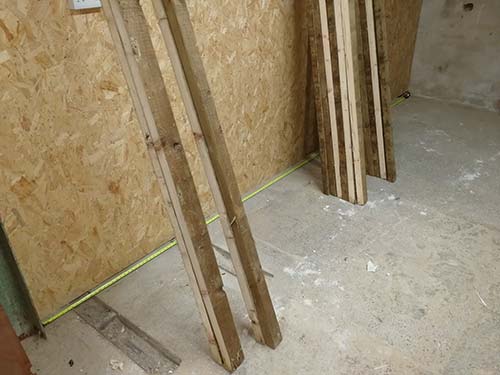
Measure the installation area for your racking to decide how big it needs to be
Measure and Cut Base Frame Timbers
Now that we know we have a total length of 4400mm to work with this will define the length of our racking. As the loft boards we have for the shelves are 600mm in width these will define its depth, but again you can makes yours as deep as you like.
The floor joist timbers we are using to form the part of the racking framework that the shelves will sit on were all 2400mm in length so to make things uniform for assembly and to ensure all fits nicely in our 4400mm total length we cut each timber down to 2200mm (two placed end-to-end then totals our available space of 4400mm).
With this in mind, as we are going to feature three shelves and each shelf needs two timbers front and back we would need twelve timbers in total.
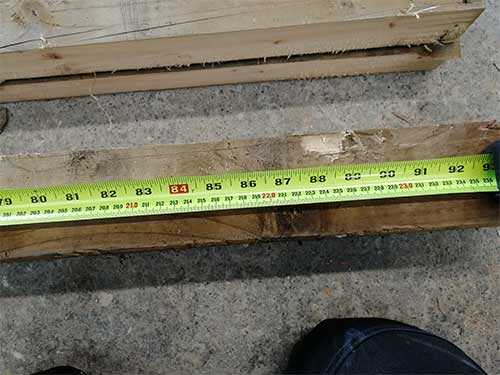
Measure and cut all 12 horizontal timbers to 2200mm in length
After this, the next job is to then cut another twelve timbers to 520mm in length. These will be used to form the ends of each shelf section.
By cutting them to 500mm in length, once screwed between the 2200mm timbers at each end this will equal our 600mm in width, allowing for each 2200mm timber being 50mm in width.
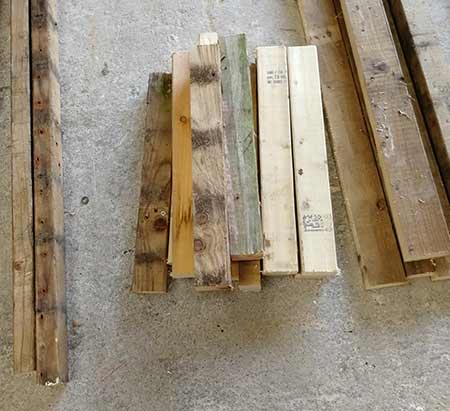
Cut 12 timbers to 500mm in length to form each shelf section
Measure and Cut Upright Legs
With all the timbers cut and ready to form each racking shelf section the next job is to prepare the legs. In the case of our racking unit we are going to feature a leg at each corner front and back and also two legs front and back in the centre, altogether six in total.
As we want each shelf to provide 600mm in height, three shelves would equal 1800mm but we also need to allow for the thickness of each horizontal timber as if we simply screwed these to the legs at 600mm we would loose the thickness of each timber from our total shelf height.
As each horizontal shelving timber was 75mm (3 inches) this would also need adding to the total height of each leg, so 3x 75mm plus 1800mm equals a total height of 2100mm, so we then cut six timbers to this length.
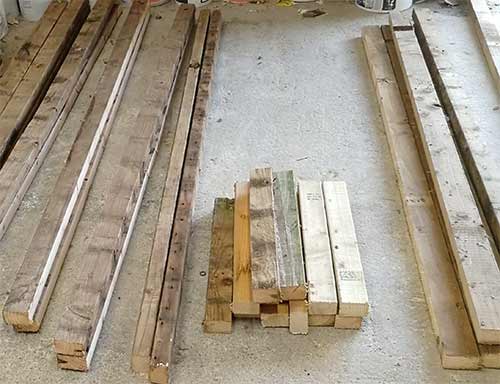
Storage racking legs cut to length
Assemble Framework Timber
With all our racking unit timbers now cut to length we can now start screwing it all together, starting with the shelving unit sections.
Take two 2200mm timbers and two 500mm and set them out on the ground in a rectangular shape.
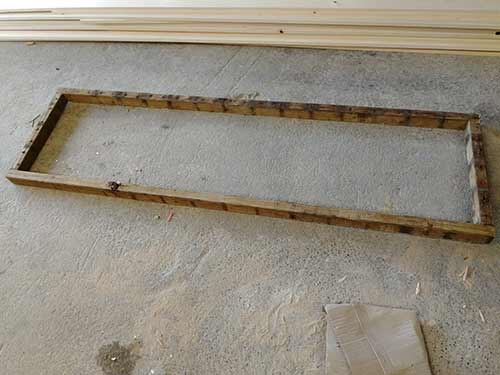
Lay out storage racking shelf unit timbers ready for screwing together
Next using two 5x70mm wood screws, screw each corner together ensuring that the edges of each timber are totally flush.
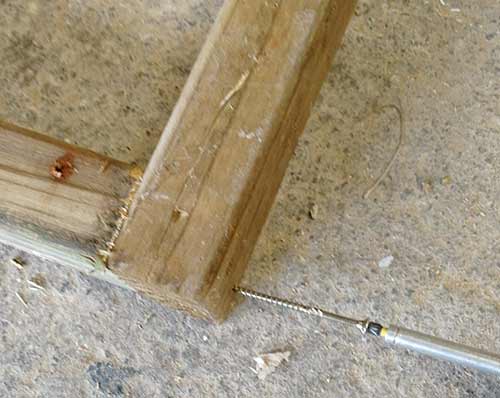
Use two wood screws to screw each corner of the rack shelving section together
Once all four corners have been screwed up tightly repeat for the remaining five shelf sections.
Cut Timber Chocks and Fix to Legs
With all six racking shelving sections now assembled and ready we could now prepare the legs.
To make assembly as easy as possible plus add some additional load support to each shelf we are going to fix three timber chocks to each leg for the shelves to sit on.
As we needed three chocks per leg and we have six legs we needed eighteen chocks. There’s no set size for the chocks but something around 150mm in length should be fine.
Before screwing them in place we measured our first point at the base at 675mm (accounting for the 75mm thickness of the shelf support timber), the next mark at 1350mm and finally at 2025mm.
A chock was then placed below each mark and then screwed in place using two 5x70mm wood screws.
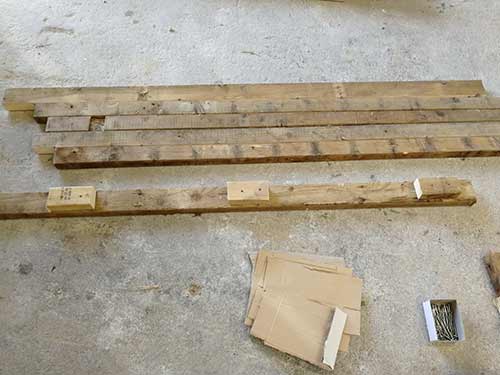
Timber support chocks screwed to racking leg
With the first leg done the same process was repeated for the remaining five legs
Cut Mitered Leg Supports
To provide additional support to the legs and keep them level and upright during construction it’s a good idea to also add some diagonal bracing timbers otherwise known as sway bracing timbers.
These are fixed to the inside of each leg and then to the bottom shelf support timber. Their purpose is to hold each leg up straight and prevent any lateral movement. Although once the other shelves are fixed in place they will essentially do tis anyway it’s not a bad idea to add further support.
For our sway bracing timbers, we cut four pieces of timber to 300mm in length and then cut a 45° mitre at either end. We then cut four more timbers at 250mm in length and again mitered each end.
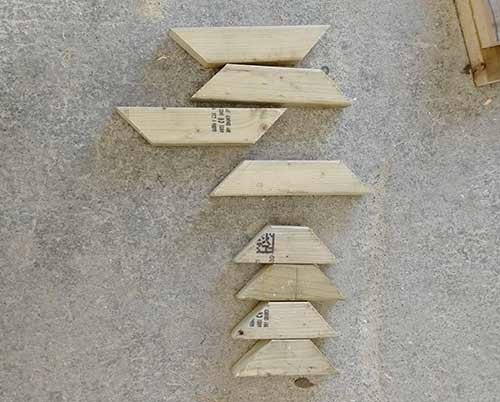
Sway bracing timbers cut to support racking legs
Fix Framework to Legs
The next job now is to start fixing the shelving framework to the legs. Take two framework sections and stand them up on their sides. Take one leg with the chocks facing downwards and lay it across the top of both sections of framework.
Ensure that the chock is pushed up to what will be the underside of the shelf and then it’s sitting totally square to the framework timber and then screw two 5x70mm wood screws through the leg into the shelf framework.
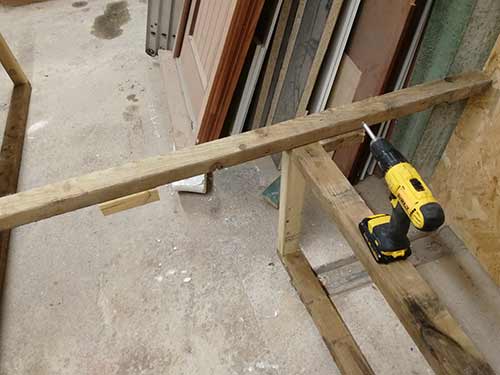
Position and screw leg to shelving framework
Once the leg is screwed in place, take a sway brace and screw this to the inside of the leg and also on to the shelf, ensuring that each edge is flush with the face of bot the leg and top edge of the shelf.
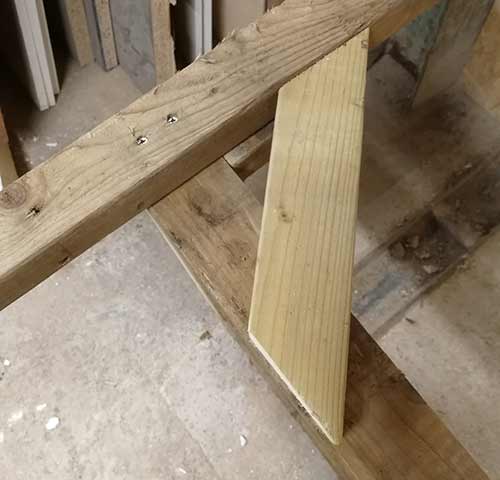
Sway brace fixed to leg and shelf
With one leg fixed in place move to the opposite end of the shelving frame and position another leg in place, but this time position it so that it is half way over the end of the shelf frame. This is so that we can then add the next shelf frame on to the end.
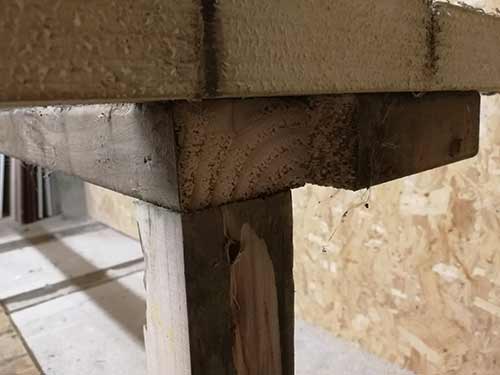
Fix second leg in place but allow half timber width overhang for second shelf frame
Next tip the racking up on to it’s feet and then take two further legs and prop them at the front to hold the racking unit up. Level them up, screw them in place and then add sway braces.
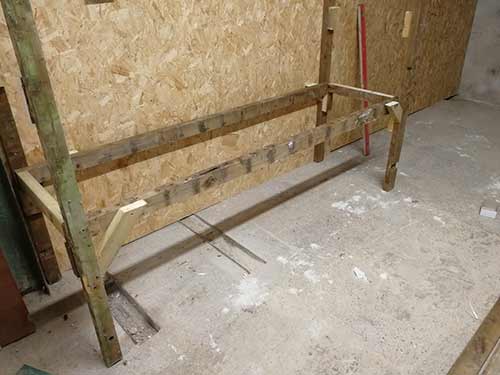
First four legs fixed firmly in place with sway braces
Now, take your next shelf frame and position it at the end so that it’s resting on the overhang that you created earlier by fixing the leg half way over the end of the first frame and then take your final two legs and position them at either end.
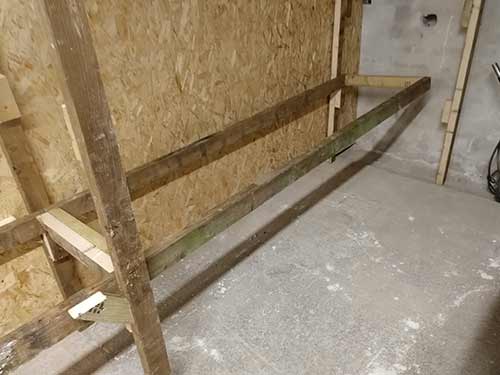
Position the next shelf section in place
Level both legs up, screw them in place using two 5x70mm screws per leg and then add sway braces.
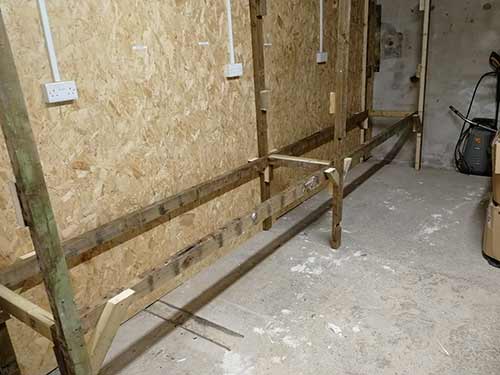
First full shelving layer of racking complete
With the first layer of racking shelves now fully fixed in place simply repeat the previous steps for the two remaining layers of shelving.
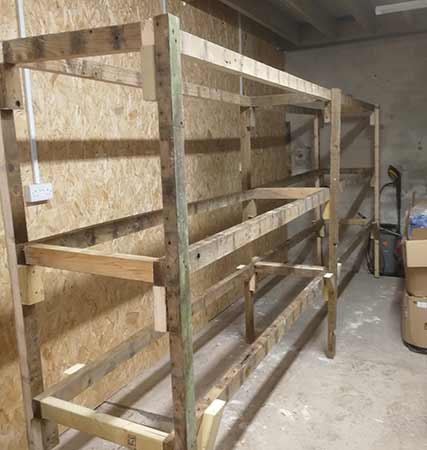
Racking framework fully assembled and secured
Cut and Fix Support Noggins to Centre of Frames
As the boards we are using are all conveniently 1100mm in length they will simply drop straight into each section. You may not be this lucky and have to cut your boards down to length.
As our boards will meet in the centre of each frame so they will need to be supported. For this we then cut six 500mm timbers and fixed them through the middle of each frame.
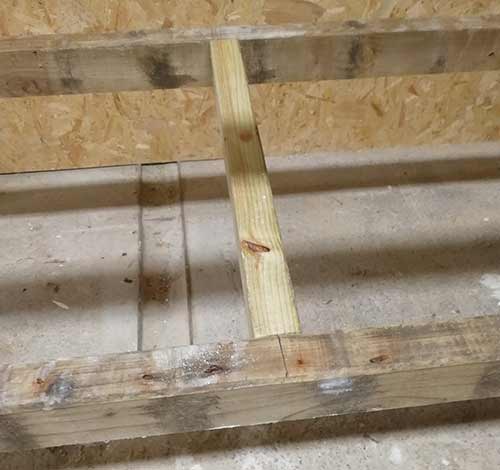
Shelf support fixed through the middle of racking frame
Cut and Fix Boards to Frames
As stated above we were very lucky in that all the old loft boards we were going to use were already cut to 1100mm in length so we could simply drop them on and screw them up.
If you need to cut your boards, cut them so that they meet in eth centre of each frame and can be correctly screwed down on all four edges.
Once cut, lay them all out and then screw them down using 4x40mm wood screws spaced roughly at every 300mm.
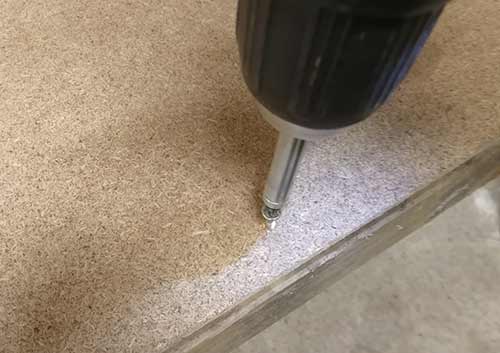
Screw loft boards down to racking storage unit using 4x40mm wood screws
Once all of your loft boards are screwed fully down you are then pretty much done and can start filling your garage racking with all your tools and materials.
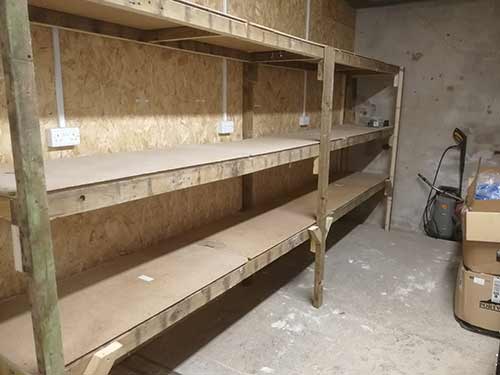
Finished garage or workshop storage racking unit
Increasing the Load Carrying Capacity of Shelving/Storage Units
The garage or workshop storage racking we have constructed above should be strong enough to cope with the weight of pretty much any item you might want to store on a domestic level but if you have heavier items you want to tidy away then it may be necessary to strengthen your racking.
There are several ways this can be done:
- Coach bolts: Instead of using screws to secure the shelving frames to the legs you can use coach bolts. Screws are fine and can cope with a fair amount of weight but coach bolts are much stronger
- Larger timbers: In our racking above we have used 50x75mm timbers (3×2 inch). Again, these should be more than strong enough to cope with most storage needs but when storing heavier items its better to use larger timbers such as 50x100mm (2×4 inch) or even 50×150 timbers (6×2 inch)
- Thicker sheet material: The 18mm loft boards we have used in the example above can cope with a fair amount of weight but for even more load carrying you can use thicker boards such as 25mm or even plywood which by nature is much stronger than basic chipboard
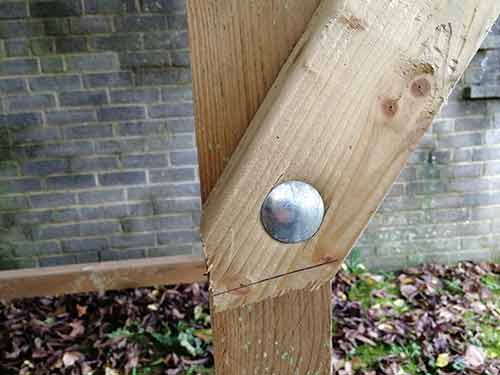
Coach bolt used to fix timbers together
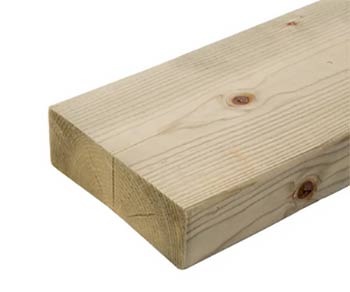
Using 6×2 inch timbers can increase the load carrying capacity of your storage racking
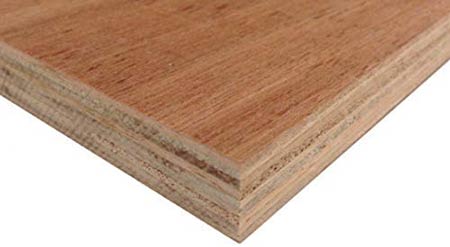
25mm plywood sheet material is a fair amount stronger than chipboard loft panels

