This section explains how to attach, connect or fix things to the most common types of materials that you are commonly used in your home DIY projects. Depending on the way that your wall is constructed, you will need to use a different technique and types of fixing (or fastening/anchoring). In the projects above we explain these differences in detail.
If you know what fixing that you should use, we have a section that will explain everything you need to know about mechanical fixing – screws, nails, etc – including sizes, types and how they work best. See our section on Types of Fixings here.
You can fix things with a chemical anchors – glues, resins, etc – either on their own or in conjunction with the appropriate mechanical fixing. We explain all the common chemical fixings that you are likely to use in a DIY context in a separate section. This covers all the information that you need to know about Glues, Adhesives and Chemical Fixings.
Here are some of the most common jobs that you might be looking to do:
While we have covered these projects with a specific detailed information, largely because they are questions that we get asked so often, if you understand the principles that we cover in this section you will be able to fix anything to any surface or wall type.
How to Find Out What Type of Surface or Wall You’re Fixing to
Typically when doing DIY much of the fixing is to walls – for shelves, pictures, brackets, light fittings etc. While we helpfully tell you how to fix to all sorts of different types of wall and material types, it can be hard to work out what type of wall you actually have to fix to.
For someone that does this every day it is second nature, but for a DIY enthusiast it can be quite tricky, and you also need to make sure you don’t hit anything inside the wall, like pipes or electrics. Here’s a simple step by step guide to confirm what type of wall you have if you need to attach something to it.
What types of wall are you are likely to have? There are only really a few options that you can have:
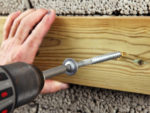
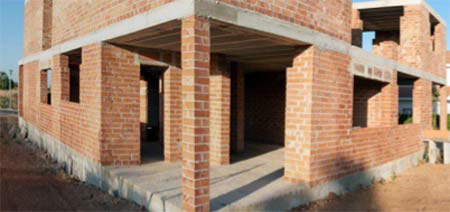
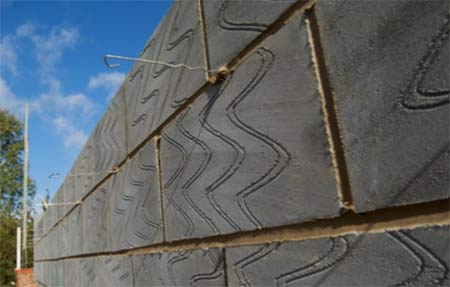
- Masonry or concrete walls – These are hard and solid walls where a solid fixing is easy to achieve if done right and will support a lot of weight if necessary
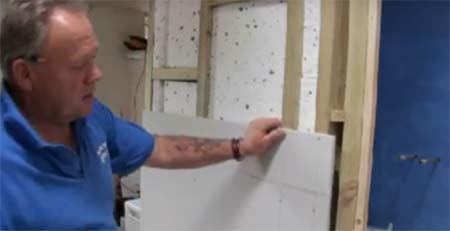
- Aircrete or thermalite block walls – These are soft, solid wall blocks which need special types of fixing if the anchor is going to stay firm with any real weight on them
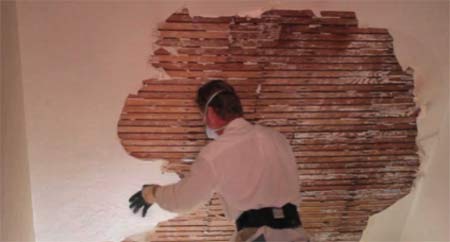
- Plastered walls with lath and plaster – Common in older homes before plaster board was invented and became prevalent
- Plasterboard; fixed to battens or studs – Plaster board is how most walls are finished nowadays being quick, cheap and very effective, but dreadful for fixing to. Fixing to wood behind the plasterboard gives an opportunity to fix to something really solid.
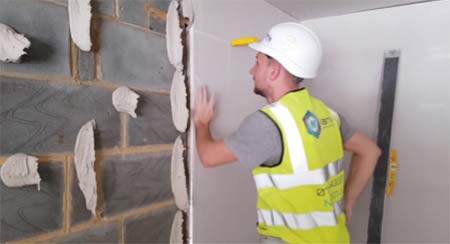
- Plasterboard; fixed by “dot and dab” – This is the quickest way to fix plasterboard but it presents big problems for fixing anything of any weight to the plasterboard. The board is soft and not that firmly secured. Also there’s a gap behind it where the fixing is supported by nothing!
There is a lot more information about these types of walls in our section dedicated to working with all kinds of wall. As you will see from the projects above you will need to use a different technique to fix to these different types of walls.
What Type of Walls do you Have?
Here are the steps that we take to work out the type of wall that we are trying to fix to:
What’s the History?
If the house is old then more traditional construction techniques will have been used. Around the 1930’s Lath and Plaster stopped being used in favour of plasterboard. Also at around this period cavities were used in external walls. In the interwar period new types of building blocks were developed, but it was not until after the Second World War that their use took off, in the UK at least.
So what?
If the wall is build before 1930 then the internal walls will be covered in lath and plaster or possibly wet plaster as this was before plasterboard and drylining were invented. Unless of course there has been any renovation, but you should notice this easily.
For buildings built before the 1950’s you are unlikely to see any soft aircrete or thermalite type blocks, but after this time, be on the lookout for them.
So now before you get out of your chair you will have a fair idea of what to expect and even what you should be looking out for on the wall you are going to be fixing to.
Get a Feel for the Home
If you live in a block of flats think about the construction use to build them. Are the loads mainly carried by a steel frame or on a reinforced concrete structure? Is the wall you are fixing load bearing or not?
Wall carrying the load of the floors or roof above are likely to be solid if the home is not constructed using a frame, be it steel or even perhaps even timber framed.
With a rough understanding of your home, how it is built and the wall that you are tackling, combined with your knowledge of it’s history you should have a pretty good idea what to expect before you even touch the wall.
Feeling the wall
The quickest way to work out what you are dealing with is to rap the wall with the back of your hand; if it sounds hollow you’re dealing with a plasterboard wall of some type. It will also feel much warmer as plasterboard is a little bit insulating and does not conduct the heat away from your skin like masonry will.
Try a few areas of the wall to get a good feel. It is likely to be skim plastered which will make it feel more solid, so it is good to be sure. If you’re in any doubt you could try pushing a drawing pin into the wall; if it will not go at all then you have a solid masonry wall, but if it does you have plasterboard. Careful as this will leave a mark, so do it behind whatever it is you’re going to hang or fix.
Working out Which Type of Solid Wall you Have
So having worked out the easy bit – whether your wall is solid (see below for the next steps for plasterboard walls) – it is now time to figure out exactly what you are dealing with.
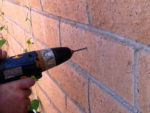
You will have a very good idea by now anyway. The next step is to drill into the wall with a small masonry bit; if it is hard to drill and you have to apply a fair amount of pressure you have a hard, solid wall. You’ll be able to confirm exactly what you’ve hit by looking at the dust from the hole.
If the wall is soft and the bit powers through it easily, you’ve probably hit a soft building block like aircrete or thermalite, but you might also have hit the mortar. Check the dust; it’s a lighter grey colour it is likely to be mortar, but if it’s a dark grey this is almost certainly a block. A second hole might be needed to confirm.
If you are dealing with a Lath and Plaster wall, you’ll know when you hit the wooden laths.
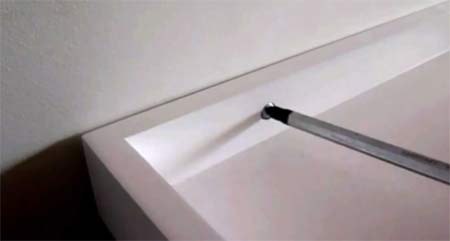
Drill the holes as part of your fixing process, so that they are where you need them for fixing whatever it is you’re attaching to the wall to avoid making unnecessary holes.
Figuring out how your plasterboard is attached
Essentially you are trying to work out whether your plasterboard has been attached to battens or with dot and dab adhesive. Sadly there is no real easy way to do this as such. If we look beyond this you are actually looking for battens (as they will be much more secure to fix to) or trying to establish the size of the gap behind the plasterboard.
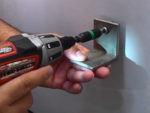
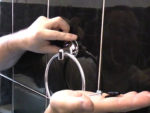
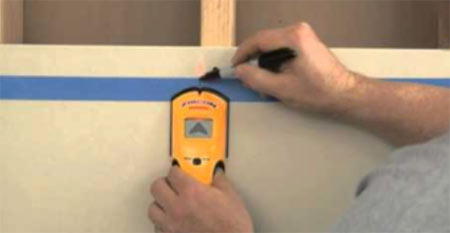
If you can find a batten to fix to then this is recommended. The easiest way is to use a stud detector. Find out how to use a cable and stud detector in this project and video.
Sometimes you cannot find a stud, or it is not practical to try. You can potentially see the gap that you have behind the plasterboard by removing the socket or switch covers and having a peak in that way, obviously being careful to turn the electricity off first.
If you can’t see anyway of finding out what is behind the plasterboard, you can use a small drill bit to drill a hole so you will soon feel and see what’s there. Make the hole small and behind where you want to hang or attach to the wall so that it will not be seen, ideally where you need a hole for your fixing.
Now you should know exactly what you are dealing with.
Fix to the Wall
Now you know what you’re dealing with use the relevant project above to fix whatever you need to to it.
Watch out for Cables and Pipes!
We mentioned using a stud and cable detector (see above), which will help you avoid drilling, hammering or screwing into something nasty. It is a good idea to be aware of the safe zones for cables that are concealed into walls.
There are areas of the walls that are supposed to be used for cables, and they should not be found outside these. These are areas to avoid if possible when fixing to a wall, and if you must fix in these areas, then take extra care – details are in the link above.