We get a great many questions regarding filling cracks in walls and ceilings and all types of materials of all shapes and sizes. Fortunately there is a filler for just about every occasion so here is a list of them.
Filling Cracking on Internal Walls
For fine, internal, surface cracks, mostly in plaster, fine surface filler is usually the answer. Fine filler can be applied with a sponge to force it into small cracks and then sanded very lightly with a fine grit sandpaper. Sometimes the crack is even too tiny to take any filler in a meaningful way. In this case its better to run along the crack with a hobby knife to make the crack a little larger so you can be sure the filler is getting all the way in.

Using fine filler to fill surface cracks
Filling Large Cracks and Holes
For larger holes use One Strike lightweight filler. One Strike Filler is a great new filler that is made with lightweight polymer bubbles. It fills even deep holes and cracks with just a single application, which avoids levelling off and secondary filling. It doesn’t shrink, crack or sag, but gives a smooth finish, without a lot of sanding. It’s quick too; within 30 minutes it will be ready to be painted or wallpapered. You can use One Strike Filler for repairs to wood, brick, plaster, stone and rendering.
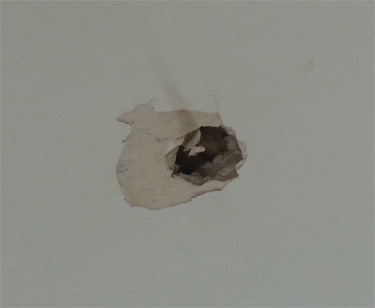
Fillers can be used to fillholes in walls and ceilings
This type of filler is best used indoors and, once again, if the crack is only small sometimes it pays to widen it a little with a hobby knife. If the crack or hole is in plasterboard or some other surface which has no backing, you will need to introduce something to stop the filler just disappearing into the hole. See our project on repairing holes in plasterboard for more information on this.
Using Expanding foam to fill large gaps and holes
For very large gaps and holes you may want to try filling with expanding foam. This is ideal for filling gaps of awkward shapes and especially those which are deep. The long nozzle on the tube allows you to get right to the back of the gap to make sure it is all completely full and the foam itself has great insulating qualities for both heat and sound.
Once squeezed into the gap the foam expands to about 3 times it’s volume. Once it has fully expanded, you can cut off the surplus, sand down and decorate or even render or plaster over. It’s incredibly versatile stuff, albeit a little messy.
The best way to clean it off yourself and other surfaces is by using the proprietary expanding foam cleaners. These, as well as the foam, can be found in our tool store
Filling Cracks in Wood
There are many types of wood filler and most depend on the colour of the wood. They are available in all timber colours or simply just light and dark. The multi purpose wood filler below (In the top tools box) is applied easily with an applicator gun and can be sanded down and stained.
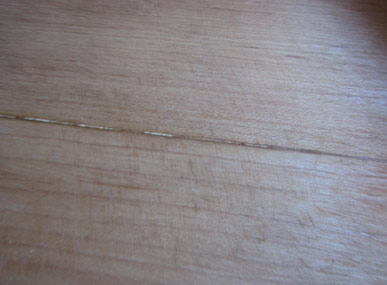
Two part filler is good for repairing cracks, splits and shakes in timber
External timber has a special two-part filler which is rock hard in about 30 minutes, can be sanded, screwed, nailed and planed. This two-part filler can me mixed with a variety of colouring agents before the hardener is added as the video shows below.
In this instance DIY Doctor has used brown boot polish to colour the filler to a light brown but many other colours can be achieved using the same method.
Wood filler sticks can be used for repairing cracks and small holes in furniture. They come in a variety of colours making it easy to match the existing and effect an invisible repair to the coffee table. Ideal to have around if you party a lot.
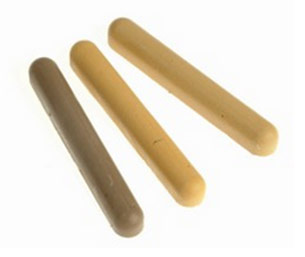
Brummer wood filler sticks can repair scratched and holes in furniture invisibly
Filling Cracking in Ceilings
For ceiling or other cracks which, up until now, have opened up time and time again, its probably best to use a flexible filler coming in the shape of this decorators caulk (see Top Tools below).
An applicator gun is required to apply this filler which can be used internally or externally. Decorators caulk is like flexible filler in a tube, can be squeezed into corners and tidied up by wetting your finger and running it over the bead of filler.
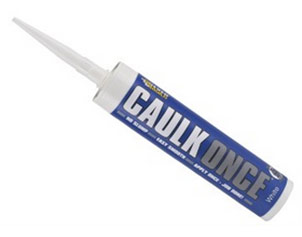
Flexible filler or decorators caulk will move with the surface to avoid further cracking
Decorators caulk is especially useful when applied to the complete perimeter of the room where the ceiling meets the walls. This is the most vulnerable area of the ceiling for cracks and the flexible filler, or decorators caulk, will move with the walls and the ceilings to avoid further cracking. Decorators caulk usually comes in white and brown.
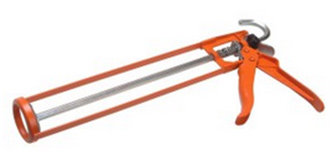
Flexible filler can be applied with an applicator or mastic gun
Filling Cracking in Metal, Stone and Concrete
Chemical Metal and Power Putty fill, seal, joins and replaces metal, wood, stone, concrete etc. It sets in minutes and can be sanded, machined, drilled, tapped and polished. It is also resistant to water, salt water, oil, petrol, heat and cold and can be used to bond together different materials and seals leaks in Steel, Copper, Lead, Asbestos and Glass Fibre. This product can be bought from most DIY stores.
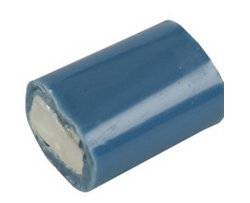
Repairing most materials can be done with Repair Express Power Putty or chemical metal
There are specialist fillers available for metal of which one of our favourites is Unibond repair metal. This, as are most metal and stone repair kits, is an epoxy based filler so care must be taken that you are completely ready to make the repair when the filler is mixed. The filler will be hard in seconds, so don’t waste it.
For repairing stone, masonry and concrete we recommend another epoxy based kit called Everbuild Epoxy set 105. This is a very powerful repair mortar that withstands chemicals, abrasion, and impact. It can be used to repair stone, steel, brick, floor screed, and concrete. Don’t leave home without it!
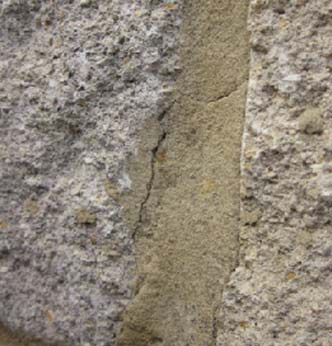
Using Everbuild’s Epoxyset 105 to repair cracks in stone
Filling and Repairing Cracks and Holes in Cement Mortar
If your brickwork or blockwork joints are showing signs of cracking these can easily be repaired by chopping out the defective joints with a plugging chisel and repointing with sand and cement. See our pages on repointing brickwork and blockwork walls, How to mix sand and cement mortar and how to match the colour of existing sand and cement mortar.
Filling Cracks and Repairing Holes in Patio Slab Joints
The ground moves! When the ground moves, everything that is on the ground moves too. This may not be noticeable until you look at something like a patio which, one day is in perfect condition, but the next day many of the joints have cracked and appear to have fallen out!
The remedy is to refill the joints using a mix of dry sand and dry cement. The lack of moisture in the mix allows it to dry out really slowly, taking moisture from the air and the ground. A slow drying mix stays very flexible and is much more likely to stay intact when the ground moves next time. See our project on repointing patios for more on this.
Repairing Concrete steps
To repair concrete steps the filler has to be really good as well as setting really fast. Once concrete steps start to crack the water gets in and freezes when it’s cold. The ice expands, enlarging the crack which lets more water in. This goes on until the edge of the concrete step falls off. Our choice of repair method here is from Tetrion and it’s the Masonry repair cement you can see in the selection of filers at the bottom of this page.

