Building a garden gate is a fantastic DIY Project. This job is a whole lot easier than you might imagine form the price of gates at garden centres and DIY sheds! This project explains how you can make ledge and brace gate or garden door starting with the timber.
A DIY ledge and brace gate or garden door
The gate we are making is made from treated, sawn timber planks which are 100mm wide and 25mm thick. For a gate approx 1m wide (ours was actually 900mm) you will need 5m. This timber is called 4 x 1 treated timber in the builders yards and timber merchants where you will find it is a lot cheaper than places like Homebase and B&Q.
We haven’t made plans for this project as gates will be different sizes and if you follow these principles you will be able to make any size ledge and brace garden gate or door.
This method can also be used for making round-top gates which are simply cut with a jig saw to a curve when the basic gate is finished.
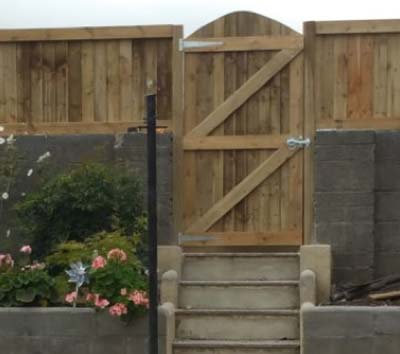
The finished DIY Garden Gate or Door
The gate is 6ft high and is faced by feather edged fence slats. These are also available readily from timber and builder merchants. You can see more about feather edged timber here. Feather edged timber usually comes in lengths of 5ft, 6ft and 8ft and can obviously be sawn down so any size gate is possible.
DIY Garden Gate Making Instructions
This how to make your gate:
Step 1 – Fix you Gate Posts
Measure the width of your gate opening, deducting for any posts that may be required. You can find out about how to concrete gate posts into the ground here and also see how to fix them to existing masonry walls here.
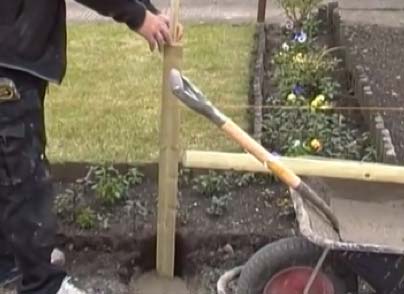
Fix your gate posts before you start on the gate
Step 2 – Measuring the Size of your Gate
Deduct 25mm from your width to allow for the posts not being 100% level or swell in the timbers. Your gate, as with the doors in your home, will need a little clearance room.
Step 3 – Make the Gate Rails
Cut 3 lengths (rails) of 4×1 at the required width and lay them on a flat surface with the top and bottom rails at exactly the height of your gate. Lay the third (centre) rail down in the middle of, and parallel to, the top and bottom rail.
Step 4 – Make sure it’s Square
Measure from corner to corner of the top and bottom rails to make sure you have laid them out square to each other.
Step 5 – Lay Out the Boards
Lay the feather edged timber on top of the rails. Allow an overlap of minimum 25mm per board and see where this brings you at the other end of the rail.
Step 6 – Position the Boards Evenly
Move the feather edged boards, either closing up the overlap and adding a board, or opening up the lap so you use less. In the end the boards must start and finish at the end of the rails.
Boards for gate positioned evenly across the width
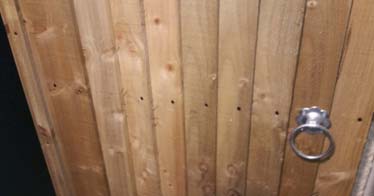
Step 7 – Fix the Boards to the Gate Rails
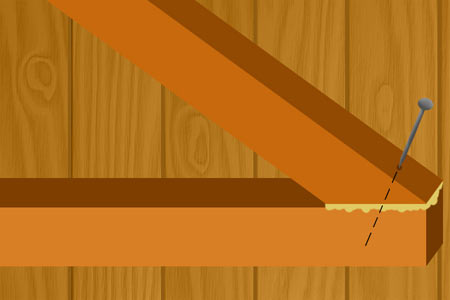
Screw each slat to the rails through the thick edge of the feather board making sure it also goes through the thin edge f the board underneath.
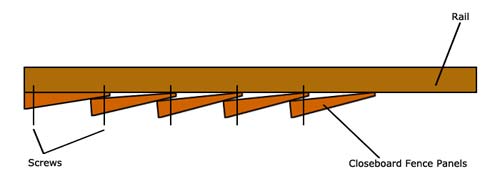
How to fix the boards to your garden gate
The screws should be galvanised or japanned to make sure they are totally rust-proof. It is a good idea to use a tiny pilot hole for these screws as sawn timber of this thickness can split really easily.
Step 8 – Confirm the Gate is Square
Check the diagonal measurements again. We are now about to strut the gate at which point there is no turning back so make absolutely sure everything is square now. You can even use our simple 3-4-5 method for checking square if you like.
Look for the section on checking for square in our tips and tricks page
Step 9 – Position and Cut the Timber for the Diagonal Struts
Choose which side you wish to put your hinges on. Lay another length of your 4 x 1 timber across the middle and bottom rail and mark where to cut in order to drop the diagonal strut into position as shown on the gate.
The lower diagonal must start at the hinge side of the gate and go up to the centre where the latch is. Doing it this way directs the weight (force) of the gate down to the bottom hinge where the strength is.
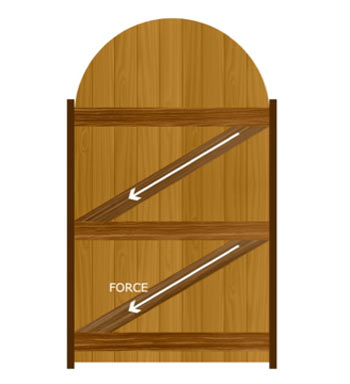
Forces applied to the gate when it is in position
The key to getting a nice tight fitting diagonal is using a sliding bevel to make sure that you cut it at exactly the right angle. Have a look at our project on using a sliding bevel to find out how, if you’re not sure.
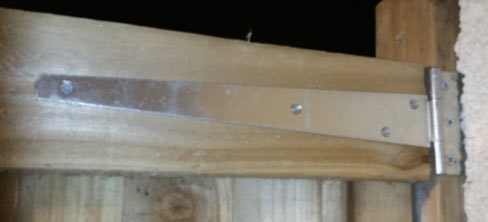
Step 10 – Fix the Diagonal Struts in Place
Use a strong wood glue, such as Gorilla Glue for the joints. Squeeze it onto both end grains of the strut and push into position. The Gorilla Glue will foam a little when it reacts to the natural moisture in the timber and it will start to set. Drive a screw through the strut and into the rail.
Glue and screw the diagonal strut to the gate rails
The best screws to use for this are 75mm decking screws which will not rust. A good quality glue will not be affected by extreme weather conditions and it makes the joint as strong as the timber itself.
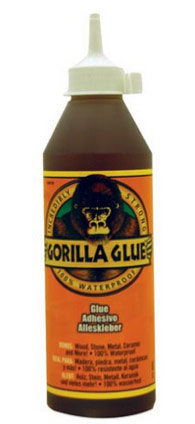
We used Gorilla Glue to make our gate
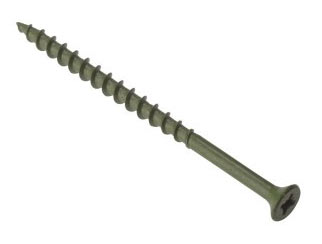
Decking screws available form our onine store here
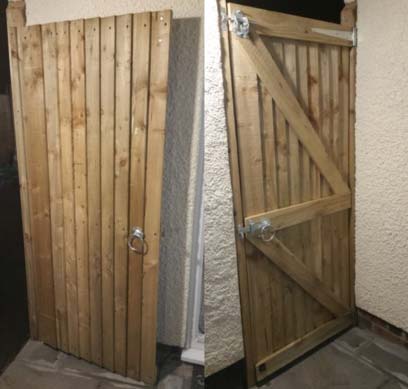
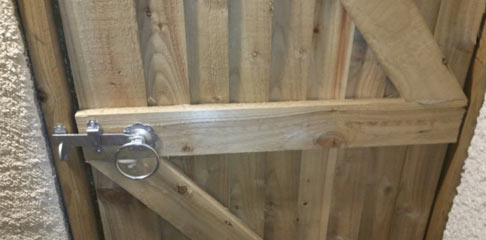
Step 11 – Fit the Latches, Catches and Hooks
Repeat for the top strut and then add your gate latch and bolts. You can see from the photos below that we also added a hook to the bottom of the gate so that it could be secure it in an open position to stop it banging about in the wind.
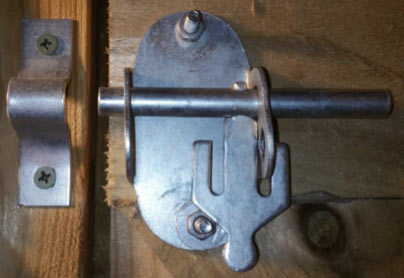
Padlock gate bolt fitted to gate
The pad lock bolt was fitted to the top rail, as this is a sturdy part of the gate (and the latch was fitted to the middle one). We fixed bolts through from the outside so that the nuts and padlock are on the inside.
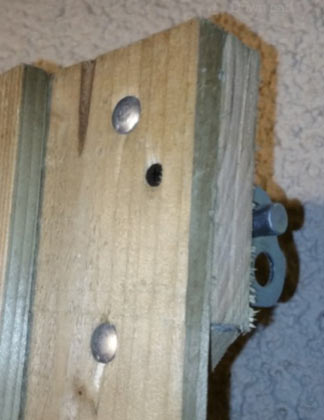
Padlock gate bolt bolted to gate
Through the middle rail the latch was fitted, with the catch on the corresponding gate post.

Gate latch and keep
Gate latch handle
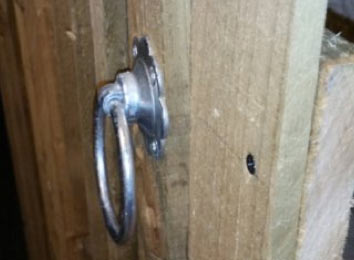
Finally on the bottom rail we fixed a eye so that the gate could be held open with a retaining hook. It was relatively simple as the hook was attached to the outside wall of the house that the gate opened on to. If you need to you might need to fix a post in a suitable location to hold the door in the right place, if there is nothing else.
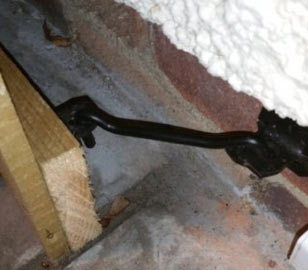
Gate hook retaining latch
As I hope we have shown, making a garden gate is a very satisfying project and one that anyone can do with a little time and patience. A ledge and brace gate is also a strong and secure type of garden gate which should last for many years, particularly if make by your own fair hand!