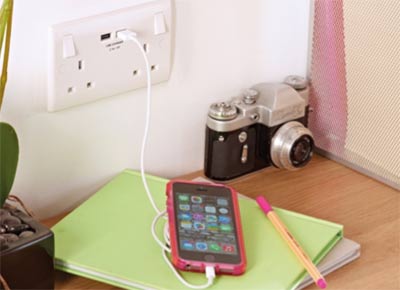
This is the section that explains everything that you need to know about fitting and wiring all kinds of plugs and sockets. It will help you to understand the type of switch or socket that you need and how they work so that you can wire them correctly.
As we are dealing with electricity it is obligatory that we warn you about safety. We have a great project that helps you understand what you are allowed to do, what you cannot do and what are your obligations under the Building Regulations (Part P); Find out more about the electrical do’s and don’ts here.
We have a complete section on all types of electrical projects. This section includes information on all the key areas that you might need to tackle in your home improvement project:
Finally don’t forget to have a glance over our safety section before you begin your project.
Before you dive into the details all about switches and sockets is it worth understand what their component parts are and what they do. Here’s our simple guide to the parts of Sockets and Switches.
The Parts of Domestic Electrical Sockets Explained
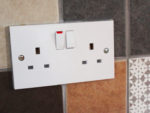
These are the key component parts of a typical domestic socket that you will use in your home. It is worth knowing these because changing or adding a socket to an existing circuit is something that you are allowed to do yourself in certain circumstances – find out more here.
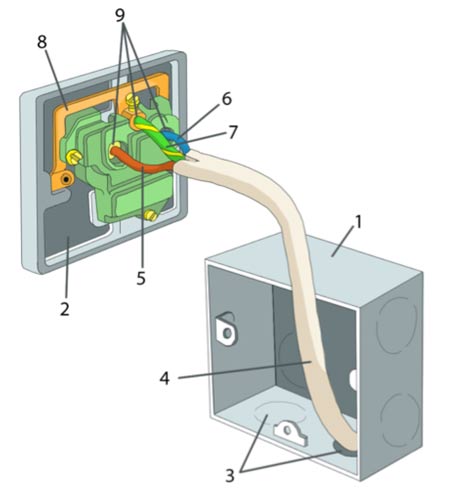
The outside of the socket is a plastic or metal box that is made up of two parts:
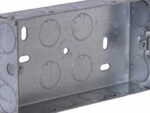
Pattress, Mounting Box or Back Box
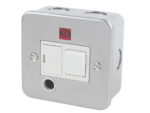
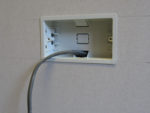
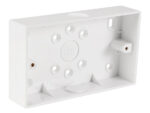
This is a box that contains all the other parts of the socket – the wires and terminals. It protects the cable where it terminates and connects to the section of the socket where the plug will push in – see the terminals below.
This will either sit inside the wall, in the plaster or cut into the plaster board, or be mounted on top of the surface of the wall. Plastic tends to be used if the pattress is surface-mounted and metal when it is incorporated in the wall.
There are holes or “blinds” where holes can easily be made, so that the cable can enter the box (see grommets below). They come in a range of depths, so it is important to ensure that when changing a face plate that the new one will fit. The width will be determined by the number of gangs or plugs that can be plugged in at once.
Face Plate
This is the plate that fits on top of the pattress to completely enclose the wiring and terminals of the socket. It is in effect the lid of the box, despite it generally being fitted to the side of the pattress box when positioned on a wall.
Face plates have the terminals fixed to it which are usually screwed. The live and neutral are 22mm apart. To prevent something accidentally being inserted into the live parts of the plug, there are shutters (UK plugs) which only open if the top, earth ping is inserted.
Interesting side note: Many people buy special blanking plates for sockets to stop children accidently pushing their fingers of something into the live parts of the plug. David Peacock, a fellow of the IET claims that “It has now been established that plug-in covers are actually unsafe”.
By fitting these covers the shutters are opened so it is potentially possible for a child to push a paper clip in to a live pin of the socket. Thankfully there have been no recorded accidents, as far as we are aware. But there have also been no recorded accidents with children inserting things into a plug without a cover since 1990 when the designs were changed to incorporate the shutters.
Grommets
Sometimes called soft grommets, these are the holes where the cables enter into the pattress or back box. They are either open, where the hole already exists or blind, where a hole will need to be cut for the incoming cable.
It is designed to protect the cable from becoming damaged by the box, and the cable should also be tight fit so that if there is a fire in the box it will not spread easily.
Cable
This is the uPVC sheath containing the electrical wires, Live, Neutral and Earth. Previously the sheath was made of rubber and these cable should be changed by a qualified electrician – find one near you here.
Live
This is the wire that takes the electricity from the consumer unit via the switch into the socket. The switch allows you to stop the power flowing through the socket. This wire has a brown sheath, but this used to be red before 2004 – see here for more information on cable colours.
Neutral
This is the wire that takes the power back from the socket to the consumer unit, completing the circuit (when the socket is switched on and something is plugged in). This was sheathed in black prior to 2004, but is now blue.
Earth
This is the wire that take the current from the live to earth is there is a fault, making the socket safer. The earth in the cable will be the bare wire, which is then sheathed with yellow and green when wiring up the socket.
It will be connected to the face plate screws so that they are earthed and will not carry a current.
Bridge
This is the metal strip that connects the earth terminal and therefore earth wire to the face plate screws.
Terminals
There is a terminal for each wire; Live, Neutral and Earth. These allow the fixing of the wires to the faceplate where the plug pins will protrude through and draw power from the socket. The wires are fixed and held in place with Terminal Screws. The bare wire should be held in the terminal connection and sheathed everywhere else; any bare wire should be cut off or folded over so that it is held inside the terminal connector.
Parts of a Domestic Light Switch Explained
The parts of the typical domestic light switch are very similar to the parts of the socket although a switch is designed to interrupt the follow of electricity to a light so you can turn it off.
As with the socket, the outside of the switch is made up of the two same parts which contains everything else when correctly fitted:
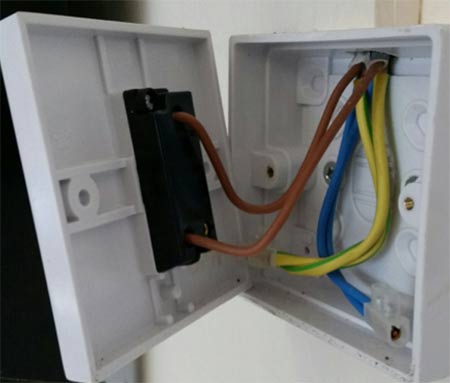
- Pattress – This is the box that contains the parts of the light switch. Make sure that you get the right size face plate to fit on the pattress that you have fitted
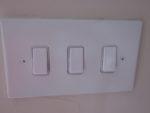
- Face plate – This is the plate that is screwed on to the pattress to close it. The switches will protrude through this so that you can “throw” (turn) the switch on or off. You can get lots of different styles of plate depending on what you like, and the switches can be rockers switches, toggle switches or even dimmer switches
- Terminals – These provide the entry points for the wires to be connected to either side of the switch. The switch will interrupt the flow of electricity through the live (Brown sheathed) wire.
- Wires – The wires carry the electricity from the consumer unit (Live) and back to it (Neutral), or if there is a problem to earth (Earth). There can be a lot of wires going to a single switch plate if the switch has multiple gangs (switches) or if it is a 2 way or intermediate switch (the light is controlled from multiple switches) find out more here.
Knowing the parts of sockets and switches is useful because when you dive into the projects above all about wiring and working with these parts, you will know what we are talking about. It is useful too, because there is a lot of choice in the different styles of switches and sockets, so you can know what you are getting.

