If you have wooden stairs, a painted finish can give you a nice, clean, old-fashioned look and make a real statement. Whether you’ve just removed an old carpet or you’re just refreshing an old paint-job, our guide below has everything you need to know about how to paint stairs.
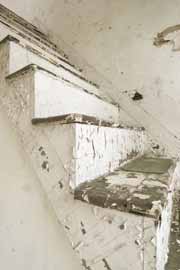
Old staircase in disrepair needing a fresh lick of paint
What Will I Need To Paint Stairs?
We’ll start by assuming the stairs are back to plain wood and that any carpet or other covering has been removed. You’ll need to sand the stairs. If there is old paint or the surface is a bit rough, you’ll need an 80-grit sandpaper first of all, followed by a fine sandpaper around 240 grit to smooth it ready for painting. A random orbit sander will make this job much easier. You’ll also need detergent for cleaning the wood down.
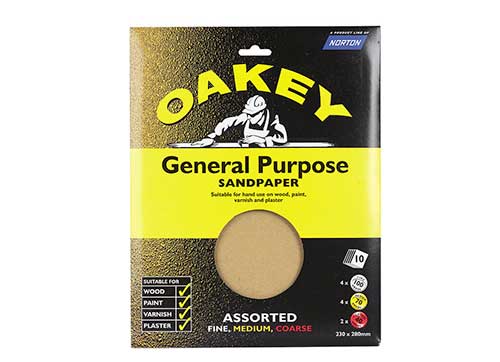
Selection of different grit grades of sandpaper
As stairs can be a high traffic area you’ll need a hard-wearing paint for your stairs that will resist the wear. Before painting on your top coat a primer is advised as this will give a stable base for your top coat. Buy a wood primer and make sure it is suitable for the type of paint you are planning to use.
When it comes to paint for stairs, floor paint is the most suitable as it is very hard-wearing, cleanable and resistant to stains or a good quality matt or gloss emulsion. Floor paints are available in a variety of colours, make sure you choose one that is suitable for wood floors.
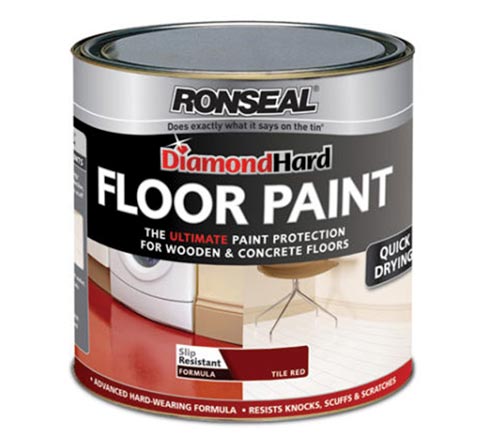
Hardwearing floor paint ideal for stairs
It’s worth investing in a good quality brush to use on your stairs as it will make painting the edges much easier and shouldn’t leave as many brush marks which will give you a better overall finish.
Rubbing or scraping paint off a staircase can be a real chore, especially when trying to remove it from odd shaped objects such as stair spindles or tight areas such as in corners. To make this job much easier you can use a good quality paint stripper, one of our favourites is the paint and varnish stripper from Eco Solutions.
To finalise, here follows a list of tools and products needed for painting stairs:
- Selection of sand paper, 80, 120, 240 grit
- Good quality paint brush
- Mini roller (if needed)
- Paint scraper
- Paint stripper
- Good quality wood filler
- Sugar soap or degreasing agent
- Random orbit sander for larger areas
- Detail sander for hard to reach areas
- Good quality primer paint
- Good quality top coat paint (floor paint of gloss emulsion)
- Vacuum to remove waste and sanding dust (if needed)
- PPE – goggles, gloves, dust mask, old clothes
- Dustpan and brush
- Dust sheets
Preparation For Painting Wooden Stairs
You’re going to need a few days to complete this job between sanding, cleaning, and various coats of paint, so try to make sure the stairs will be used as little as possible during this time – especially while the paint is drying!
If you’ve removed the carpet or other covering from your stairs, make sure there are no nails or staples left. Carefully and methodically look over each tread and riser and look for any that are left. Use a claw hammer or nail puller to remove them if you find any.
Once old coverings have been removed from the staircase and existing paint or varnish (if there is any) will need to be removed. This can either be sanded off or an easier option is to use paint stripper. The Eco Solutions product we have linked to above is eco friendly and non-toxic, so no nasty fumes!
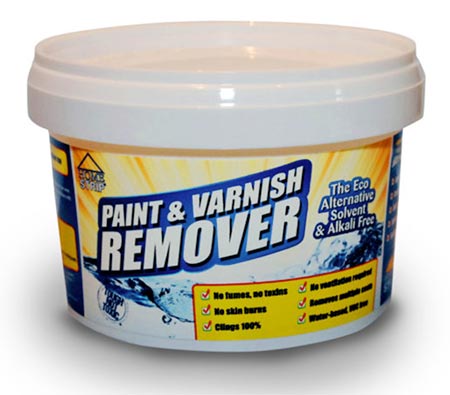
Eco Solutions Paint and Varnish remover
When using a paint or varnish stripper such as this, once it’s been applied and started to lift the paint off the best tool to use to remove it is a paint scraper or even better some stainless steel wire wool as this allows you to get into tight spaces and remove paint form detailed areas such as stair spindles or ornate banisters.
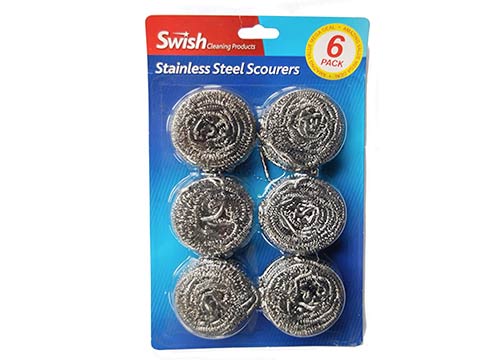
Stainless steel wire wool for removing paint when preparing stairs for painting
If you are sanding the paint off your stairs, this creates a lot of dust so ensure you cover any and all surrounding objects with dust sheets.
If you are using a powered sander such as a random orbit or detail sander most have a vacuum attachment on them so ensure that you plug your vacuum in and have it running as this will reduce the amount of dust.
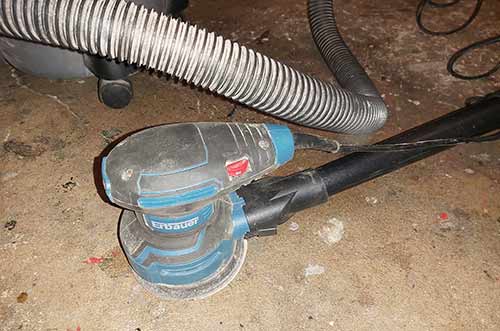
Vacuum attached to sander to reduce volumes of dust
Sand the stairs with the rough sandpaper, removing any old paint and making the boards smooth and level. A mouse sander will make this job easier and enable you to get into all the corners. Make sure you do the risers as well as the treads. Then go over it with the finer 120 and 240 grit sandpaper, making the surface nice and smooth.
Even if you are not sanding off existing paint from your stairs, before you start applying any paint you will need to fully sand everything down as this will give your paint a good key and also and also a nice flat and smooth finish. Use a 120 grit sandpaper for this.
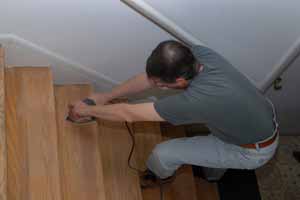
Sanding and cleaning stairs
Once any existing paint has been removed one of the final jobs is to repair any damaged areas or depressions in the stairs. Using some course 80 grit sandpaper, sand the damaged area fully including the damaged section itself, removing any loose debris.
If the damage is quite small and narrow widen it slightly so that it’s large enough for you to get a good amount of filler into it as it its too small you cant pack enough in and the repair will fail quickly.
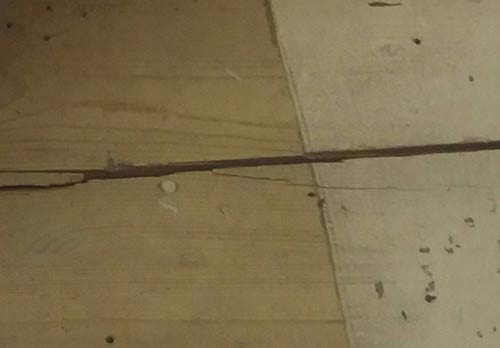
Damaged section on stair tread that needs repairing before painting
Use a good quality and tough wood filler to fill the area ensuring that you push the filler fully down and fill the damage entirely. Once it’s dried sand it off smooth using a finer 240 grit sandpaper.
Once you’ve finished sanding, give the stairs a really good clean to remove any dust and grease. Use a cleaning detergent diluted with water or a sugar soap solution, and rinse with clean water afterwards. Let the wood dry out completely after you’ve washed it, this might take a day or two.
Painting Styles For Wooden Stairs
There are many different ways of painting stairs and in most cases you will want to paint your stairs to match the colour scheme and theme of the rest of your home.
With this in mind you might choose to paint your stairs plain white using a good quality matt or gloss emulsion, however you might also decide to go for a bold statement and choose a strong colour stair paint and make them a feature.
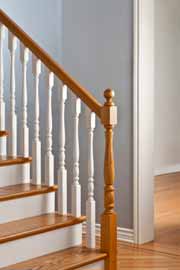
Traditional painting style for wooden stairs
In the above image of a traditional painting style for stairs, the risers and spindles are painted white and the treads and bannister that take the brunt of any wear is coated with a hardwearing varnish.
Another idea is that You could paint the risers and treads different colours, or you could even use masking tape to mark out a pattern. Using different colours for the centre and edges, to give the effect of a carpet runner, is a stylish pattern to use and creates a great affect.
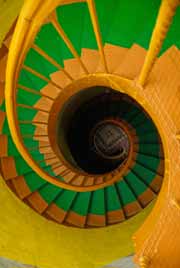
Spiral stairs painted to follow the curvature of the stairs
If you are using more than one colour, paint the lightest colour first, then wait for it to dry before using masking tape to mark your lines and paint the darker colour.
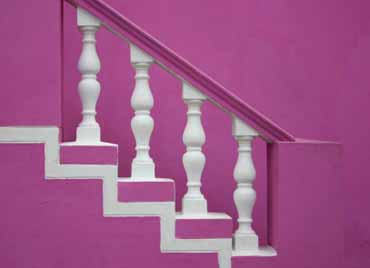
Wooden staircase painted to contemporary style
Ultimately how you choose to paint your stairs is entirely up to you and your own personal taste or imagination.
How to Paint Stairs
Once you have correctly prepared your stairs to be painted and repaired any damage it’s now time to start, but just before you do be aware of these few points:
- This can be quite a time consuming job and when their wet obviously you cant walk up and down your stairs so they need time to dry before use so it’s best to start early in the morning or when the house is quiet. Better still do it in the evening so it’s got time to dry over night
- If your bathroom or office is upstairs then factor this in as you will need to either leave a path so you can still get up and down or do the painting in stages e.g. the centre tread one day and the sides the next
- If your doing the whole stairs in one pass then ensure you end up on the correct floor you want to finish on e.g. start at the top and work your way down to finish on the ground floor
- Ensure you leave the paint to dry for the correct amount of time so that it’s as hard as it possibly can be
1. Prepare Stairs for Painting
Firstly remove any existing coverings such as carpet, vinyl etc and any associated nails or fixings. If glue or adhesive is present this can be chiseled or scraped off or you can use a specialist adhesive remover.
Remove any existing paint by sanding or using a good quality paint remover to strip it off. Remove as much as you possibly can.
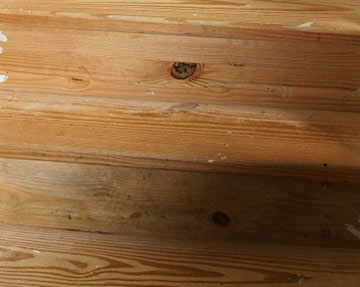
Bare staircase ready for sanding
With any paint removed, repair any damaged areas using a good quality wood filler. Once its dried sand it off flat with the surrounding area.
Once any existing paint is removed sand your stairs fully using a 120 grit sandpaper for a good key.
Although many modern paints can be painted straight over existing paint, for the best finish possible it’s always best to start with a blank canvas and strip off any old paint.
Once sanded vacuum everything down and remove any dust and debris that is left and then degrease all surfaces using some sugar soap or similar and then allow everything to dry.
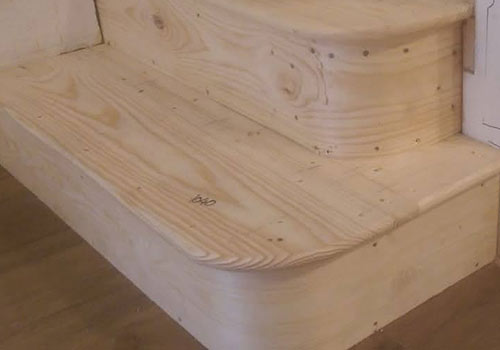
Bare staircase sanded ready for paint
A note on lead paint: In days past lead-based paints were often used to paint high traffic areas such as stairs and if your home is particularly old then there is a good chance that this may have been used on your stairs. If you suspect that this is the case then do not sand anything as this will release dust containing the lead into the air.
The best product to use on lead paints is the Eco Solutions product we have mentioned above as it’s gel based and will hold any lead dust or fibres in the gel.
To find out more about lead paint and the its associated dangers see our stripping lead paint project here
2. Mask up
With everything clean and ready the next job is to mask up any areas that aren’t going to be painted. In most cases these include any walls that butt up to the stairs.
If this is the case for you run a strip of masking tape along the walls surface so that it butts up to the top of the stringer.
Don’t be tempted to use cheap or poor quality masking tape as in most cases it either wont stick or it will be too sticky and pull paint off when its removed.
Additionally if you are creating patterns or painting different parts of the stairs different colours, for example the treads and risers or the sides of the tread then mask off these sections now also.
Take your time when applying the tape and make sure that you get your lines totally straight as they will stand out a mile off if not.
For more tips and advice on using masking tape see our project here.
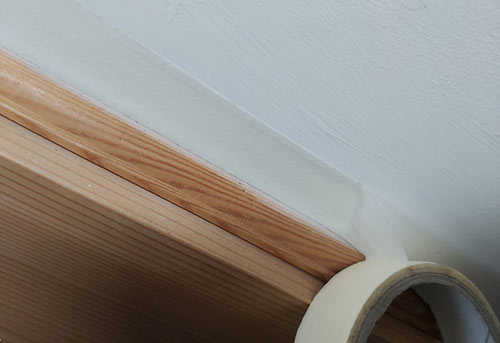
Staircase stringer masked up ready for paint
3. Get Painting the Stairs
With everything prepped and cleaned you can now start painting the stairs starting with 2 coats of undercoat. You can simply use a paint brush to apply the paint or you can use a brush to cut in all the edges and tight spaces and then a mini roller for the larger sections.
Apply your first coat of undercoat making sure it’s not laid on too thick and allow it to fully dry and then give it a light sand over using 240 grit paper, vacuum everything fully and repeat again for the second coat.
Once the undercoat is applied and dried you can then apply your first layer of topcoat paint. Again brush or roller it on in a thin layer and allow it to fully dry before the next coat.
With a good quality paint 2 top coats should be enough but if you have the time then applying one or 2 more will only be of benefit in terms of its longevity.
Once your final top coat and fully dried, remove any masking tape, taking your time as you pull it off so that it doesn’t damage or split the paint. As you pull it, pull away from the painted edge.
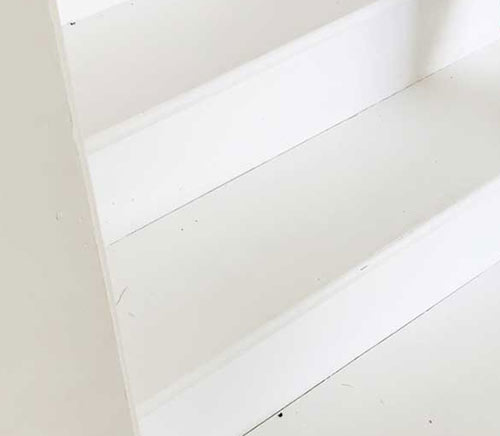
Painted stairs fully completed
Painting stairs is a fairly straight forward job and although it can be a little drawn out it’s well worth doing as a rejuvenated staircase can really transform a hallway and make a real feature.

