

This section is all about the core joinery skills that are needed for many of the DIY home improvement projects around the house that involve timber. In the projects above we provide the information about core woodworking skills and techniques for working with timber, so that you can get any project completed.
We also provide guidance and advice about working with different types of materials and some of the theory behind kind of the joinery that you might attempt.
If you are looking for plans and designs for specific projects we have collected these all into one section, where you can download the specifications so that you can get started on your next joinery project straight away. See the range of Carpentry Plans and Projects available here.
For more information about all our Joinery and Carpentry projects, we have a section which covers all the main home improvement projects you need, from Timber Joints and Cuts all the way up to Kitchen Fitting.
In order to achieve these techniques you will need some essential tools. This is our list the essential Carpentry tools:
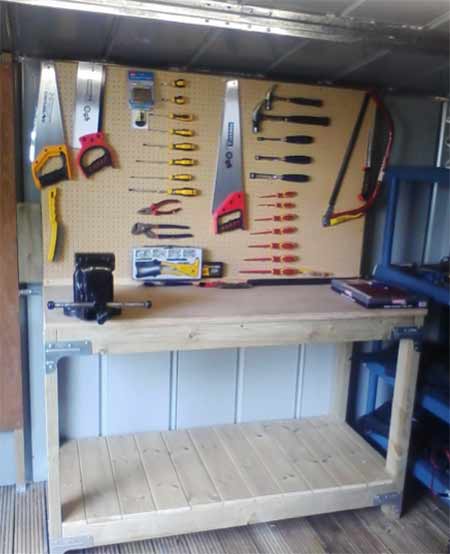
Workbench
A good workbench will make sure you have proper space to work. This can be a solid wooden workbench or simply a workmate which is cheaper and easier to store particularly if you are short of space.
We have a great project all about making your own workbench – this can be one of your first carpentry projects! Once you have a place where you can work, you now need to add the tools to your peg board.
We are going to group the tools so that it is easier to see the essential tools you need, which of course you can add to as and when you need to. Now it is time to get some tools added to the peg board behind your workbench!
Measuring Tools – Or Marking Out Tools
These are the most important tools that you need; measure twice, cut once is the old adage that all joiners live by. When it comes to the essentials there are a few that you simply cannot do a woodworking project without:
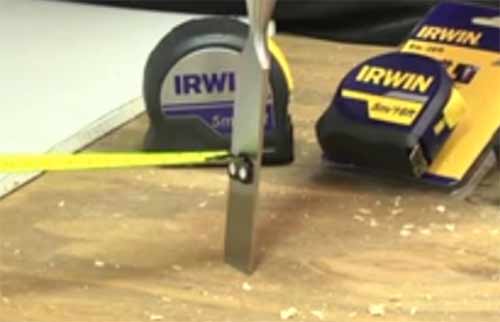
Tape Measure
This is probably the first tool in many essential tool lists for any DIY enthusiast as you’ll need one for so many projects.
There are thousands of different makes and designs, all fairly inexpensive. It really doesn’t matter what you get as they are all very good these days.
Look for one with a lock so that the tape doesn’t keep snapping back, try to get one with a measure on both sides as this makes it easier to use, and if you like imperial measurements make sure it has feet and inches too. It’s handy if the hook at the end of the tape has a magnet on it as this will stick to metal objects you are measuring from.
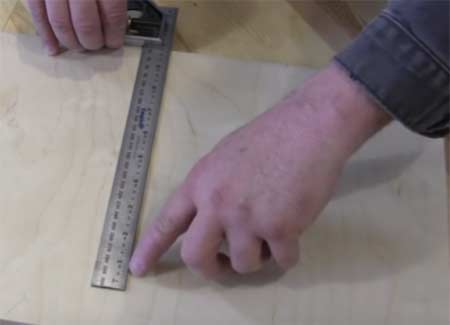
Combination Square
This is a tool that is designed for marking 90° and 45° angles. Again they are relatively affordable (at the precision that you will need) and generally great quality. To check the accuracy, side the measuring rule out completely and mark a line from a square side of wood (the factory cut side of a sheet of ply will do). Then turn the square over and it should line up exactly with your line. If it doesn’t, it not good enough.
Marking Gauge
While you can probably get away without one of these, we still feel that a marking gauge is essential because for the price it will save you a lot of time and effort. It will quickly scratch out a parallel line to a reference surface or edge, which is used for making mortises or fitting locks to doors.
They are often called scratch gauges or mortise gauges; a mortise gauge is probably the better type to buy as this has a pin on both spurs.
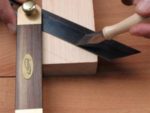
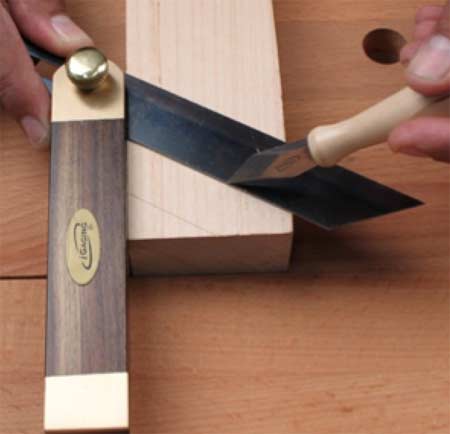
Sliding Bevel
Again these are very affordable and will save huge amounts of time and effort. They are vital for marking out things like dovetails for dovetail joints.
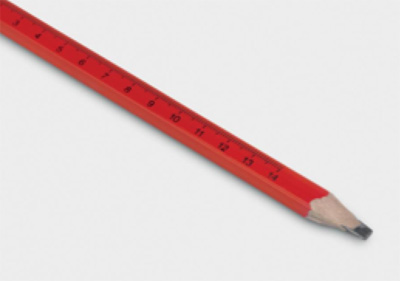
Pencil and Rule
It is very useful to have a sharp carpenters pencil and steel rule handy on all woodworking projects.
Cutting Tools
Once you have measured – twice – it is now time to cut. There is a bewildering array of cutting tools that you could choose from, particularly when you consider power tools also. We are going to focus on the bare essentials, which does leave out most power tools that you might consider.
Here are our range of essential carpentry cutting tools:
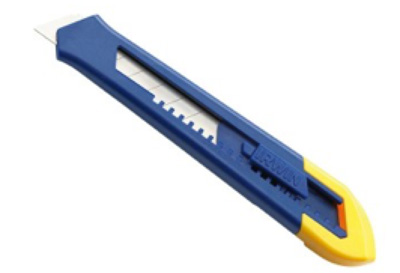
Hobby Knife
This could be a scribing knife, Stanley knife or a trimming knife. It is an incredibly versatile and useful tool that can be used for cutting, but also for marking or scribing and for trimming and tidying. Start with a cheap version with a snap off blade at first as this will do.
General Purpose Saw
This is the workhorse of your cutting tools and one that you’ll use most often. If you are going to be cutting a lot and large lengths, such as cutting up sheets of ply you might consider getting a circular power saw.
A general purpose or universal saw is generally 20-24 inches long, relatively cheap and will last if looked after. They are designed for cutting across the grain.
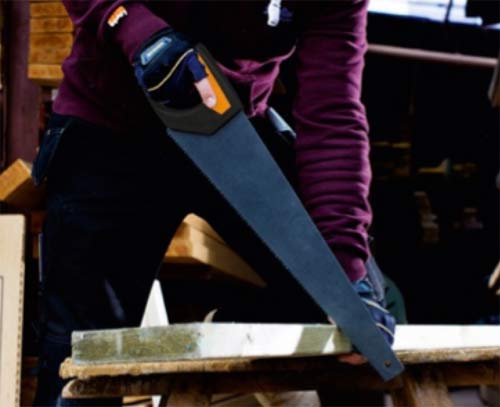
Using a general purpose or cross cut saw
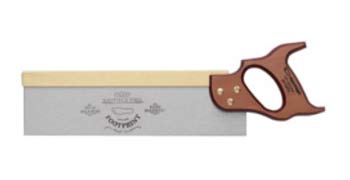
Tenon Saw
These saws are designed for finer cuts and cutting along the grain, rather than across it. They have a metal strip at the top of the blade to keep it rigid and straight when cutting.
These can be very expensive, particularly for a good quality saw, but if you need to get a clean, accurate cut there is no alternative. They are for cutting tenons, as the name suggests!
Coping Saw
These are saws with very thin blades stretched between the arms on a frame. This allows the cutting blade to be rotated in the cut and therefore cut at any angle. These are used to cut out dovetails and other intricate shapes.
Make sure you get a few spare blades as you will go through a few before you are totally proficient.
Drilling Tools
Drilling is other thing that you will be doing a lot of in any carpentry project. Here is the one occasion that it is essential to get a power tool, as this will save you so much time and effort.
Drill Driver
There are a huge range of drill drivers on the market. If you intended to use it beyond just woodworking, then get a combination drill with a hammer function to get through masonry.
We would suggest getting a battery powered version as this is much more convenient if a little more expensive and heavy, but the choice it up to you.
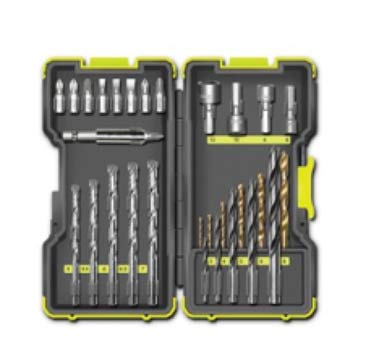
Drill Bits
When starting out it is probably best to get a set of bits so that you have a good range; a mixed set will have bits for drilling masonry too, which will probably be helpful if you are going to do lots of DIY (and have opted for a combi drill). They will also generally come in a case which will mean that they are protected in your toolbox.
Bits can be bought individually, and this is helpful if you need to replace a lost or broken bit from your set, or you need a specific size and type.
Smoothing and Shaping Tools
There are again a huge range of smoothing and shaping tools, but if we confine ourselves to simple the essentials you shouldn’t need to break the bank.
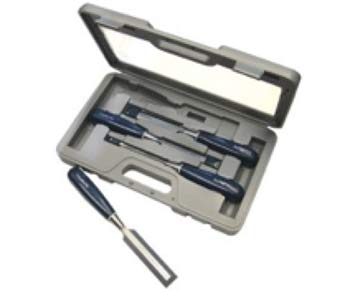
Chisels
These are used for a wide range of job such as cutting out the corners of mortises, smoothes a rough surface and can scrape of excess material. It is not for opening tins of paint!
We suggest that you need to have a range of 3-4 bevel edged chisels ranging from 1/4 inch up to 1 inch. This will cover most jobs you need. You can always get more when you’re more confident and need something more unusual.
Planes
There are a range of different types of plane that you can use, but when it comes to the essentials you need a Smoothing Plane as this is very versatile and enough to get started. A good plane is not cheap so you can always come back should you need something a little more specialist.
We suggest a No.4 Smoothing Plane, although a No. 5 Jack Plane will do the job too.
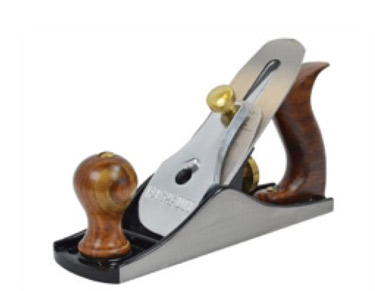
There are powered version called Thickeners, but this is the next step up and better purchased it you are already using your plane a lot.
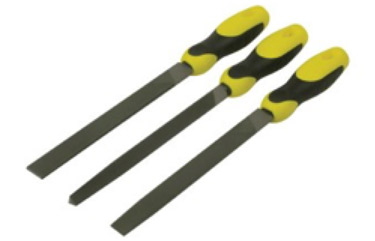
Files and Rasps
These are really hand to have for smoothing and finishing. They are easier to use than a plane and ideal for little tidying jobs, particularly in small fiddly areas.
We have a project that explains how to use files and rasps in woodwork, but when selecting your files you don’t need anything too expensive. A set of mixed files will cover all eventualities; get a flat file, a half round and a square one:
And finally don’t forget a good hammer! We have a great project that explains all about hammers which you can use to help you choose the right one for what you are planning to do.
Tools to Complete Your Essential Woodworking Kit List
To complete the essential set of tool for all your woodworking projects, make sure that you have the tools to look after your tools. A sharpening stone of some kind is essential and makes sure that they are stored safely in a tool bag of box. You might consider oiling your tools to protect the metal, depending on the manufacturer’s instructions.
Finally, you should consider some tools to hold your work. Clamps or a vice may or may not be essential depending on what project you are doing. If you buy some, you will not regret it, but you could probably struggle by without particularly if you have a workmate for a workbench.
All this should cost anywhere from £150 upwards, depending on the quality you opt for, so start off and build up your collection of tools as you need them. It is not worth going for the cheapest tools unless you are only going to be doing a one off project.